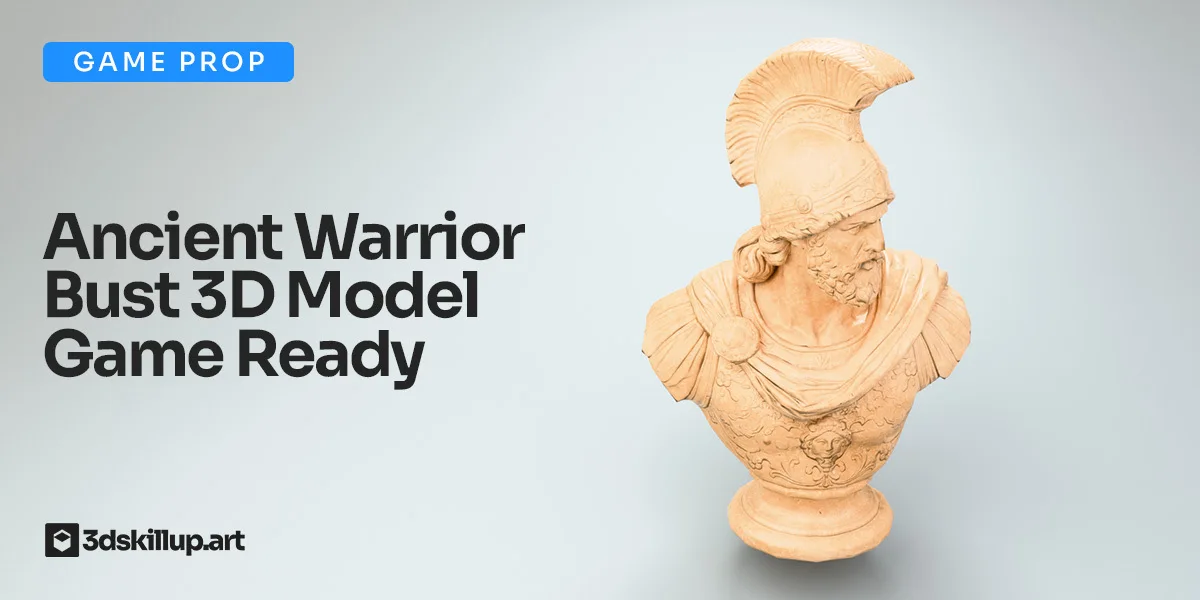
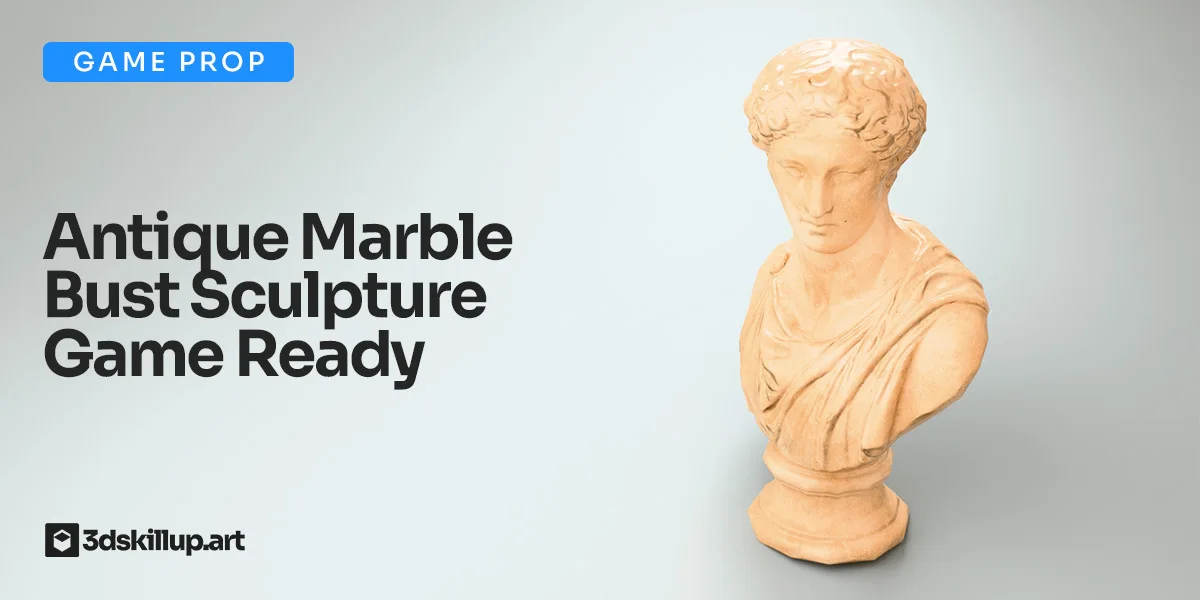
A reusable 3D asset library can become one of the most valuable systems in your game development workflow. Instead of rebuilding the same props, materials, HDRIs, textures, and export setups from scratch, you create a structured collection of assets that you can reuse across different projects, engines, renders, tutorials, and marketplace products.
For a 3D artist, this is more than simple file organization. A strong asset library helps you work faster, maintain visual consistency, avoid technical mistakes, and turn finished work into long-term production value.
Whether you create game props, PBR materials, modular kits, HDRI environments, or marketplace-ready 3D models, the goal is the same: every asset should be easy to find, easy to understand, easy to import, and easy to reuse.
In this guide, you will learn how to plan, organize, optimize, test, and maintain a practical 3D asset library for game development using a professional production mindset.
What Is a 3D Asset Library for Game Development?
A 3D asset library is an organized collection of reusable digital assets created for production. It can include models, materials, textures, HDRIs, decals, modular pieces, prefabs, source files, render previews, documentation, and engine-ready exports.
The important word is “reusable.” A folder full of old Blender files is not automatically an asset library. A proper asset library gives you assets that are structured, named, documented, and prepared in a way that makes them useful in future projects.
For example, a simple game prop library may include wooden crates, barrels, tools, pipes, cables, furniture, signs, rocks, doors, windows, weapons, and small decorative objects. A material library may include painted metal, old wood, leather, concrete, fabric, plastic, rust, dust, and worn edges. An environment library may include HDRI lighting setups, modular walls, floors, trims, decals, and vegetation assets.
The best asset libraries are built around real production needs. If you create environments, you may need modular architecture, tileable PBR materials, trim sheets, decals, and lighting references. If you create marketplace products, you may need clean FBX exports, preview renders, texture folders, Unity-ready files, Unreal-ready textures, and clear product documentation.
A reusable 3D asset library is not just about saving files. It is about creating a system that helps you reuse your best work with confidence.
Why Should You Build a Reusable 3D Asset Library?
Building a reusable asset library saves time, but the deeper benefit is consistency. When your assets follow the same scale, naming system, texture structure, and export logic, you can move faster without losing control of quality.
If you are working on a game, this helps you prototype faster. You can block out scenes using existing props, test visual ideas, reuse proven materials, and avoid wasting time rebuilding small details. If you are a freelance artist, a strong library helps you respond faster to client work. If you sell digital assets, it gives you a foundation for creating new products more efficiently.
A single well-made asset can support many different uses. A wooden crate, for example, can become a game-ready prop, a Unity prefab, an Unreal asset, a portfolio render, part of a marketplace pack, a tutorial example, or a small element inside a larger environment scene.
This is why professional studios often treat assets as long-term production resources. Even if you work alone, you can use the same mindset. Every finished model can become part of your personal production system, especially if it is clean, documented, and tested.
A reusable library also helps you improve your artistic decisions. When you can compare old and new work, you start noticing patterns: which materials look believable, which topology choices worked well, which props sold better, which textures reused nicely, and which assets created technical problems later.
Over time, your library becomes more than storage. It becomes a practical record of your skill growth.
What Should You Include in Your 3D Asset Library?
A useful 3D asset library should include both source files and final production files. Source files are the editable files you use to create and update the asset. Final production files are the clean exports you use in engines, renders, clients’ projects, or marketplace packages.
For a complete game-ready asset, you may want to store the Blender file, high-poly mesh, low-poly mesh, UV layout, baked maps, Substance 3D Painter project, exported textures, FBX files, preview renders, Unity or Unreal setup, documentation, and license notes.
A practical folder structure could include:
-
Source
-
Exports
-
Textures
-
Renders
-
Unity
-
Unreal
-
Documentation
You do not need to make the structure overly complex. The goal is clarity. When you return to the asset after six months, you should immediately understand what is editable, what is final, what is engine-ready, and what still needs work.
For example, the Source folder may contain the original .blend file, the high-poly version, the low-poly version, and the Substance 3D Painter file. The Exports folder may include FBX, OBJ, or GLB files. The Textures folder may include Base Color, Roughness, Metallic, Normal, Ambient Occlusion, and Emission maps when needed. The Renders folder may contain portfolio images, thumbnails, and marketplace previews.
This separation is especially important if you sell 3D assets online. Buyers expect clean files, clear structure, and predictable content. If you want to understand this from a customer perspective, the guide on what buyers expect from a professional 3D asset is a useful reference.
How Do You Organize Assets So They Are Easy to Reuse?
The biggest mistake many artists make is saving assets based only on the current project. This works for short-term production, but it becomes confusing when you want to reuse assets later.
A better approach is to organize assets by category, type, and readiness. For example, you can separate props, materials, HDRIs, decals, modular kits, vegetation, furniture, tools, weapons, and environment pieces. Inside each category, use consistent naming.
Good naming makes your library searchable. Instead of calling a file final_new_fixed.blend, use a name that describes the asset and its version. For example:
-
SM_WoodenCrate_01 -
T_WoodenCrate_BaseColor_2K -
MAT_RustyPaintedMetal -
HDRI_WorkshopInterior_4K
Prefixes help you identify asset types quickly. SM can stand for static mesh, T for texture, MAT for material, and HDRI for lighting environment. You can adapt the system to your own workflow, but consistency matters more than the exact prefix.
Thumbnails are also important. A visual preview can save you a lot of time, especially when your library grows. Even a simple rendered image with a neutral background can help you quickly identify an asset before opening the source file.
In Blender, you can also use asset organization tools to store reusable objects, collections, materials, and node setups. This is useful when you often reuse bolts, handles, screws, cables, bevelled details, furniture parts, or material presets.
Good organization should answer three questions quickly: what is this asset, where is the final version, and how should it be used?
How Should You Prepare Assets for Real Game Projects?
A reusable asset should be predictable when imported into a game engine. This means you need to think about scale, pivot placement, transforms, orientation, topology, UVs, texture resolution, naming, collision, and performance.
For example, a chair prop should not only look good in Blender. It should import into Unity or Unreal at the correct size, sit properly on the ground, have a logical pivot point, use optimized geometry, include clean UVs, and have materials that are easy to understand.
Before adding an asset to your library, check the basics. Apply transforms, clean object names, remove unused objects, check normals, inspect UVs, verify texture paths, and test the export. If the asset is intended for games, you should also think about polycount. A hero prop can justify more geometry than a background prop, but every asset should have a clear purpose.
If you are unsure how to judge the right complexity level, the article on low-poly vs mid-poly vs high-poly assets can help you make better decisions based on use case, distance from camera, platform, and production goals.
Texture resolution also matters. A 4K texture may be appropriate for a close-up hero object, but unnecessary for a small background prop. A reusable library should not be full of oversized textures just because they look impressive in previews. The best setup is practical: high enough quality for the asset’s role, but not wasteful.
If you want to make this decision more intentionally, the guide on texture resolution for 3D assets can help you understand when higher resolution is useful and when it only increases file size.
This is where a game-ready mindset becomes essential. A beautiful model is not automatically production-ready. It becomes reusable only when it behaves well in real workflows. For a deeper breakdown, you can read how to know if a 3D model is really game-ready.
Building the Asset in Blender: Clean Source Files First
Your asset library is only as strong as your source files. If your Blender files are messy, your library will eventually become difficult to maintain.
Start by organizing your scene clearly. Use collections for high-poly, low-poly, collision, reference, and export versions when necessary. Rename objects properly. Apply transforms before export. Remove unused geometry, old test objects, hidden duplicates, and materials that no longer belong to the asset.
For reusable assets, it is also useful to keep a clean non-destructive version when possible. For example, if you are modeling a hard-surface prop, you may want to preserve a version with modifiers intact and another version prepared for baking or export. This helps you update the asset later without rebuilding everything.
Pivots are especially important for game development. A door should rotate from the hinge side. A modular wall piece should align correctly to a grid. A prop that sits on the floor should have a pivot that makes placement easy. These small decisions make assets much easier to reuse in engines.
If you create modular kits, keep your grid size consistent. Walls, floors, stairs, trims, and panels should align cleanly. A reusable modular kit loses much of its value if every piece has slightly different dimensions or imperfect snapping behavior.
Clean topology also matters because reusable assets often need to be edited, repurposed, optimized, or combined with other pieces. If you want to strengthen this part of your workflow, the truth about clean topology is a useful companion topic.
Blender source files should be readable by your future self. Six months later, you should be able to open the file and understand what is final, what is editable, and what should not be touched.
Texturing and Baking for a Reusable PBR Library
A reusable 3D asset library becomes much stronger when your PBR materials are consistent. Textures should follow a clear naming system, use the correct color space, and be exported with the right channels for your target engine or marketplace.
Substance 3D Painter is especially useful for creating reusable smart materials. For example, you can create a painted metal material that works across toolboxes, pipes, weapons, workshop props, and machinery. Once the material is well built, you can adapt it quickly instead of starting from zero every time.
The same applies to wood, leather, fabric, plastic, rubber, concrete, and worn metal. If you regularly create game props, your own material library can become as important as your mesh library.
Baking is another key part of reusability. A good bake allows your low-poly model to preserve high-poly detail through normal maps, ambient occlusion, curvature, and other supporting maps. If the bake is messy, the asset becomes harder to reuse because every new render or engine test reveals artifacts.
Pay close attention to UVs, smoothing, cage settings, naming, and mesh matching. A reusable asset should not require a new bake every time you want to use it.
PBR consistency is also important for believable lighting. Roughness, in particular, has a major influence on how materials react to light. If your materials look too glossy, too flat, or inconsistent across assets, your scenes can quickly feel artificial. For a focused explanation, see roughness maps in PBR.
If you are building a broader material system, it is also useful to review a complete PBR workflow explained step by step so your maps, channels, and export logic stay consistent.
How Do You Test Assets in Unity and Unreal Engine?
An asset is not truly reusable until you test it outside the software where you created it. A model that looks perfect in Blender may reveal problems when imported into Unity or Unreal Engine.
Testing does not need to be complicated. Create a simple test scene with neutral lighting, a grid floor, a scale reference, and a few camera angles. Import the asset and check scale, pivot, material assignment, texture orientation, normal maps, collision, and performance.
In Unity, test the FBX import settings, materials, colliders, prefab setup, and texture assignments. If you plan to reuse the asset across Unity projects, creating a clean prefab can save time. A prefab lets you preserve the object setup, components, hierarchy, materials, and collision configuration.
In Unreal Engine, check folder structure, material instances, collision setup, naming, texture compression, and asset organization. If the asset is intended for modern Unreal projects, you may also consider whether it should use traditional LODs, Nanite, or a simpler setup depending on the use case.
LODs can be useful for performance, but they should not be added automatically to every asset. Their value depends on distance from camera, scene complexity, platform, and asset role. For a more practical breakdown, read LOD in 3D: when to use them and when to skip them.
Many technical problems appear during import rather than during modeling. Wrong scale, broken normals, missing textures, incorrect color space, and unexpected material behavior are common issues. If Unity is part of your workflow, the article about common Unity import settings problems can help you avoid frustrating mistakes.
Testing should become part of your library process. Before calling an asset “finished,” import it, inspect it, fix problems, and then save the tested version.
Preparing Assets for Marketplaces and Client Delivery
A clean internal asset library also makes it easier to sell 3D models online or deliver work to clients. The same habits that help you reuse assets also make your products more professional.
Marketplace buyers usually want clarity. They need to know what is included, which formats are supported, how many polygons the asset has, what texture resolutions are available, whether the model is game-ready, and whether it has been tested in a real engine.
This means your asset package should not include a confusing mix of old files, test exports, broken materials, and unclear folders. A good package should be simple to understand.
For example, a “Workshop Tools Pack” might include Blender source files, FBX exports, PBR textures, preview renders, Unity-ready files, and a short documentation file. The documentation does not need to be long. It can explain texture resolutions, file formats, intended use, polycount, engine notes, and any important limitations.
File formats also matter because different buyers may use different software, engines, or pipelines. If you want to choose formats more strategically, the guide on 3D asset file formats can help you decide what to include in your product package.
Preview renders are also part of the product. A strong render helps users understand the asset quickly. Show the model from multiple angles, include close-ups of materials, and avoid hiding weak parts of the asset. Good presentation builds trust.
The goal is not to create exaggerated marketing. The goal is to make the asset understandable, reliable, and easy to use. If selling is part of your long-term plan, you can also explore how to sell 3D models in 2026 for a broader marketing and distribution perspective.
Common Mistakes When Building a 3D Asset Library
One common mistake is saving everything. A reusable library should not become a graveyard of unfinished experiments. It is better to have a smaller library of clean, useful assets than a huge archive full of broken files.
Another mistake is mixing source files and final exports. If your editable Blender file, old FBX export, test texture, marketplace ZIP, and Unity prefab all live in the same folder without structure, you will eventually lose time trying to understand which file is correct.
Inconsistent naming is another serious problem. Names like asset_final, asset_final2, and real_final_fixed may feel harmless during production, but they become confusing later. Use descriptive names and version numbers instead.
Many artists also forget thumbnails. When your library has only ten assets, previews may seem unnecessary. When it grows to hundreds of models, thumbnails become extremely useful.
Another common issue is not testing assets in engine. If you only check the model in Blender or Marmoset Toolbag, you may miss import problems, scale issues, material errors, or performance concerns.
Finally, be careful with licensing. Do not include textures, scans, references, HDRIs, or kitbash elements in your library unless you understand their usage rights. This is especially important if you sell assets or deliver files to clients.
Practical Checklist for a Reusable 3D Asset Library
Before adding an asset to your reusable library, run a simple quality check:
-
Object names are clean and descriptive.
-
Transforms are applied.
-
Scale is correct.
-
Pivot placement makes sense.
-
UVs are clean and non-confusing.
-
Topology matches the asset’s use case.
-
Normal map and baked details are checked.
-
PBR textures are exported correctly.
-
Texture resolution is appropriate.
-
Source files and export files are separated.
-
Unity or Unreal import has been tested.
-
Preview render or thumbnail is included.
-
Documentation or usage notes are added.
-
Version number is clear.
-
Licensing notes are saved when needed.
This checklist may look simple, but it can prevent many problems. The more often you use it, the faster it becomes.
3DSkillUp Insight: Think Like a Small Studio
The best way to build a reusable 3D asset library is to think like a small studio, even if you work alone.
A studio cannot rely on memory. It needs naming systems, clean folders, documentation, tested assets, predictable exports, and reusable materials. As a solo artist, you may feel that this is too much structure, but it actually gives you more freedom. When your assets are organized, you spend less time searching, fixing, and rebuilding.
You do not need to reorganize your entire archive in one day. Start with your next finished asset. Before moving to another project, spend a few extra minutes packaging it properly. Save the source file, export the final version, organize textures, create a thumbnail, test the import, and write a short note.
Over time, this habit compounds. After 20, 50, or 100 assets, you will have a real production library instead of a random collection of files.
The professional advantage is simple: every asset you finish becomes easier to reuse, easier to sell, easier to update, and easier to combine with future work.
Conclusion: Build Once, Reuse Better
A reusable 3D asset library helps you work faster, stay organized, and create more consistent results across game projects, client work, marketplace products, and personal environments.
The key is to treat each asset as part of a long-term system. Clean modeling, good UVs, reliable baking, consistent PBR textures, proper naming, engine testing, and clear documentation all work together. None of these steps need to be complicated, but they need to be repeatable.
Start small. Choose one category, such as props, materials, HDRIs, or modular pieces, and build a clean structure around it. Then improve the system every time you finish a new asset.
If you want to keep improving your workflow, explore more 3DSkillUp resources on game-ready assets, Blender modeling, PBR texturing, optimization, and digital asset creation. A better library begins with better habits, and every well-prepared asset becomes a stronger foundation for your next project.