HDRI Lighting in Blender: A Practical Product Render Workflow
Set up HDRI lighting in Blender, rotate the environment, balance exposure, and check PBR materials with a practical workflow for clearer product renders.
Read article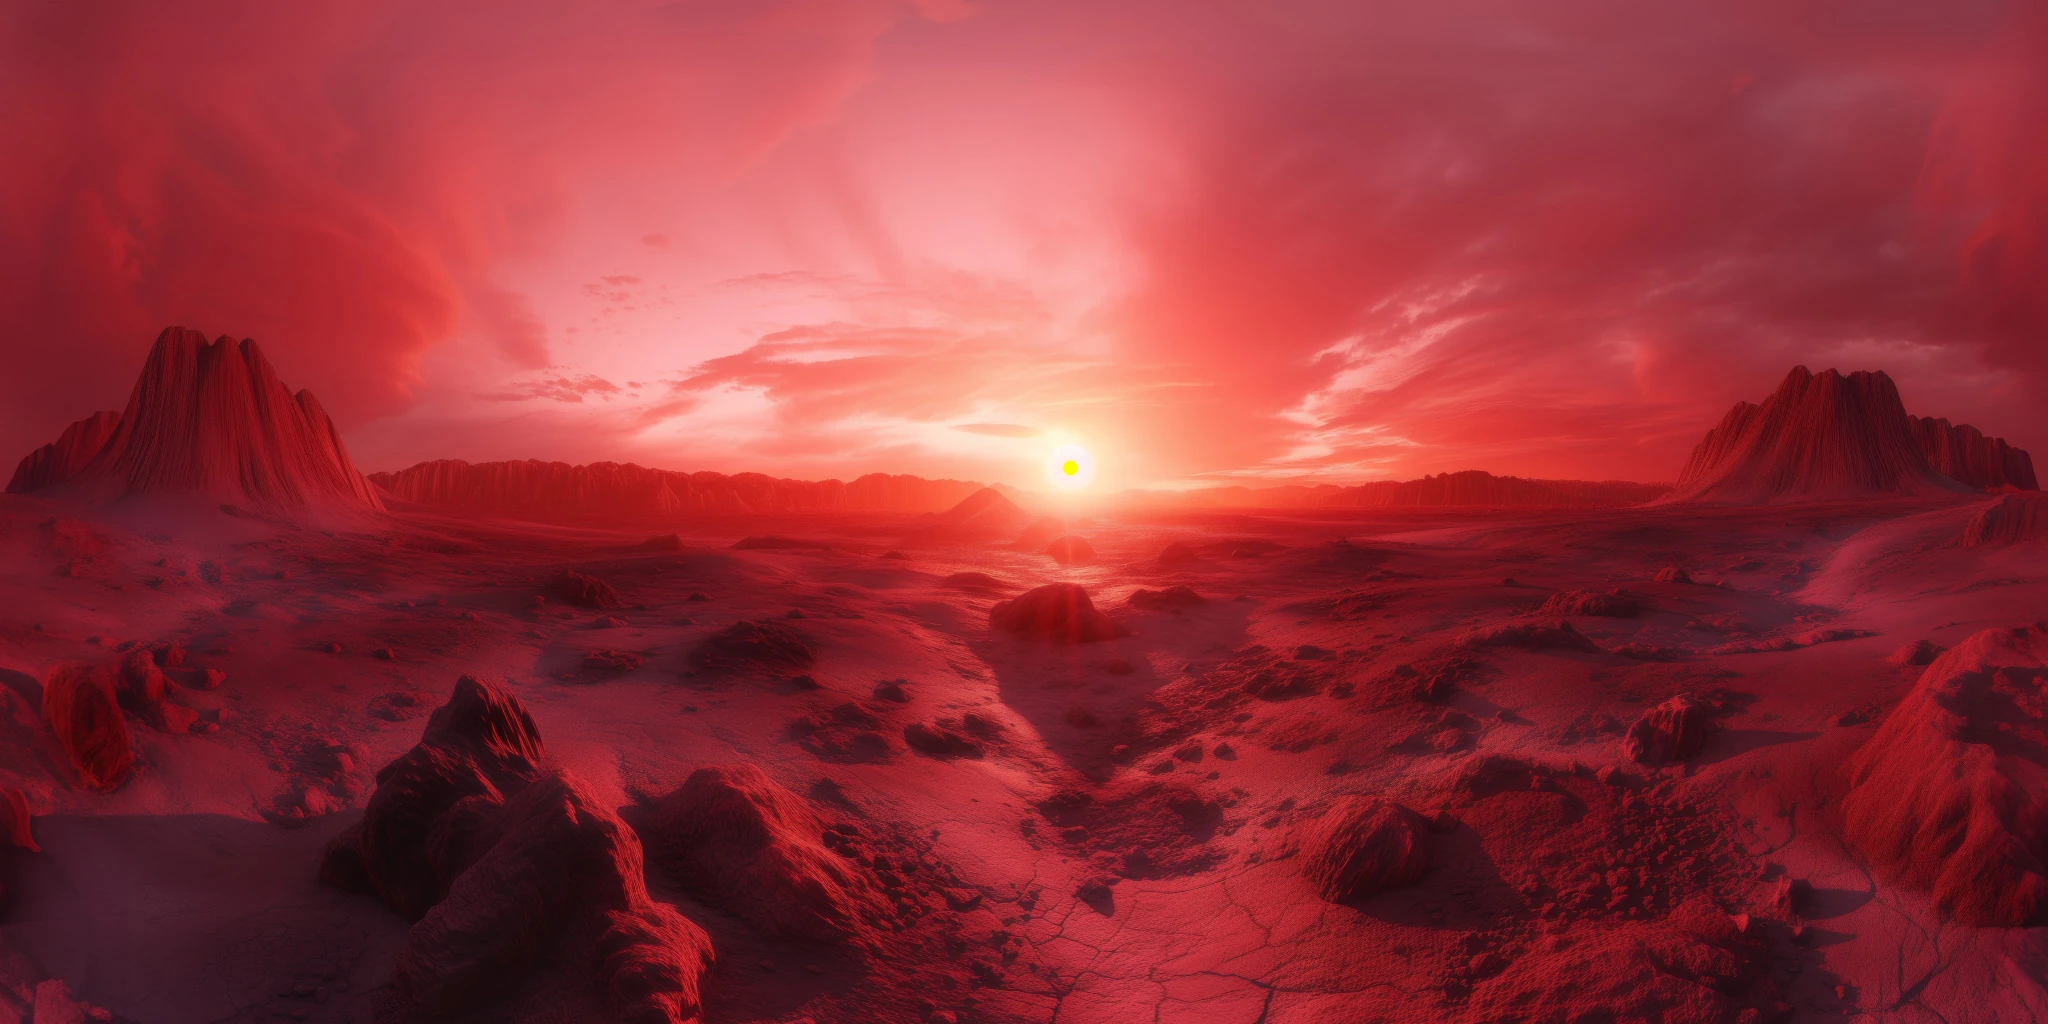
Open the image to explore the details.
Explore a crimson dusk HDRI with red rocky terrain and a glowing alien horizon. Compare 12K to 2K unclipped maps for warm sci-fi lighting and reflections.
See current pricing, available files and license details on the marketplace.
A glowing red horizon illuminates rough alien terrain and scattered rock towers beneath deep crimson clouds.
Try this strongly colored environment for dramatic machinery studies and science-fiction props. Its red surroundings can provide a consistent mood across metal, glass and painted surfaces without editing each material.
Check surface markings under neutral light as well as this environment. Red illumination can reduce the contrast between colors that were easy to distinguish during texturing.
The creator lists this unclipped environment in 12K, 8K, 4K, 2K, with 32-bit HDR specified on the product page. The listed file format is .hdr. The image above is a compressed web preview; use the purchased HDR file to light your scene.
Choose resolution for the background and reflected detail visible in the final camera framing. Preview brightness alone cannot establish dynamic range or the exposure required by a particular scene.
Learn how to combine HDRI and area lights for readable product renders. The Blender HDRI lighting workflow explains the practical setup for loading and rotating an environment.
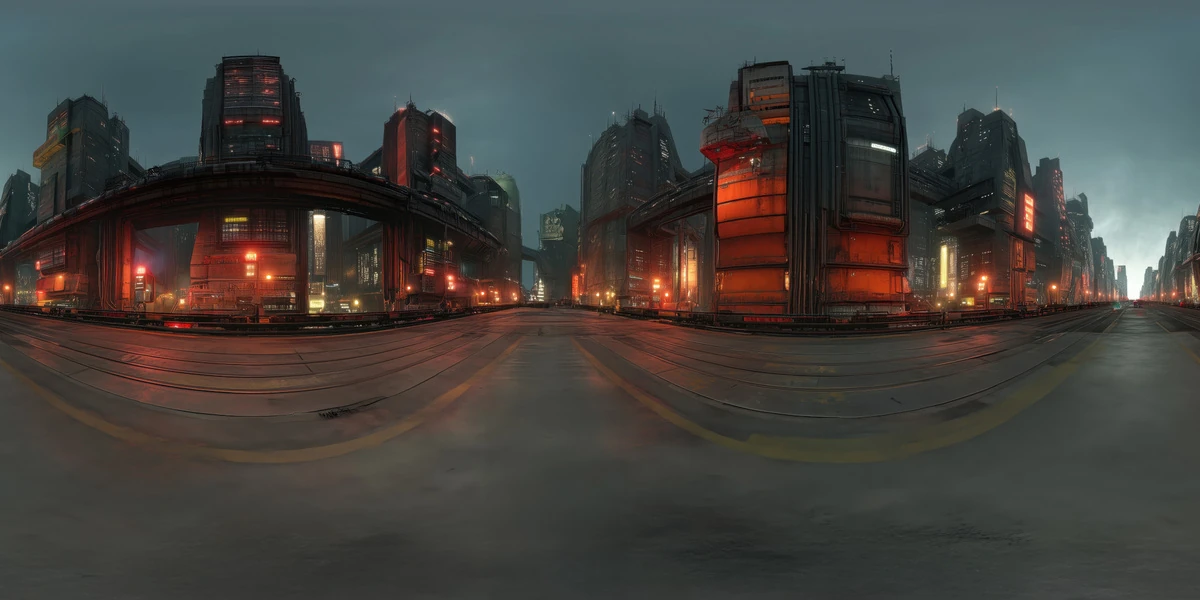
Use Cyberpunk Red City HDRI to compare red landscape illumination with urban neon and angular city reflections. Keep the material and camera fixed so that the environment is the main variable.
Browse the HDRI lighting collection to compare more environments using the lighting and scene filters.
For a focused alternative, try Green Alien Twilight HDRI to compare crimson dusk and green twilight while keeping the same material and exposure.
AI-Assisted, Human-Refined. The creator describes AI generation followed by manual refinement. Review fine details when the panorama will be a visible backdrop; use its lighting and reflections as the starting point for your scene.
Set up HDRI lighting in Blender, rotate the environment, balance exposure, and check PBR materials with a practical workflow for clearer product renders.
Read articleCompare HDRI and area lights in Blender. Learn how to control reflections, reveal product shape and combine light sources without flattening your render.
Read articleYou can model a clean asset, unwrap it properly, bake a solid normal map, and still end up with a material that feels wrong.
Read articleExplore a cyberpunk red city HDRI with neon-lit buildings and misty streets. Choose 12K to 2K unclipped maps for sci-fi props, characters and urban reflections.
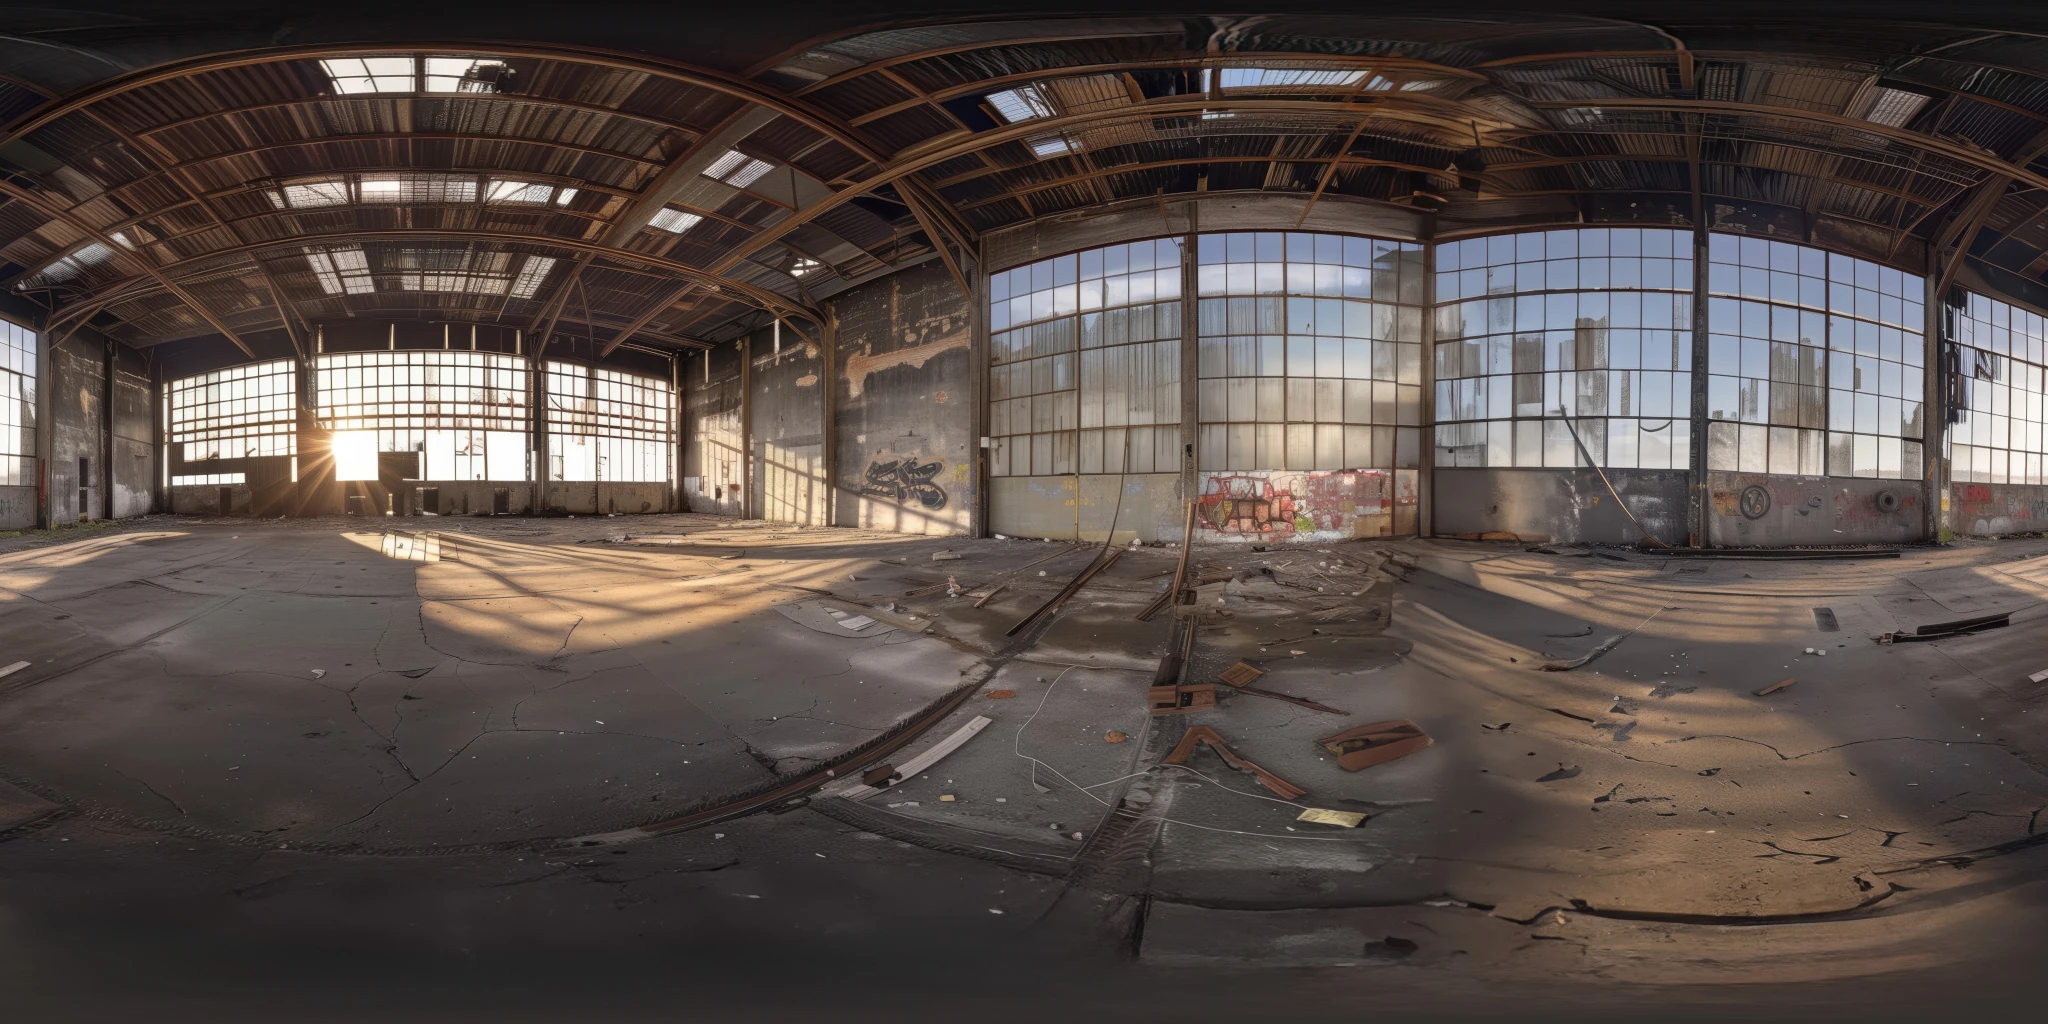
View assetExplore an abandoned warehouse HDRI with window light, roof trusses and worn concrete. Choose 12K to 2K unclipped maps for industrial props and reflections.
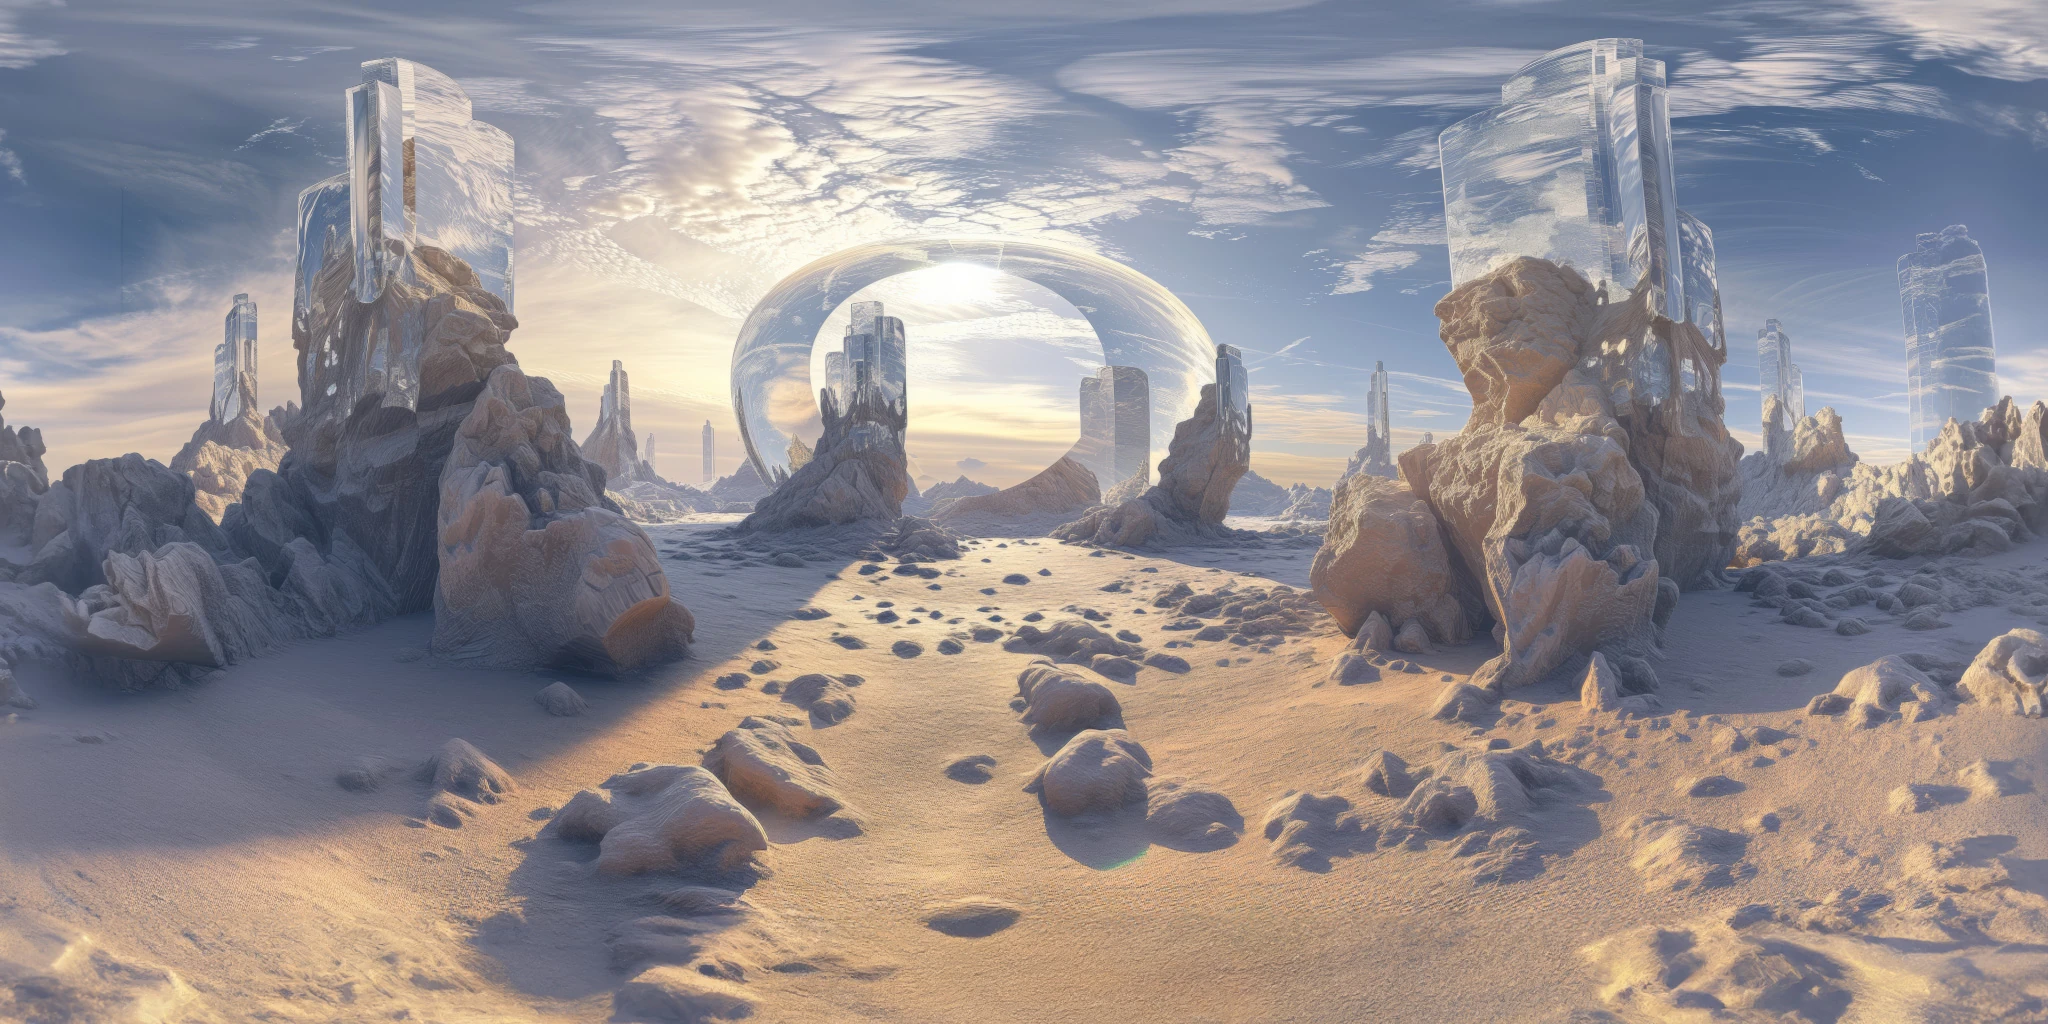
View assetExplore a crystal valley HDRI with pale formations, sandy terrain and a monumental arch. Choose 12K to 2K maps for bright sci-fi lighting and reflections.
View asset