HDRI Lighting in Blender: A Practical Product Render Workflow
Set up HDRI lighting in Blender, rotate the environment, balance exposure, and check PBR materials with a practical workflow for clearer product renders.
Read article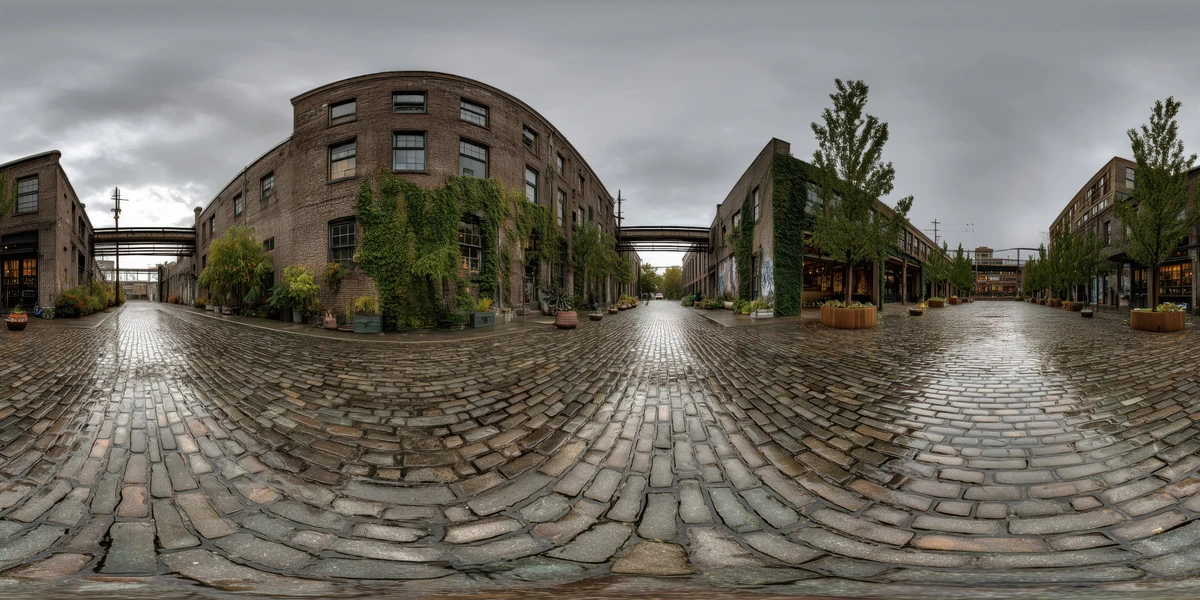
Open the image to explore the details.
Explore an industrial street HDRI with wet cobblestones, brick facades and overcast light. Choose 12K to 2K unclipped maps for urban products and exteriors.
See current pricing, available files and license details on the marketplace.
Wet cobblestones run between brick industrial buildings, with greenery on the facades and overhead structures beneath a grey sky.
Use this environment to compare diffuse urban daylight with the directional sun of open-field maps. It suits exterior props and architectural material studies.
Buildings create structured dark and bright reflection regions even under an overcast sky. Inspect those shapes before deciding that the object needs a stronger light source.
The Superhive product description lists a 360° unclipped 32-bit HDR environment in 12K, 8K, 4K and 2K resolutions. Use the downloaded environment map for lighting; the image above is a web preview, not HDR lighting data.
Choose a resolution for the detail that will actually appear in your final reflections or background. The unclipped specification describes the listed product; it does not prescribe an exposure value for every scene.
Learn how to choose an outdoor HDRI by its light and reflections. Start with a fixed camera and a simple subject, test environment rotation, then adjust intensity separately. The Blender HDRI setup workflow explains the World lighting setup.
Compare this scene with Rural Field with Wooden Fence HDRI to see how a different horizon and surrounding surfaces change the same object. Browse the HDRI collection for more environments and combine the lighting and scene filters.
AI-Assisted, Human-Refined. The creator describes AI-assisted generation followed by manual refinement. Use these environments primarily for illumination and reflections, and inspect landscape details before relying on a large visible backdrop.
Try Cyberpunk Red City HDRI to compare neutral industrial-street light with saturated red accents in a futuristic city. Keep exposure and the subject material fixed when comparing the two environments.
Try Dark Stormy Sky HDRI to compare cool diffuse street lighting with heavy cloud coverage above a custom scene. Keep exposure and the subject material fixed when comparing the two environments.
For another lighting study, use Abandoned Warehouse HDRI to compare enclosed window light with an open industrial street under cloud cover.
For another lighting study, use Post-Apocalyptic Wasteland HDRI to compare a desolate ruined skyline with a more enclosed industrial street.
For another lighting study, use Far West Town HDRI to compare a sunny wooden frontier street with an industrial street under softer cloud cover.
Set up HDRI lighting in Blender, rotate the environment, balance exposure, and check PBR materials with a practical workflow for clearer product renders.
Read articleChoose an outdoor HDRI by sun direction, cloud coverage and reflected surroundings. Compare winter, rural and sunset lighting in a controlled Blender scene.
Read articleYou can model a clean asset, unwrap it properly, bake a solid normal map, and still end up with a material that feels wrong.
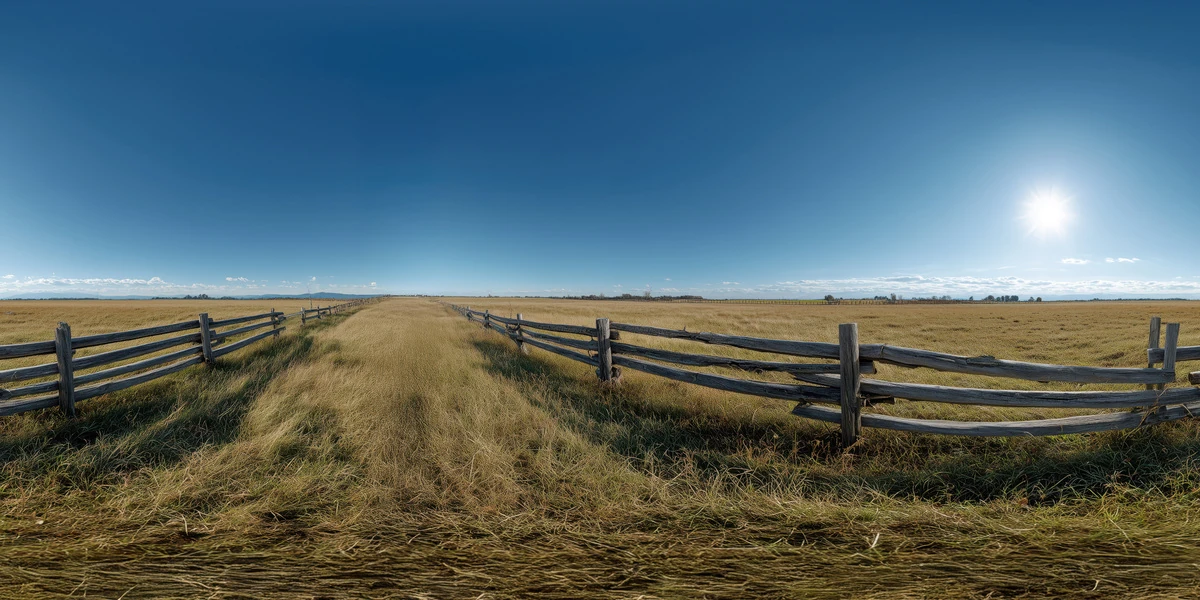
Read articleExplore a rural field HDRI with wooden fences, dry grass and bright sun. Compare 12K to 2K lighting options and tips for matching a modeled foreground.
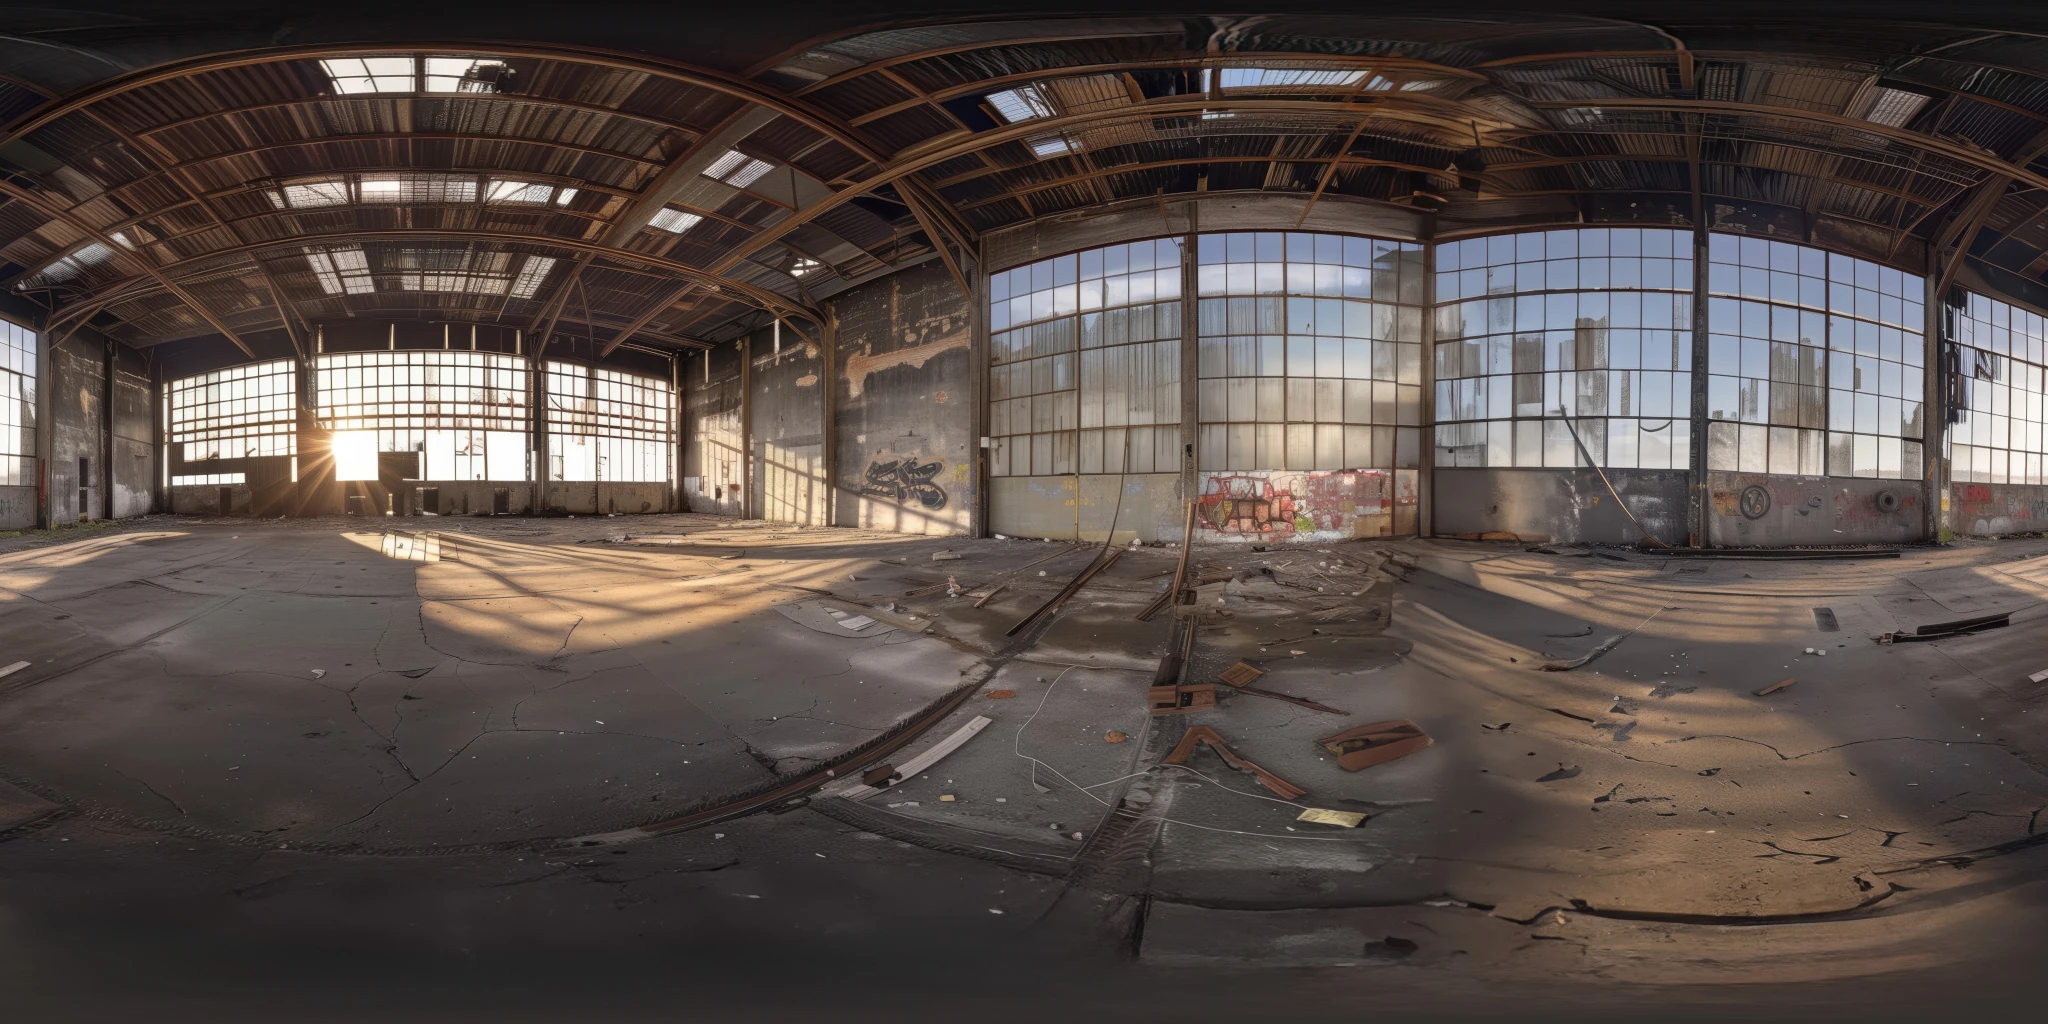
View assetExplore an abandoned warehouse HDRI with window light, roof trusses and worn concrete. Choose 12K to 2K unclipped maps for industrial props and reflections.
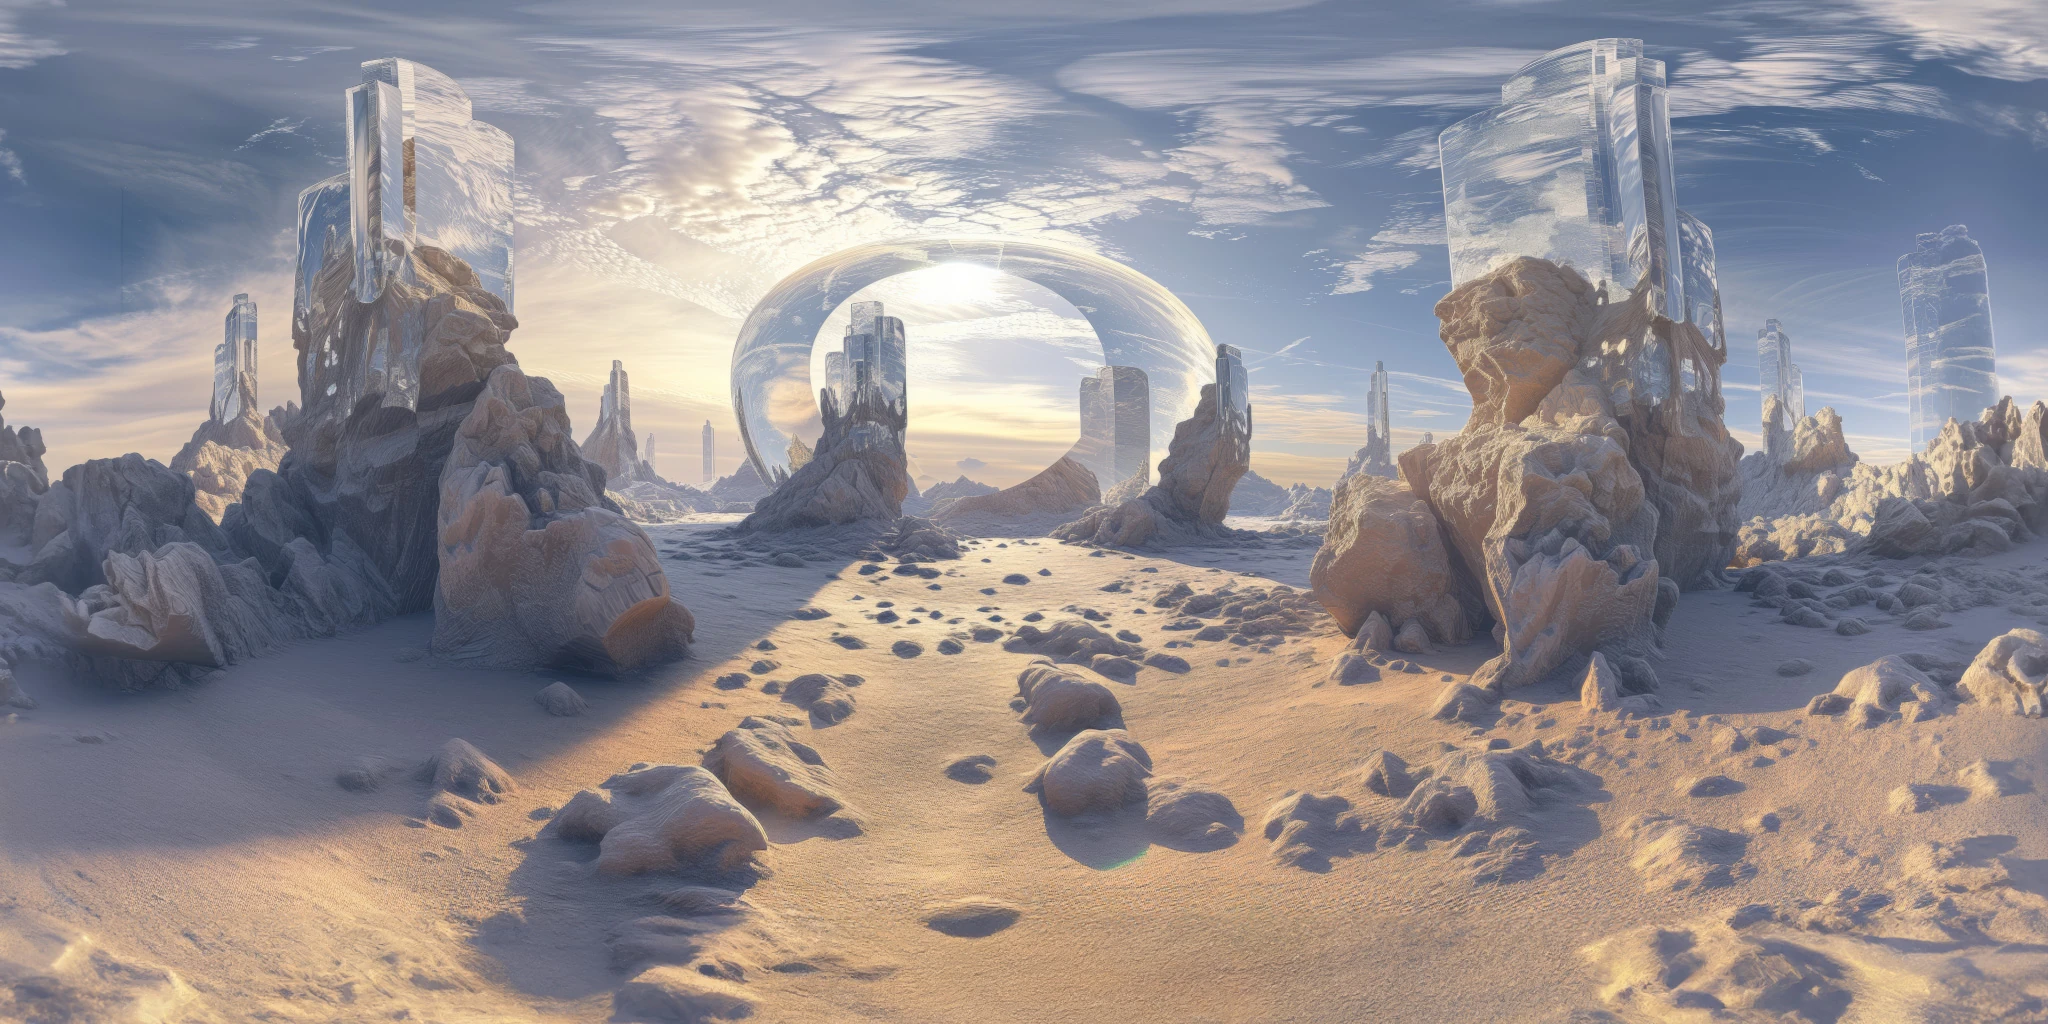
View assetExplore a crystal valley HDRI with pale formations, sandy terrain and a monumental arch. Choose 12K to 2K maps for bright sci-fi lighting and reflections.
View asset