HDRI Lighting in Blender: A Practical Product Render Workflow
Set up HDRI lighting in Blender, rotate the environment, balance exposure, and check PBR materials with a practical workflow for clearer product renders.
Read article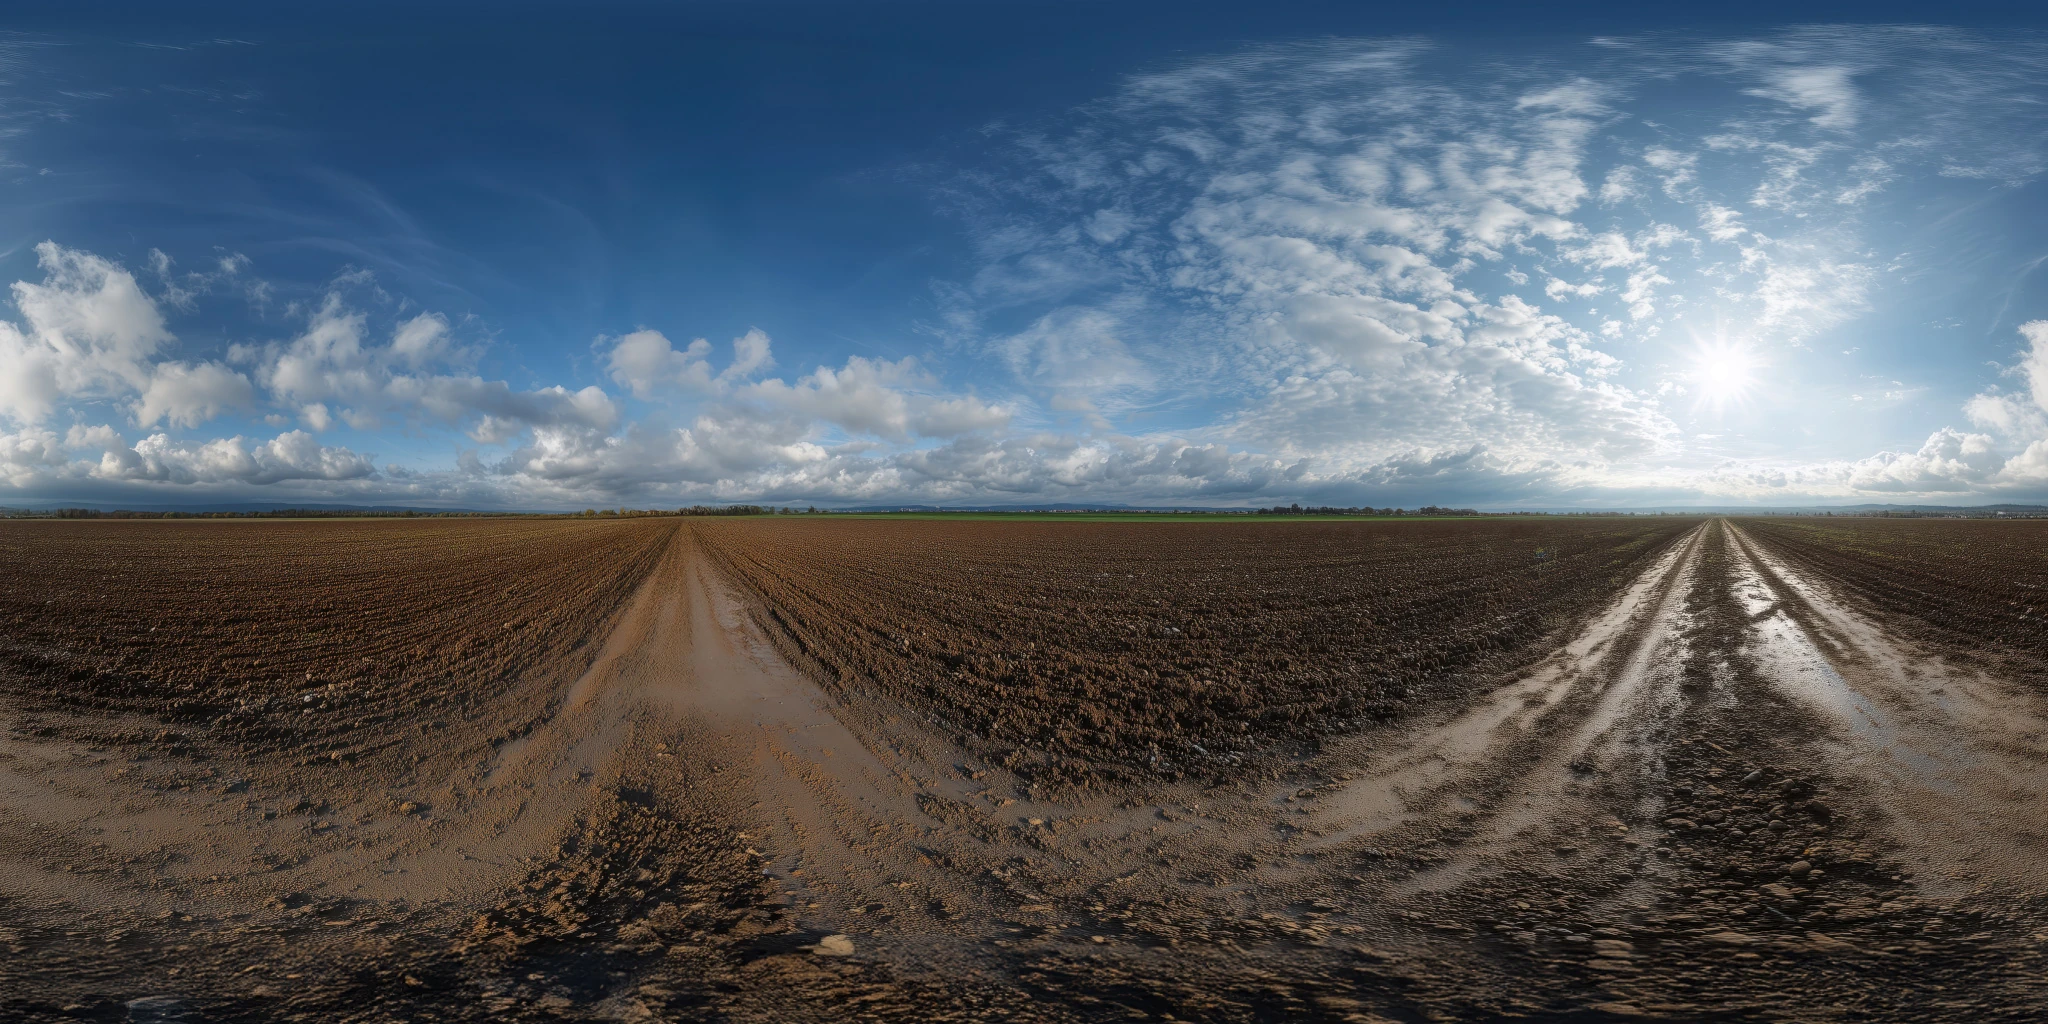
Open the image to explore the details.
Explore a muddy farmland road HDRI with tire tracks, dark soil and broken clouds. Compare 12K to 2K options for rural vehicle lighting and ground-plane setup.
See current pricing, available files and license details on the marketplace.
Wet-looking tire tracks run between dark plowed fields beneath a blue sky with broken white clouds.
Choose it for farm equipment and rural vehicle scenes needing a darker ground impression than grassland.
Model a local road surface if tires need contact, puddle reflections or displacement. Judge the HDRI sky and reflections separately from those foreground details.
The Superhive listing specifies a 360° unclipped 32-bit HDR environment, supplied in 12K, 8K, 4K and 2K versions. The image on this page is a web preview. Use the original downloadable HDR environment for lighting rather than the JPEG or WebP preview.
Choose a map size by the detail visible in the final render, particularly in reflections and the background. Pixel resolution alone does not describe the brightness range stored in the file, and an unclipped product label is not a calibrated exposure measurement for your scene.
Follow the guide to match HDRI lighting to a ground plane for a focused comparison. Keep your camera and subject fixed while testing environment rotation, then adjust brightness as a separate decision.
The Blender HDRI lighting workflow covers World setup and a repeatable material test. Use local geometry wherever a subject needs contact, shadow reception or nearby scene interaction.
Compare Rural Dirt Road Field HDRI for a different arrangement of sky and surroundings. Select by the light and reflections that explain your subject, then browse the HDRI collection to combine environment, lighting and scene filters.
AI-Assisted, Human-Refined. The creator describes AI-assisted generation followed by manual refinement. These environments are intended primarily for illumination and reflections; inspect visible landscape details before choosing one as a prominent photographic-style backdrop.
Set up HDRI lighting in Blender, rotate the environment, balance exposure, and check PBR materials with a practical workflow for clearer product renders.
Read articleGround your 3D subject under HDRI lighting in Blender. Match contact, sun direction and camera perspective, then choose a visible plane or shadow catcher.
Read articleYou can model a clean asset, unwrap it properly, bake a solid normal map, and still end up with a material that feels wrong.
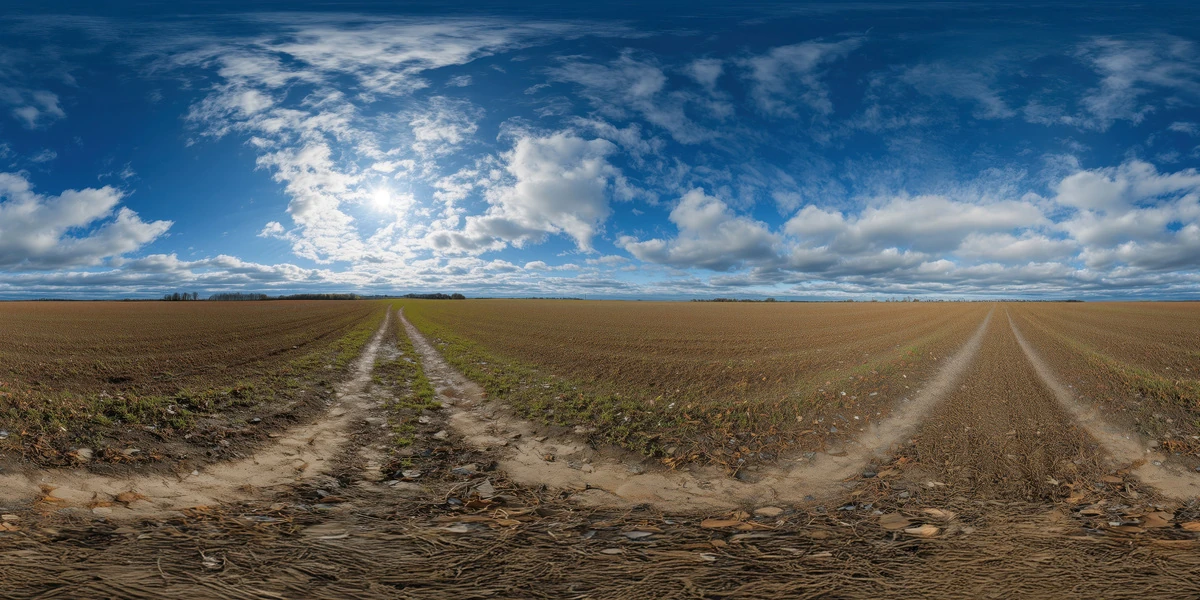
Read articleExplore a rural dirt road HDRI with cultivated fields and a cloud-patterned sky. Compare 12K to 2K options for farm scenes, vehicle lighting and reflections.
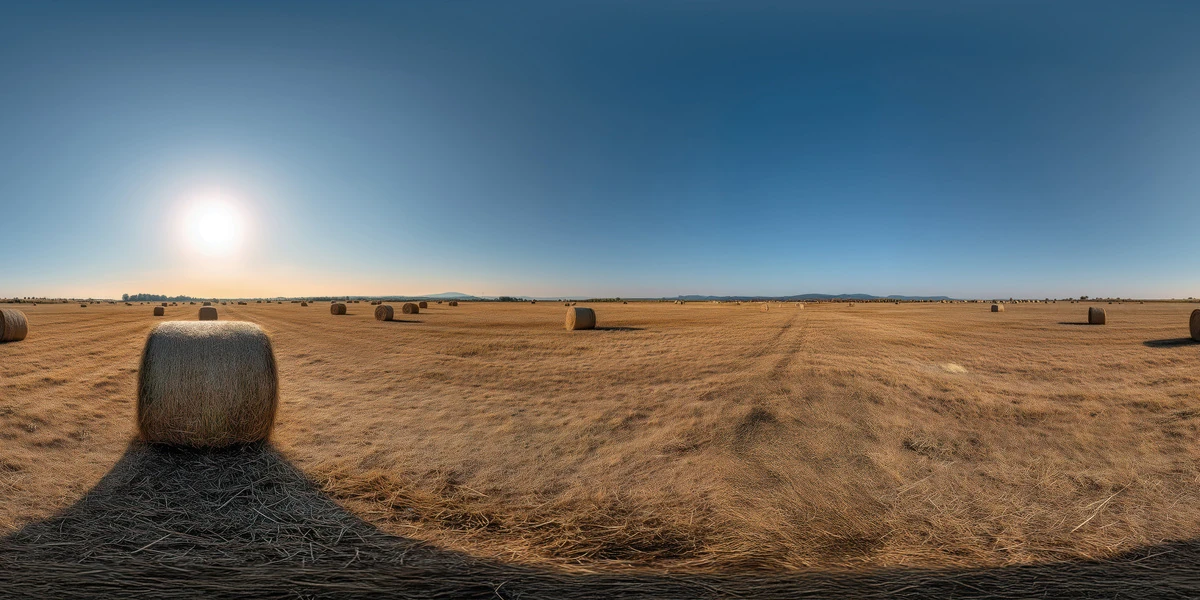
View assetExplore a golden hayfield sunrise HDRI with hay bales, low sun and long shadows. Compare 12K to 2K options for machinery, rural vehicles and outdoor lighting.
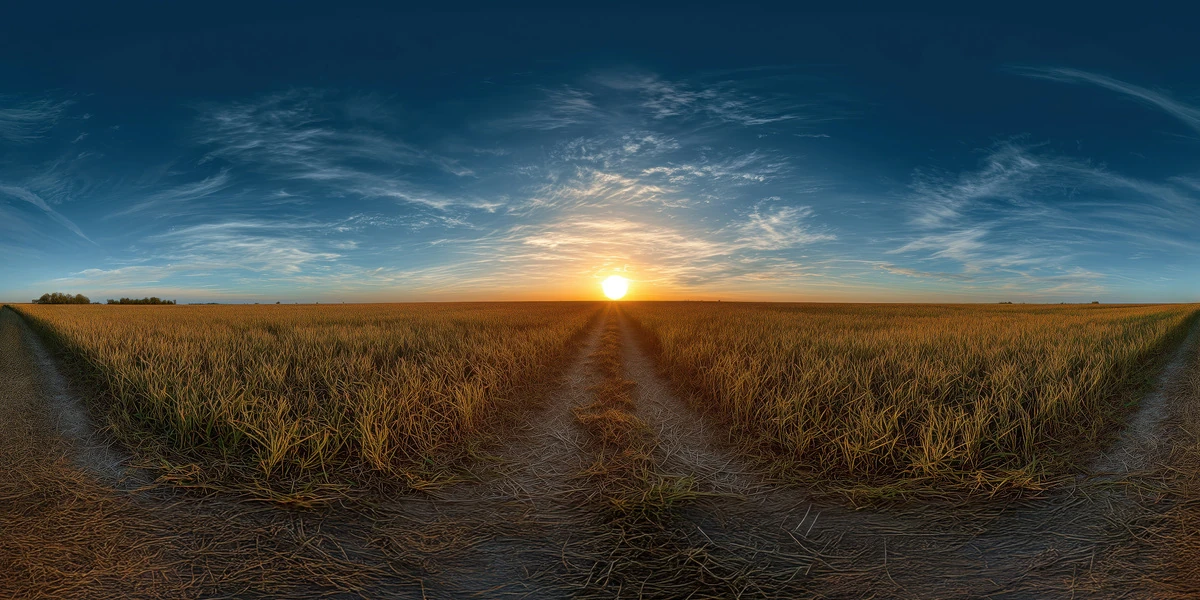
View assetExplore a golden wheat field sunset HDRI with a low sun and warm countryside reflections. Compare 12K to 2K options and practical tips for outdoor 3D scenes.
View asset