An HDRI can light your object, but the ground pictured inside it is not a surface your object can stand on. To create convincing contact, add local geometry or a suitable compositing setup, match the environment’s light direction and review the camera. A stronger World light rarely fixes an object that appears to float because its contact and perspective are wrong.
This workflow focuses on Blender and a single outdoor product or vehicle shot. It distinguishes a modeled foreground from a visible panorama and explains when a shadow catcher is useful. Begin with the Blender HDRI setup guide if the environment is not yet connected to the World.
Decide which part of the image will be real geometry
Choose the job of the HDRI before building the foreground. You may use it only for illumination and reflections, with your own ground and background. Or you may show some of the panorama behind a modeled foreground. A third option is a composited image in which a rendered shadow needs to sit over a separate background plate.
These choices require different scene arrangements. A visible ground plane gives you direct control of its shape and material. A shadow catcher supports compositing, but it does not reconstruct the ground represented in an image. Neither choice makes a nearby fence or tree inside a panorama behave like a modeled object.
Blender’s World Environment reference describes the World as a distant environment. This is useful for surrounding illumination, but it explains why a pictured road cannot receive a new tire shadow. Local scene interactions require local objects or an appropriate compositing treatment.
Place the object on a simple surface first
Start with a plain ground plane and a restrained material. Move it to the intended contact height, then inspect the subject from the side. Feet, wheels and support points should meet the plane without accidental gaps or obvious penetration. A small positioning error can be more noticeable than a large improvement in texture detail.
Use enough ground geometry to cover the camera view and the visible shadow. If the subject casts a long low-sun shadow, a small plane can cut it off unexpectedly. For uneven terrain, decide whether the support points should sit on a slope or whether the visible bump is only a shading effect.
Keep the surface simple until contact works. A busy mud material can hide problems during setup and reveal them later when the camera moves. Once the object feels grounded, add the appropriate surface detail and check contact again at the final view.
Match the direction before matching brightness
Identify the main light direction in the environment and compare it with visible clues in the panorama. Existing shadows, the bright side of a tree and a low sun can help you orient the first test. Then judge the shadow cast by your own subject, since that is the interaction your scene actually needs.
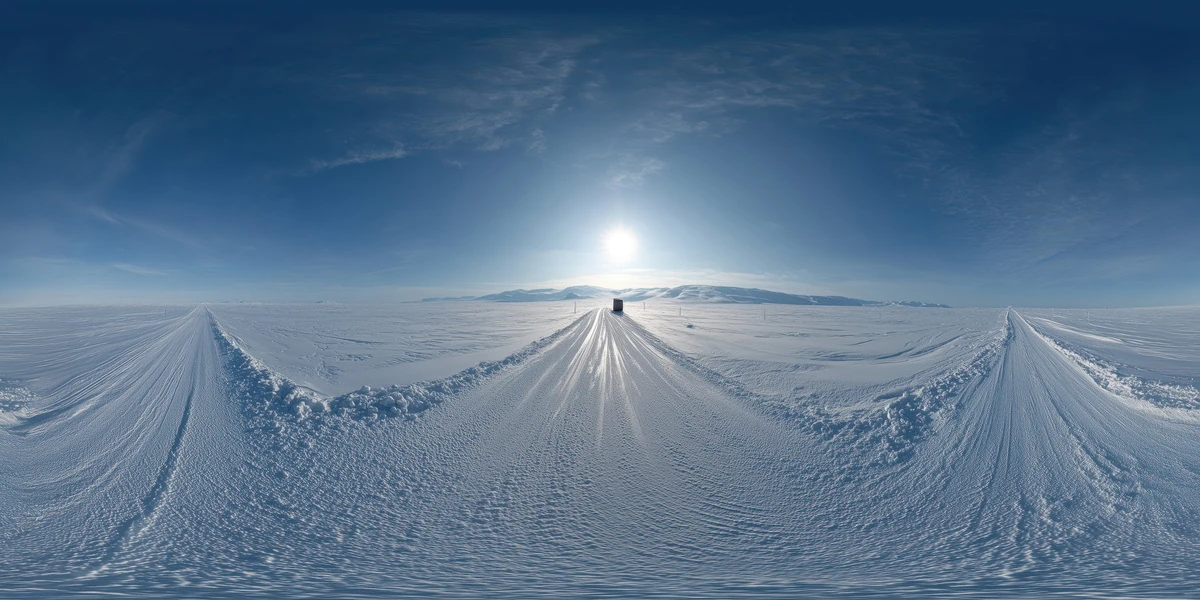
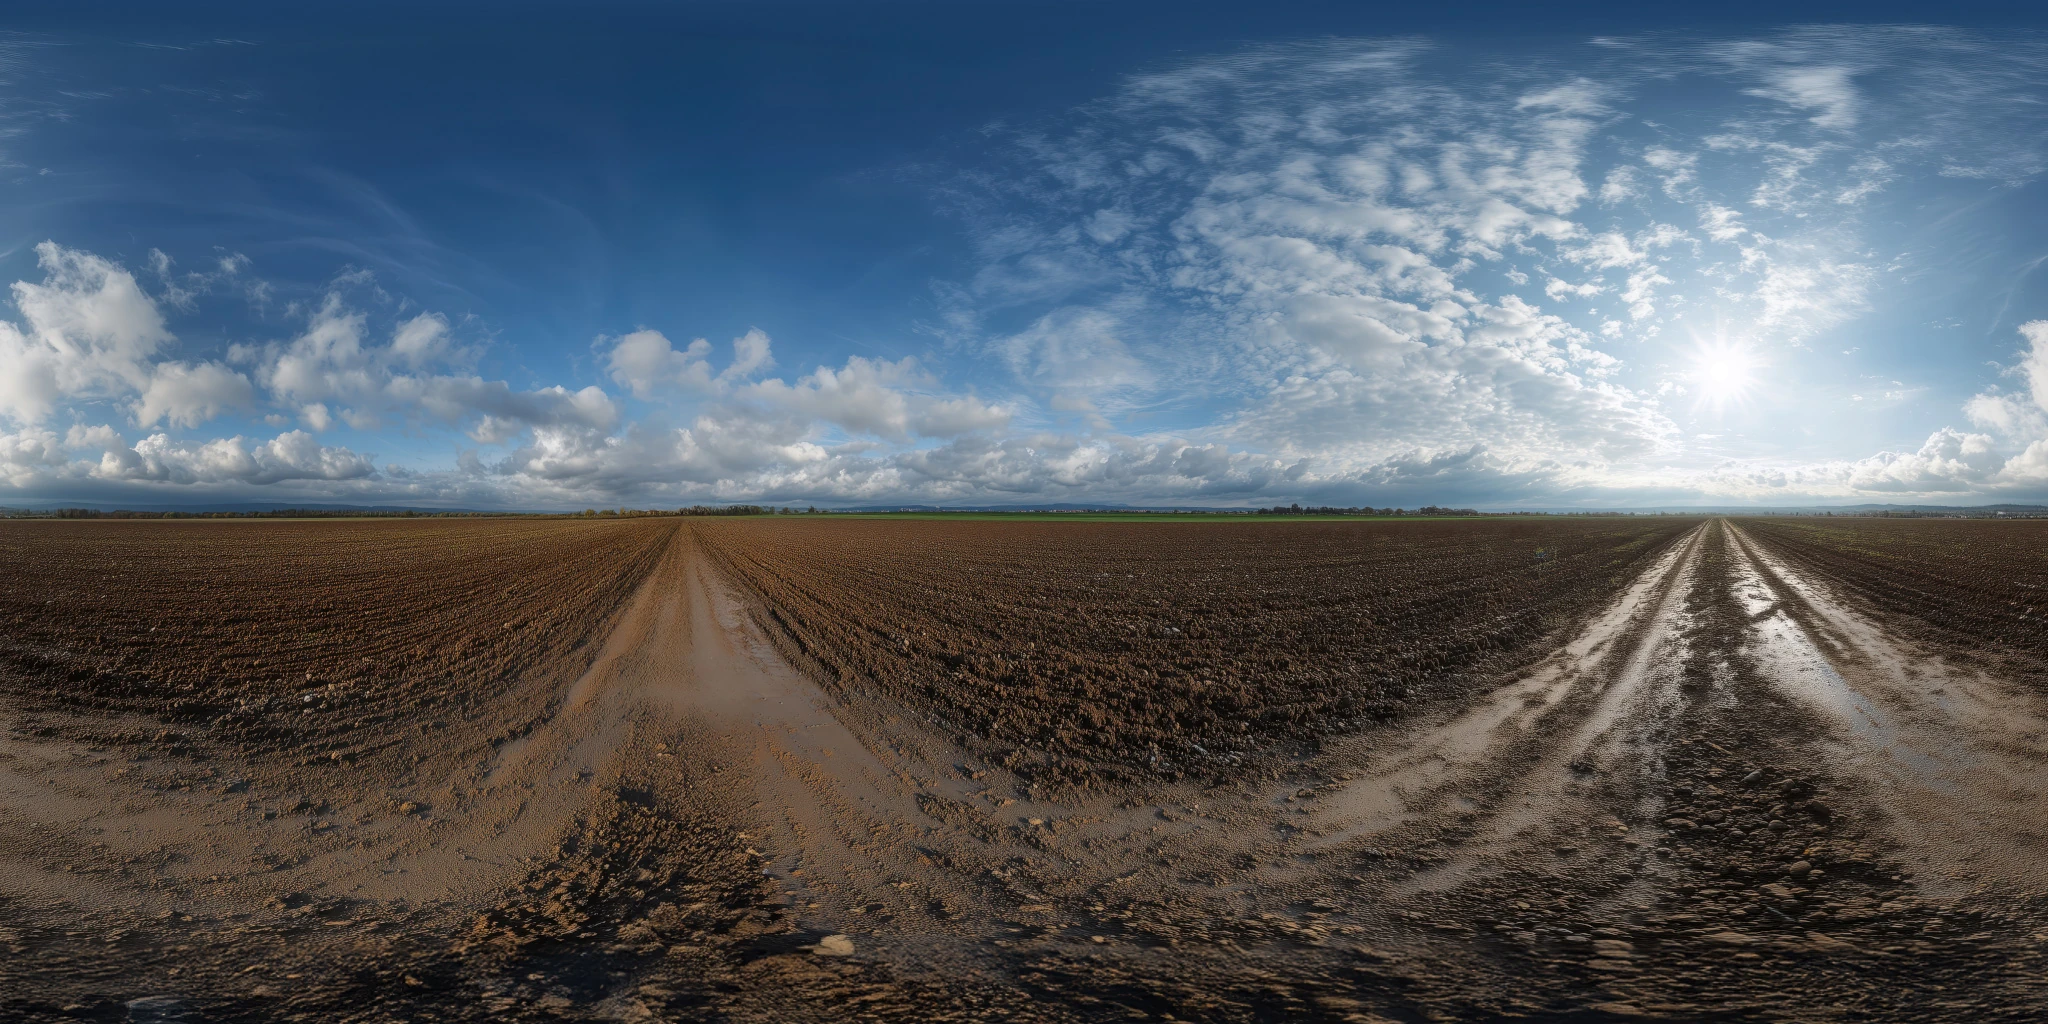
The Snowy Arctic Road HDRI is useful for examining how a bright winter environment relates to a pale local ground. The Muddy Farmland Road HDRI provides a darker rural comparison. These are lighting candidates, not ground meshes supplied with the HDRI.
Rotate the environment around the vertical axis to explore direction while keeping its horizon level. If the panorama’s ground and your subject disagree, resist tilting the entire World simply to move one bright spot: that also tilts the visible horizon. Reconsider the camera or choose a more suitable environment.
If you add a separate Sun or area light, give it a deliberate purpose. Check the result with that light disabled. Two strong sources in different directions can produce inconsistent shadows, and an added light does not automatically match the sun already stored in the environment.
Review the camera and horizon together
Set a plausible viewing height and focal length for the subject. The panorama was composed from its own viewpoint, and its nearby features may not fit every camera position. A low vehicle camera can expose stretched foreground details that were unobtrusive in a higher view.
A simple test is to make a small sideways camera move. Local geometry changes its relative position; a distant World background does not gain the near-field parallax of a real road or fence. If that difference breaks the shot, model more of the foreground or use the panorama primarily for lighting.
The Rural Field with Wooden Fence HDRI illustrates why recognizable nearby objects deserve attention. A fence can be useful in reflections, but it may constrain a visible background composition. Choose the outdoor lighting environment with the final camera role in mind rather than choosing only from a wide preview.
Choose between a visible plane and a shadow catcher
Use a visible ground plane when you want the foreground to belong entirely to the 3D scene. You can shape it, assign a material and allow it to receive shadows normally. This is often the simplest choice for a product study or a scene that does not need to match a specific background photograph.
Use a Cycles shadow catcher when your goal is compositing rendered interactions over a background. Blender’s object settings documentation describes the Shadow Catcher option and its relationship to the shadow catcher pass. Enabling that pass retains more indirect-light interaction than the simplified result; choose the compositing approach deliberately.
A shadow catcher still needs a sensible shape and placement. It cannot correct the camera perspective, infer missing terrain or remove shadows already painted into a background. Inspect the composite at the actual output size, especially around contact points and thin parts of the subject.
Keep ground color and reflection consistent
A green field, white snow and dark soil influence the scene differently. If the HDRI reflects a bright snowy lower hemisphere but the visible plane is dark asphalt, review whether the mismatch is intentional. Reflective objects can reveal it even when the ground itself looks acceptable.
The Peach Orchard Farm HDRI adds trees and existing patterned shadows to the surroundings. Use local trees when your subject must pass behind branches or when a moving shadow is required. The panorama can provide environmental context without supplying those interactions.
Do not solve every mismatch with exposure. Exposure changes the presentation of the whole image; a wrong ground material or an inconsistent reflection may need a local correction. For a difficult case, the rendering artifact diagnosis guide helps separate geometry, material and lighting problems.
Check the shot before adding more detail
| Symptom | First check | Practical correction |
|---|---|---|
| The object floats | Support points and plane height | Fix contact before increasing shadow strength. |
| The shadow ends abruptly | Plane extent | Enlarge or reshape the receiving surface. |
| Two unrelated shadow directions appear | Additional lights | Compare the environment alone, then reintroduce lights deliberately. |
| The road stretches near the camera | Panorama viewpoint and foreground role | Use local road geometry or hide the unsuitable image region. |
| The composite looks pasted on | Direction, color and contact | Compare each separately with a simple material and fixed camera. |
Save a clean version before adding detailed ground shading. Keep the HDRI filename, rotation, camera settings and any extra lights documented. Then choose an appropriate map size with the HDRI resolution guide and inspect the finished composition at delivery size.
Browse the HDRI library when you need a different environment. A compatible panorama reduces the amount of correction needed, while a well-built local foreground gives the subject the contact and interaction that surrounding image-based lighting alone cannot provide.