Choose HDRI resolution from what the final image reveals, not from the largest file available. A lighting study with a matte subject may need less environmental detail than a close-up of polished metal. A panorama visible behind the subject has a different requirement again. Compare the supplied resolutions with the same camera, lighting settings and output size before committing to a larger map.
The 3DSkillUp HDRI collection includes environments supplied in 2K, 4K, 8K and 12K versions. Those options let you test the tradeoff within one environment. This guide explains how to make that comparison without confusing pixel count with dynamic range or rendering quality.
What the resolution label tells you
A resolution label describes image dimensions, usually using the approximate horizontal width for an environment panorama. Check the actual dimensions of the supplied file: naming conventions are not a substitute for its metadata. A conventional full equirectangular panorama has a 2:1 width-to-height ratio and covers the environment around the viewpoint.
The width is spread across 360 degrees. A 4,096-pixel-wide panorama therefore contains about 11.4 horizontal pixels per degree; an 8,192-pixel-wide version contains about 22.8. This is a simple angular sampling estimate, not a guarantee about the final image. Perspective projection, latitude within the panorama, interpolation and the material all affect what reaches the camera.
For example, a 60-degree horizontal view covers roughly one sixth of the panorama’s horizontal span. At the equator, that corresponds to about 683 horizontal source samples from a 4,096-pixel map before projection and filtering. A high-resolution output that shows the environment directly can expose that limit more easily than a small thumbnail. The calculation is a planning aid, not a universal minimum resolution.
Separate pixels from dynamic range
Resolution and dynamic range answer different questions. Resolution concerns how much spatial detail is sampled. Dynamic range concerns the range of brightness values represented. A large JPEG preview does not become a lighting HDRI merely because it contains many pixels, and a 12K map is not automatically more suitable than a lower-resolution map with a better light distribution.
The word “unclipped” in a product description concerns highlight information, not a measured exposure setting for your renderer. You still need to inspect the supplied file under your chosen scene and color-management settings. Raising exposure or changing a view transform does not reconstruct highlight information that was absent from the source.
For the actual setup, Blender’s Environment Texture documentation explains environment image inputs and projection. Use the downloadable HDR environment with its appropriate color interpretation. Keep the web preview for browsing and reference.
Identify how the environment appears in the shot
There are three useful cases to distinguish before testing. The environment may supply light without appearing directly; it may appear in reflections; or it may be a visible background. Many scenes combine all three, so use the most demanding important region as your comparison area.
| Role in the image | What may reveal a resolution limit | Practical comparison |
|---|---|---|
| Broad illumination on matte surfaces | Changed shadow or light distribution | Compare the object’s lighting, not just the sky preview. |
| Glossy reflections | Blurred horizon, tree or cloud detail | Inspect the reflected region at final output size. |
| Visible background | Soft distant features or obvious pixel detail | Compare the actual camera framing at delivery resolution. |
A rough surface spreads reflected detail over a broader area. A smoother surface can make individual shapes easier to recognize. That does not create a fixed rule such as “metal always needs 12K”: object size, curvature, camera distance and the intended output matter too. Review the roughness workflow if every material looks equally sharp or equally blurred.
Use one environment for the resolution test
Start with a map whose composition already supports the shot. Comparing 2K of one panorama with 12K of a different panorama cannot tell you whether resolution caused the improvement. Use the outdoor HDRI selection workflow first if the light direction or surroundings are still undecided.
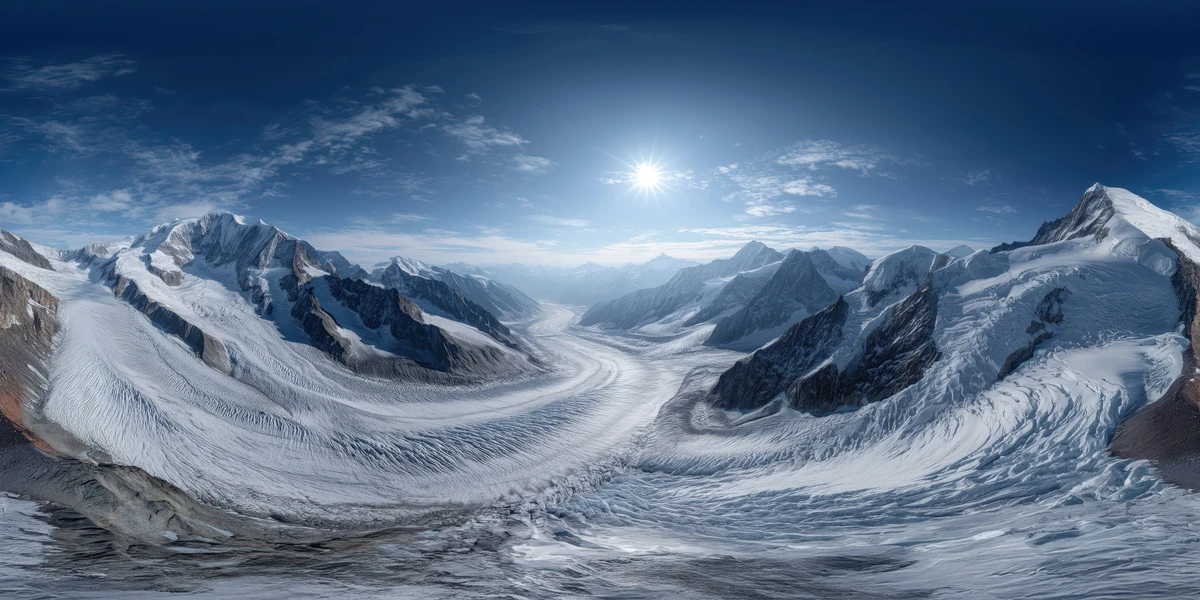
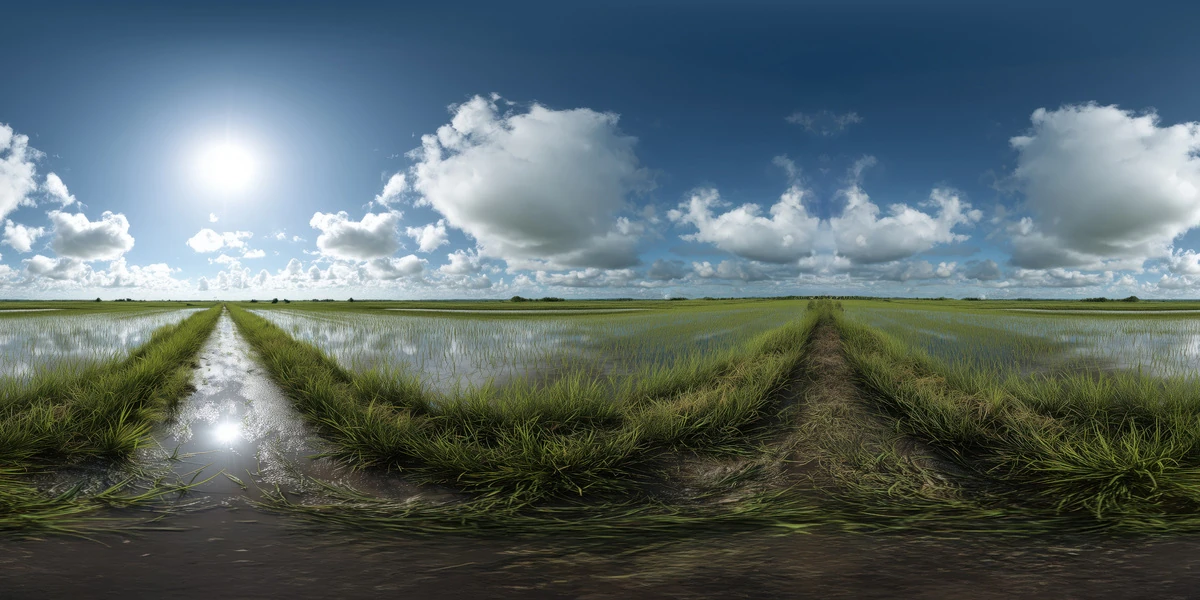
The Snowy Alpine Glacier HDRI provides distant ridges and glacier shapes that you can inspect in a reflective test object. The Rural Rice Field HDRI offers cloud shapes and a different horizon pattern. Pick one and compare its supplied versions; do not treat this as a published performance benchmark for either asset.
Set a fixed render resolution and save a small crop around the most demanding reflection or background feature. Keep the camera, material, environment rotation, strength and exposure unchanged. Use the same sampling and denoising configuration so a noise difference does not masquerade as improved texture detail.
Increase the map size only when the image benefits
Render the smallest candidate that seems plausible, then the next size. View both at 100 percent and at the actual delivery size. Check whether the larger map changes a feature the viewer needs to see. If the only improvement appears when magnifying far beyond the output size, it may not justify the extra resource use for that project.
Also compare shadows and small bright reflections. Downsampling can affect compact bright features, including a sun disk. A lower-resolution environment is not guaranteed to preserve exactly the same lighting behavior as a larger version. Evaluate the rendered result rather than assuming that only the background can change.
Record the loading behavior and memory use reported by your own application if those costs matter. On-disk file size, decoded image memory and renderer-specific caches are different quantities. Compression and bit depth affect the relationship. Avoid estimating the working memory requirement from the download size alone.
When width and height both double, the number of pixels increases fourfold. With the same uncompressed channel layout, the base pixel storage also increases fourfold. Actual scene memory includes additional data and processing, so this arithmetic describes the image array rather than a complete GPU budget.
Avoid resolution as a cure for other problems
A sharper map will not correct an inappropriate sun direction, a floating object or a distorted near-ground background. If reflections are sharp but badly placed, rotate the environment. If the object lacks contact, use the ground-plane and HDRI guide. If a reflection looks smooth because the surface is rough, inspect the intended finish before choosing a larger file.
The same principle appears in texture resolution planning for 3D assets: allocate detail according to what the image needs. Environment maps cover an entire surrounding view, while object textures cover a surface, so do not transfer texel-density numbers directly between them.
Save the chosen map filename and resolution with the scene. Keep a small comparison render and the settings that produced it. That gives you a clear reason for the choice, and a practical starting point if the client later requests a closer camera or a larger final image.