In Blender Cycles, you can keep an HDRI for environment lighting and reflections while giving the camera a different World background. This is useful when a sky produces the right highlights but its visible horizon competes with the subject. You can then adjust the presentation without discarding an approved lighting environment.
The setup below uses two Background shaders and a Light Path node in the World shader. It is a Cycles workflow for opaque products as a starting point. Glass, refracted backgrounds and transparent output introduce additional decisions, addressed after the basic setup.
Separate the three roles of an environment
An HDRI may illuminate a surface, appear in a reflection and appear directly behind the object. These roles do not always need the same image. A visually simple camera background can frame a product while the reflected sky still gives its curved surfaces useful variation.
This is an artistic separation of ray behavior, not a physical wall placed behind the subject. A neutral-looking background does not turn the HDRI’s colored illumination into neutral light. If a warm environment still colors the product, that is expected.
Blender documents this distinction in its World ray-visibility guidance. Choose the background according to the presentation, then continue judging the lighting on the object itself.
Establish the HDRI branch first
Select Cycles as the render engine and open the Shader Editor in World context. If necessary, enable World nodes. Load the actual HDR environment into an Environment Texture node and connect its Color output to a Background shader. Connect that shader to World Output → Surface and make a baseline render.
For the initial environment and rotation setup, use the Blender HDRI lighting guide. Keep the camera, object, exposure and material unchanged while adding the second branch. Name the existing Background node “Lighting HDRI” so it stays easy to distinguish.
The free High Sun in a Saturated Blue Sky HDRI is one environment to try in this exercise. It provides a clear sky composition for testing; judge the lighting from the downloadable HDRI rather than the web preview.
Add a camera-only Background shader
Create another Background shader and name it “Camera Background.” Give it a moderate neutral color to make the branch easy to recognize during the first test. Add a Mix Shader and a Light Path node. Use Mix Shader, not the similarly named color Mix node.
Connect them in this order:
- Connect Lighting HDRI → Background output to the first, upper Shader input of Mix Shader.
- Connect Camera Background → Background output to the second, lower Shader input.
- Connect Light Path → Is Camera Ray to Mix Shader → Fac.
- Connect Mix Shader → Shader output to World Output → Surface.
The Light Path node reference identifies camera rays separately from other ray types. Its camera output selects the second branch for the direct camera view; the other branch remains available to non-camera rays. The Mix Shader reference explains the input order: a factor of zero selects the first shader and one selects the second.
Keep Film → Transparent disabled when you want this camera background to appear in the rendered image. Start with a final camera render, rather than judging the result only in a material-preview viewport with its own lighting options.
Prove that the two controls are separate
Use a simple opaque sphere or beveled object with a visible reflection. Render the combined setup, then change only the Camera Background color. The empty background should change while the HDRI lighting and reflected environment remain consistent, aside from sampling variation. A background-color change can alter your perception of contrast even when the object’s rendered values are similar.
Next, rotate only the HDRI branch and render again. Its reflections and illumination should respond while the camera background keeps its chosen color. These two tests are more useful than a complicated finished scene for diagnosing crossed connections.
If the results are reversed, check the two Mix Shader inputs. If both background and lighting change together, confirm that the camera color is not also feeding the Lighting HDRI branch. Make one correction and repeat the small test before continuing.
Keep the floor and transparent objects in mind
A camera-only World background cannot replace an actual floor beneath the object. Existing geometry still appears in the camera and receives light from the scene. Use the HDRI ground-plane workflow to plan contact shadows and the transition between a floor and the surrounding background.
Also inspect mirrors and glass separately. In this simple setup, reflection and transmission paths can still reveal the HDRI. Seeing the original environment through a refractive object is not necessarily a broken camera branch: that path has interacted with the material. Expanding the ray conditions changes the artistic behavior and needs its own tests.
Film transparency is a different output choice. If the goal is an image with alpha for later compositing, plan that workflow separately and test the object edges against the intended final background. Do not assume that the visible color of a World shader is an exact display-color match after exposure, view transformation and export.
Choose the HDRI for the reflections you actually need
Once the camera background is independent, select the environment by what it does to the product. Broad cloud shapes, a clear sky and a warm low sun can produce very different surface patterns even behind the same plain background.
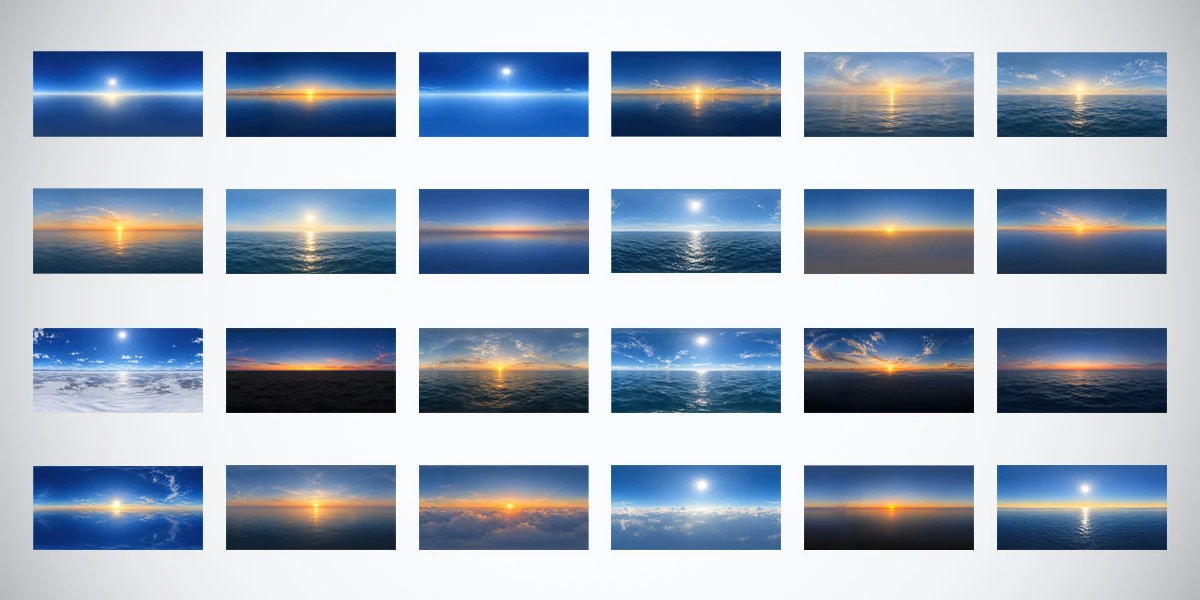
The 24 Unclipped Sky & Ocean HDRIs Bundle provides 24 such lighting options, with 2K, 4K and 10K versions of each environment in 32-bit HDR format. Its AI-assisted, manually refined skies are intended primarily for lighting and reflections, making this separation a useful way to evaluate them. The bundle contains environment files; the World node setup described here is something you build in your own scene.
Use the HDRI resolution guide to inspect the demanding reflected region at final output size. Hiding the panorama from the camera does not eliminate the need for detail in a close glossy reflection.
Save the two decisions independently
Record the environment filename, rotation and strength separately from the camera-background color and strength. Keep exposure and the view transform in the same scene notes. This lets you change a catalog background later without accidentally replacing the product’s lighting.
Before delivery, inspect the outline, ground contact, reflected sky and any transparent parts. The goal is a clear product presentation with predictable controls: one branch describes the surrounding light, and the other determines the World seen directly by the camera.