A convincing night HDRI scene needs agreement between the visible lamps, the light on your subject and its contact with the ground. Raising exposure until every surface is visible can erase the contrast that made the environment useful in the first place.
This workflow is for placing one prop or vehicle in a night exterior. It focuses on scene integration rather than a universal power or exposure setting. Establish the basic Blender HDRI connection first, then save an environment-only test before adding corrective lights.
Choose the background around the subject
Decide whether the subject needs a broad open foreground or a tighter architectural setting. A large vehicle and a small street prop require different amounts of clear space. Check the camera framing before committing to an environment whose most attractive feature sits directly behind the subject’s outline.
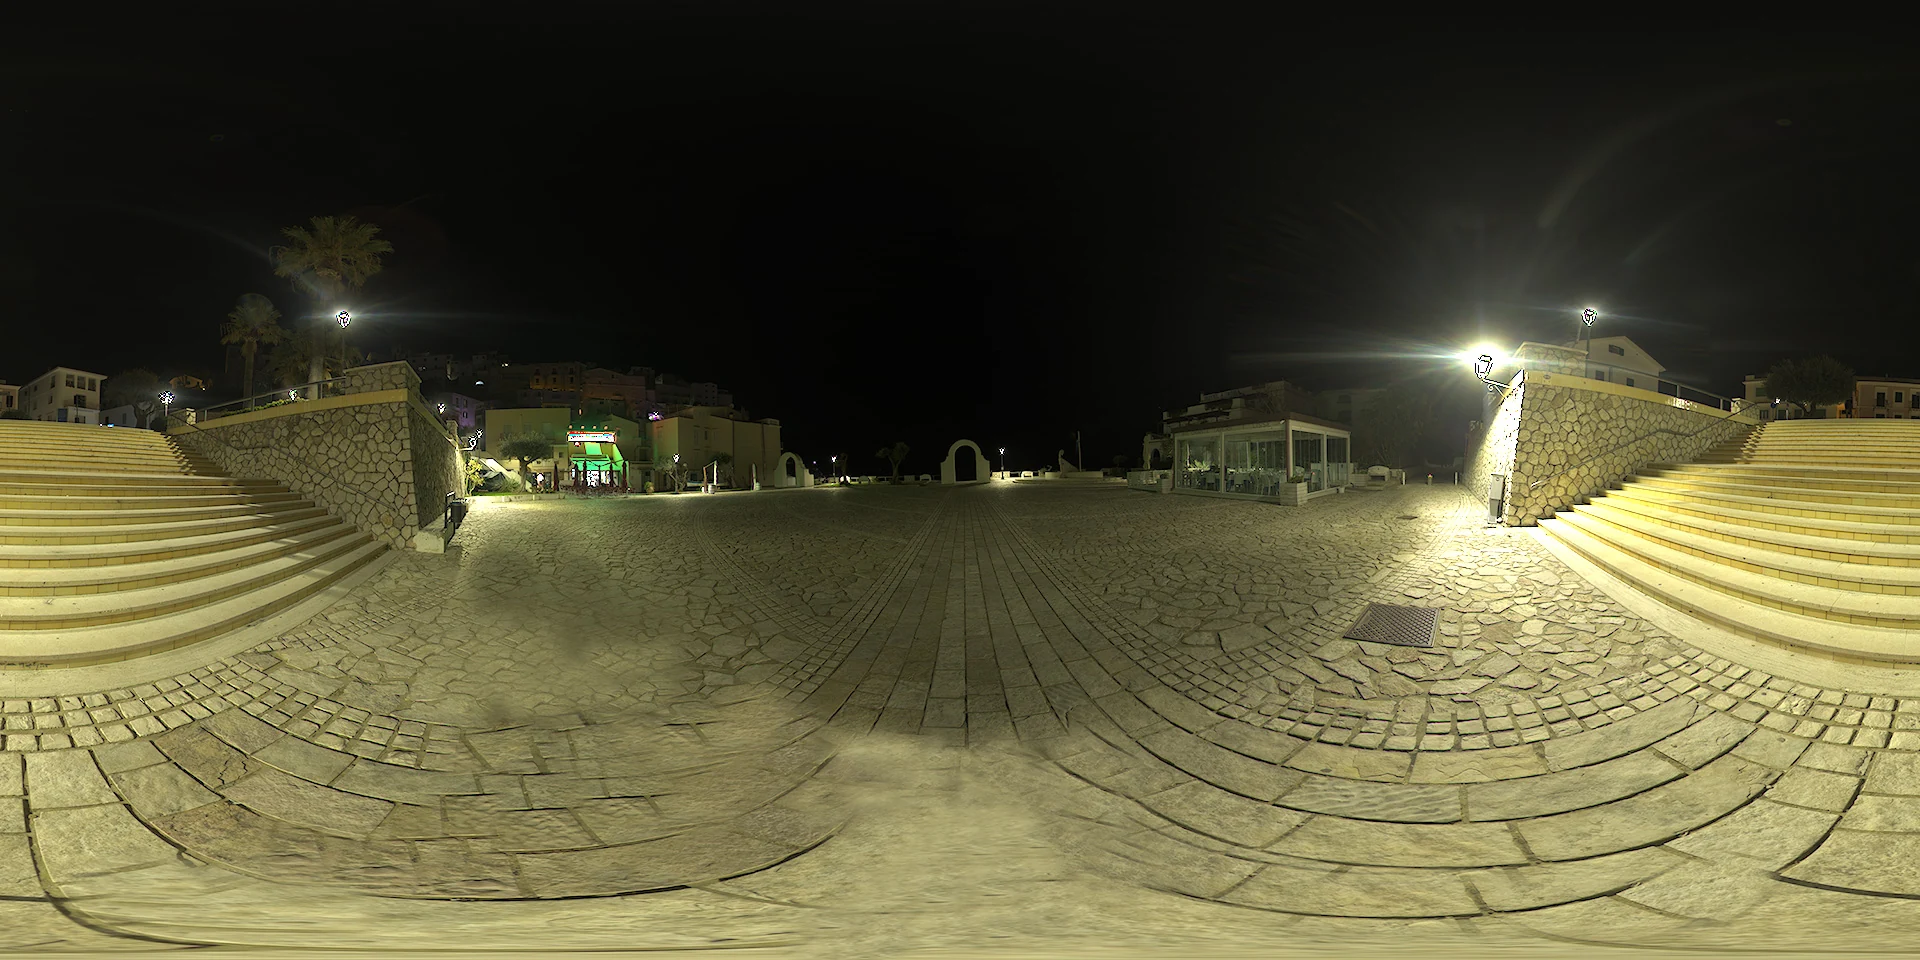
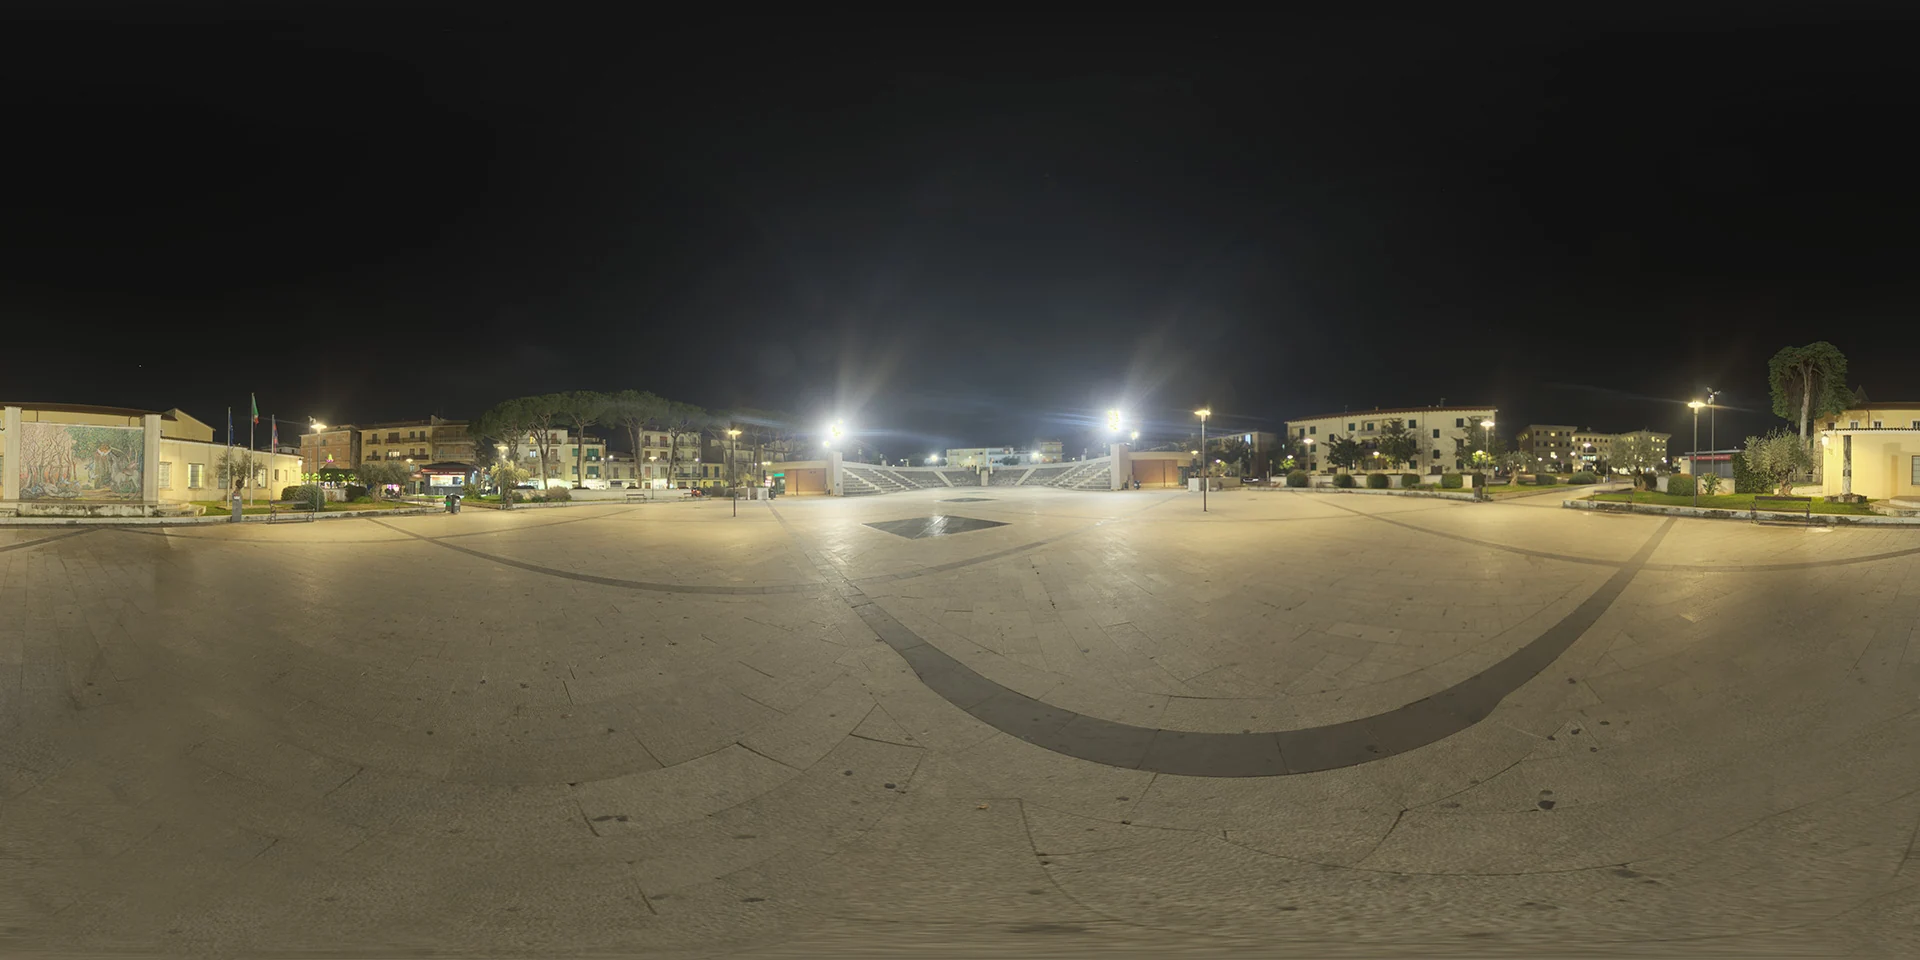
Night, Square and Lights HDRI provides a preview of open paving surrounded by lamps and low buildings. It is a useful candidate when the subject needs room around its silhouette. Night, Light and Houses HDRI offers illuminated steps and nearby buildings for a more enclosed composition. Choose between those spatial cues before comparing their mood.
A panorama is an image of its surroundings, not a reconstructed set. Moving a camera through it will not reveal new sides of the pictured buildings. Keep the shot modest, or build the geometry needed for camera motion and foreground interaction. Do not expect a distant environment image to supply close-range parallax.
Establish a readable exposure baseline
Load the actual HDR environment file and keep its contribution separate from the camera’s display settings. Start with no extra scene lights. Adjust the overall exposure enough to inspect the subject and background, then lock it while comparing local changes.
The Blender exposure reference defines exposure in stops before the display transform. It is a global viewing adjustment: it does not selectively fix one dark side of a prop. Record the view transform and exposure with your reference render so that later comparisons remain meaningful.
Keep some areas dark. If the object can only be read after every lamp loses its shape in the displayed image, inspect the direction of the environment light and the placement of the subject. Try a different orientation before assuming that the entire scene needs more brightness.
Align the visible lamps and the subject response
Rotate the HDRI while watching the object’s highlights and cast shadow. A bright lamp behind the subject may support a rim or a reflection; it does not automatically justify a strong frontal key light. Use the visible scene as a guide to the direction of any supplemental source.
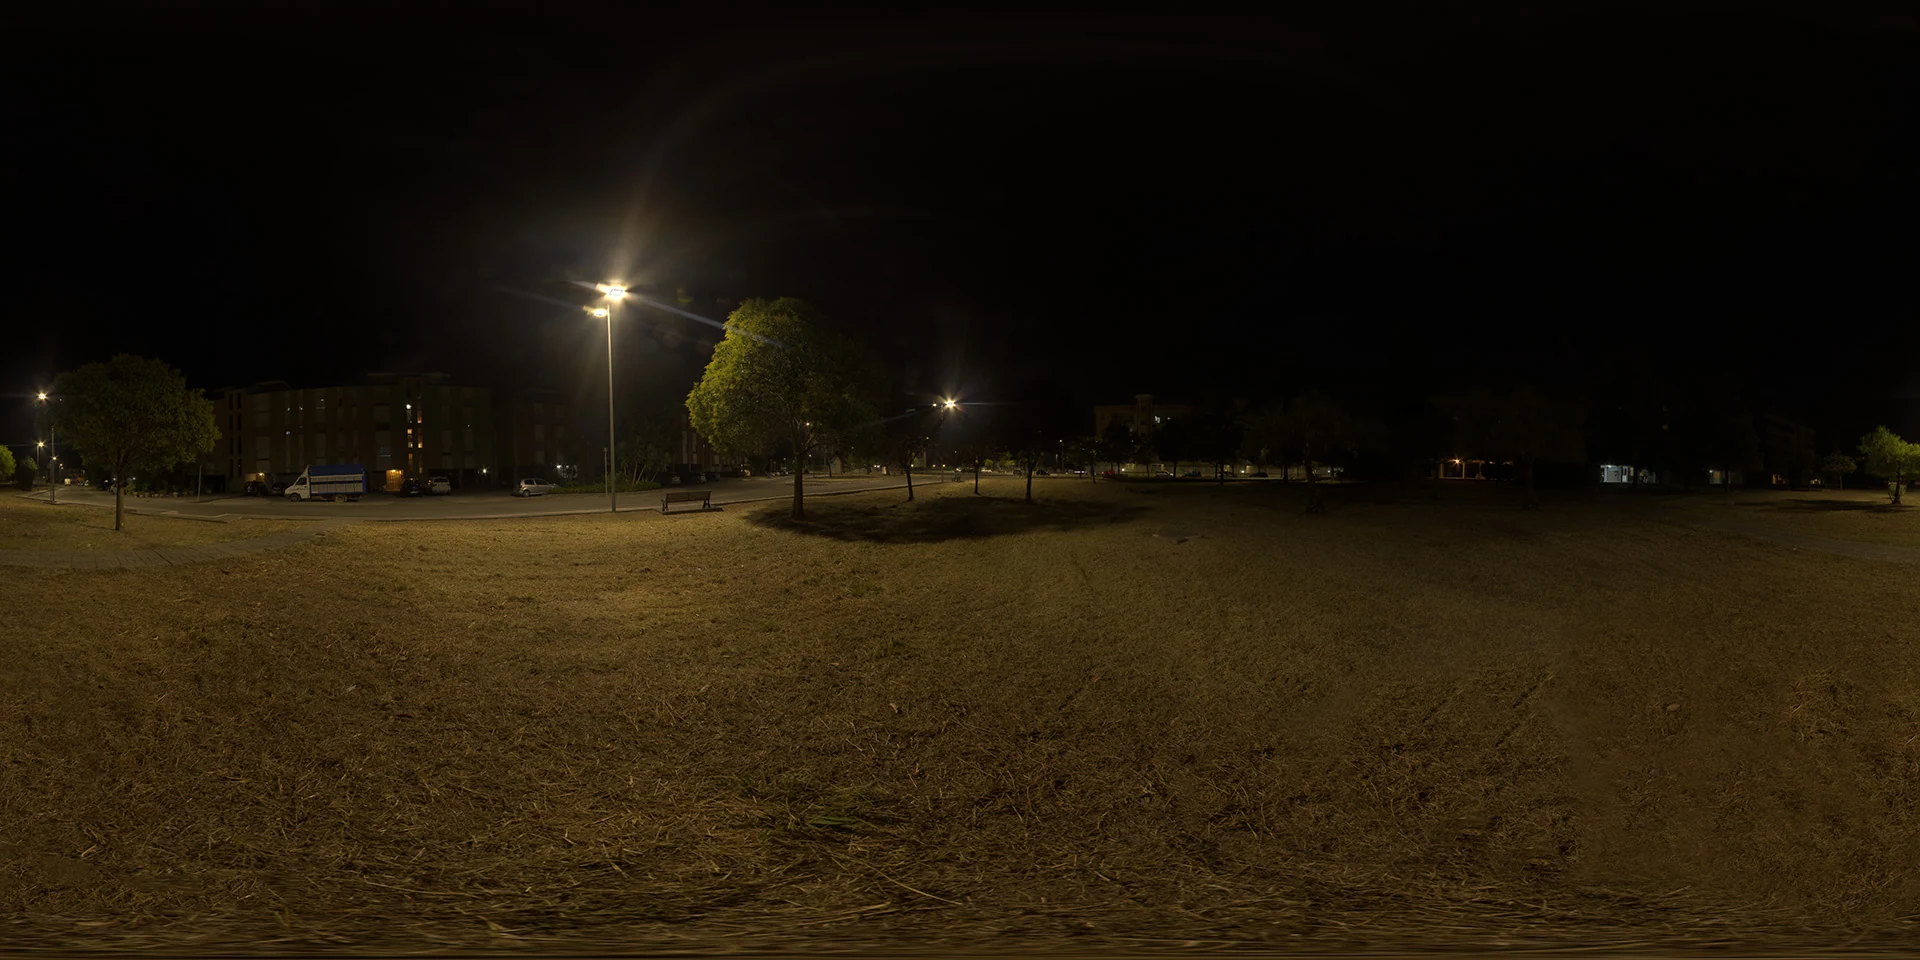
Buildings and Trees at Night HDRI is another candidate when you want buildings and vegetation to frame the shot. Compare it using the same prop, camera and exposure. Judge the usable space around the object as well as the brightest parts of the panorama.
Do not place a new point light merely because a lamp is visible in the background. The HDRI already contributes light from that direction, and an additional source can exaggerate the effect. If you need local falloff or a contact shadow near the prop, add a source for that specific purpose and compare with it disabled.
Build the surfaces that need local interaction
Place a real ground surface under the model and check its height against the feet, wheels or base. A road or pavement pictured inside the HDRI cannot receive a newly rendered shadow from your object. Follow the HDRI ground-plane workflow for contact and horizon alignment.
Match the ground’s apparent slope and surface scale to the camera view. A large flat plane can look convincing in a tight frame yet reveal an obvious mismatch at the horizon. Decide whether to keep that junction outside the frame, build more local geometry or use a compositing approach suited to the shot.
First inspect a simple matte ground. Only then introduce roughness variation or a damp finish. A glossy floor creates another view of the light sources, so it can expose a mismatch that was hidden on a diffuse surface. Wetness is a material and lighting decision, not a shortcut for making every night image more believable.
Add local fill only where the story needs it
Name one missing feature: a wheel arch, a door handle or the front edge of a prop. Add a restrained local light that reveals it without flattening the rest of the object. Keep its color and direction plausible beside the surrounding lamps.
Toggle that light off and on. Check three regions separately: the subject, the floor and the background. If the fill produces a new dominant shadow or a bright patch with no plausible source, move it or reduce its contribution. It may be better to change the environment angle than to correct an unsuitable angle with several extra lights.
| Visible problem | First comparison | Reason |
|---|---|---|
| Subject floats above paving | Inspect a local ground and contact shadow | Background pixels cannot receive new shadows |
| Front is bright but every lamp is behind | Disable the supplemental key | Check whether its direction belongs to the setting |
| Night mood disappears | Compare against the environment-only baseline | Too much fill can remove useful darkness |
| Lamp detail is soft in reflections | Compare an appropriate higher-resolution file | Resolution and light intensity solve different problems |
Review the final frame at delivery size
Inspect the picture as a thumbnail and at full size. The thumbnail reveals whether the subject separates from the background; the full-size view reveals contact, noisy shadows and reflection detail. Keep render settings unchanged while judging each lighting alternative.
Use the HDRI resolution guide when background or reflection detail is the limitation. For a different time of day, the outdoor HDRI selection guide helps you compare lighting intent before replacing the map. Finish when the subject belongs to the scene and the dark regions still feel deliberate.