HDRI Lighting in Blender: A Practical Product Render Workflow
Set up HDRI lighting in Blender, rotate the environment, balance exposure, and check PBR materials with a practical workflow for clearer product renders.
Read article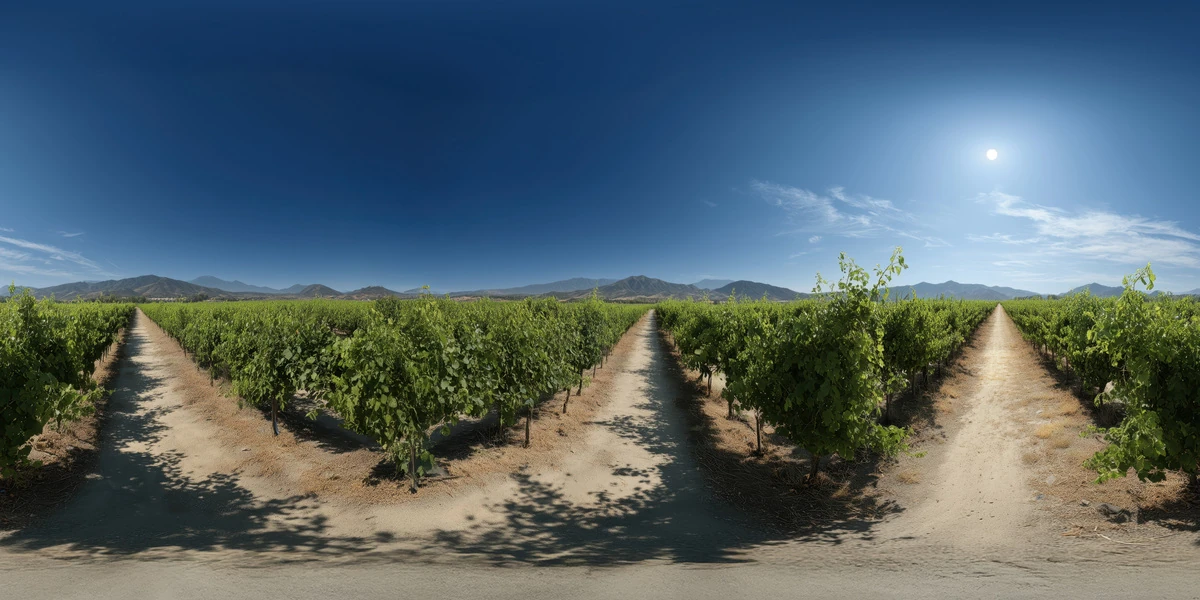
Open the image to explore the details.
Light rural 3D scenes with an unclipped vineyard road HDRI: green vine rows, dry paths and clear sun. Explore 12K to 2K options and practical setup tips.
See current pricing, available files and license details on the marketplace.
Green vine rows divide a dry vineyard into long paths beneath a bright sun and a deep blue sky. Distant hills keep most of the horizon low.
Try this environment for agricultural equipment, outdoor packaging and props that benefit from green surroundings and a clear lighting direction.
Align the vineyard paths with your camera before choosing a reflection angle. Add local ground and plants when objects need contact shadows or movement between the rows.
The Superhive product description lists a 360° unclipped 32-bit HDR environment in 12K, 8K, 4K and 2K resolutions. Use the downloaded environment map for lighting; the image above is a web preview, not HDR lighting data.
Choose a resolution for the detail that will actually appear in your final reflections or background. The unclipped specification describes the listed product; it does not prescribe an exposure value for every scene.
Learn how to match HDRI lighting to a ground plane. Start with a fixed camera and a simple subject, test environment rotation, then adjust intensity separately. The Blender HDRI setup workflow explains the World lighting setup.
Compare this scene with Peach Orchard Farm HDRI to see how a different horizon and surrounding surfaces change the same object. Browse the HDRI collection for more environments and combine the lighting and scene filters.
AI-Assisted, Human-Refined. The creator describes AI-assisted generation followed by manual refinement. Use these environments primarily for illumination and reflections, and inspect landscape details before relying on a large visible backdrop.
Set up HDRI lighting in Blender, rotate the environment, balance exposure, and check PBR materials with a practical workflow for clearer product renders.
Read articleGround your 3D subject under HDRI lighting in Blender. Match contact, sun direction and camera perspective, then choose a visible plane or shadow catcher.
Read articleYou can model a clean asset, unwrap it properly, bake a solid normal map, and still end up with a material that feels wrong.
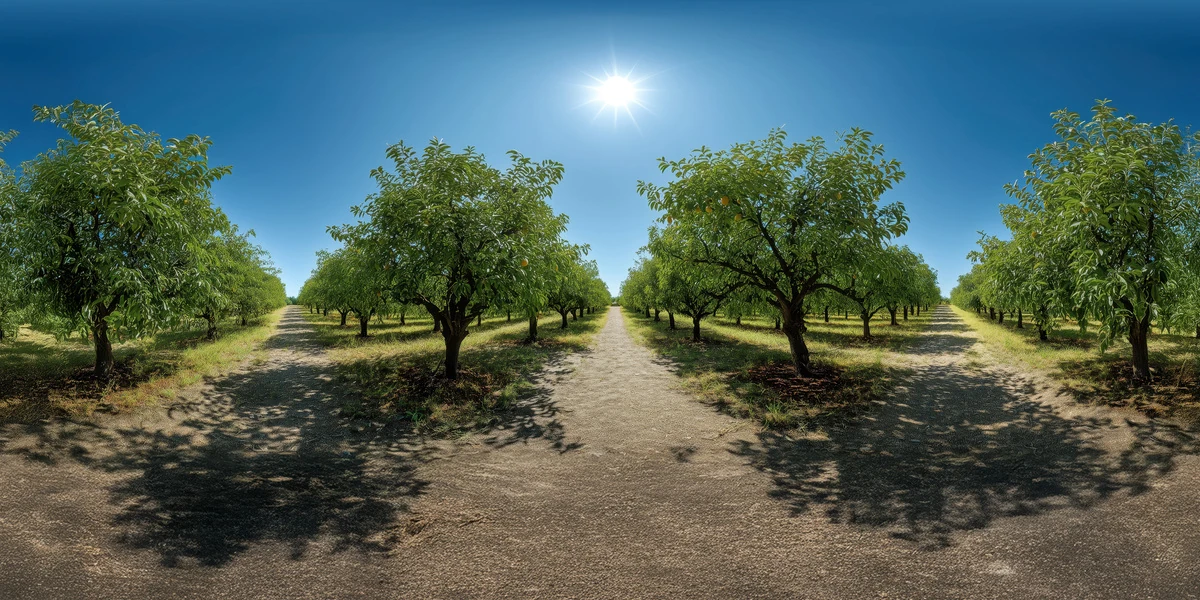
Read articleExplore a peach orchard HDRI with leafy tree rows, clear sun and patterned ground shadows. Compare 12K to 2K EXR options for agricultural lighting studies.
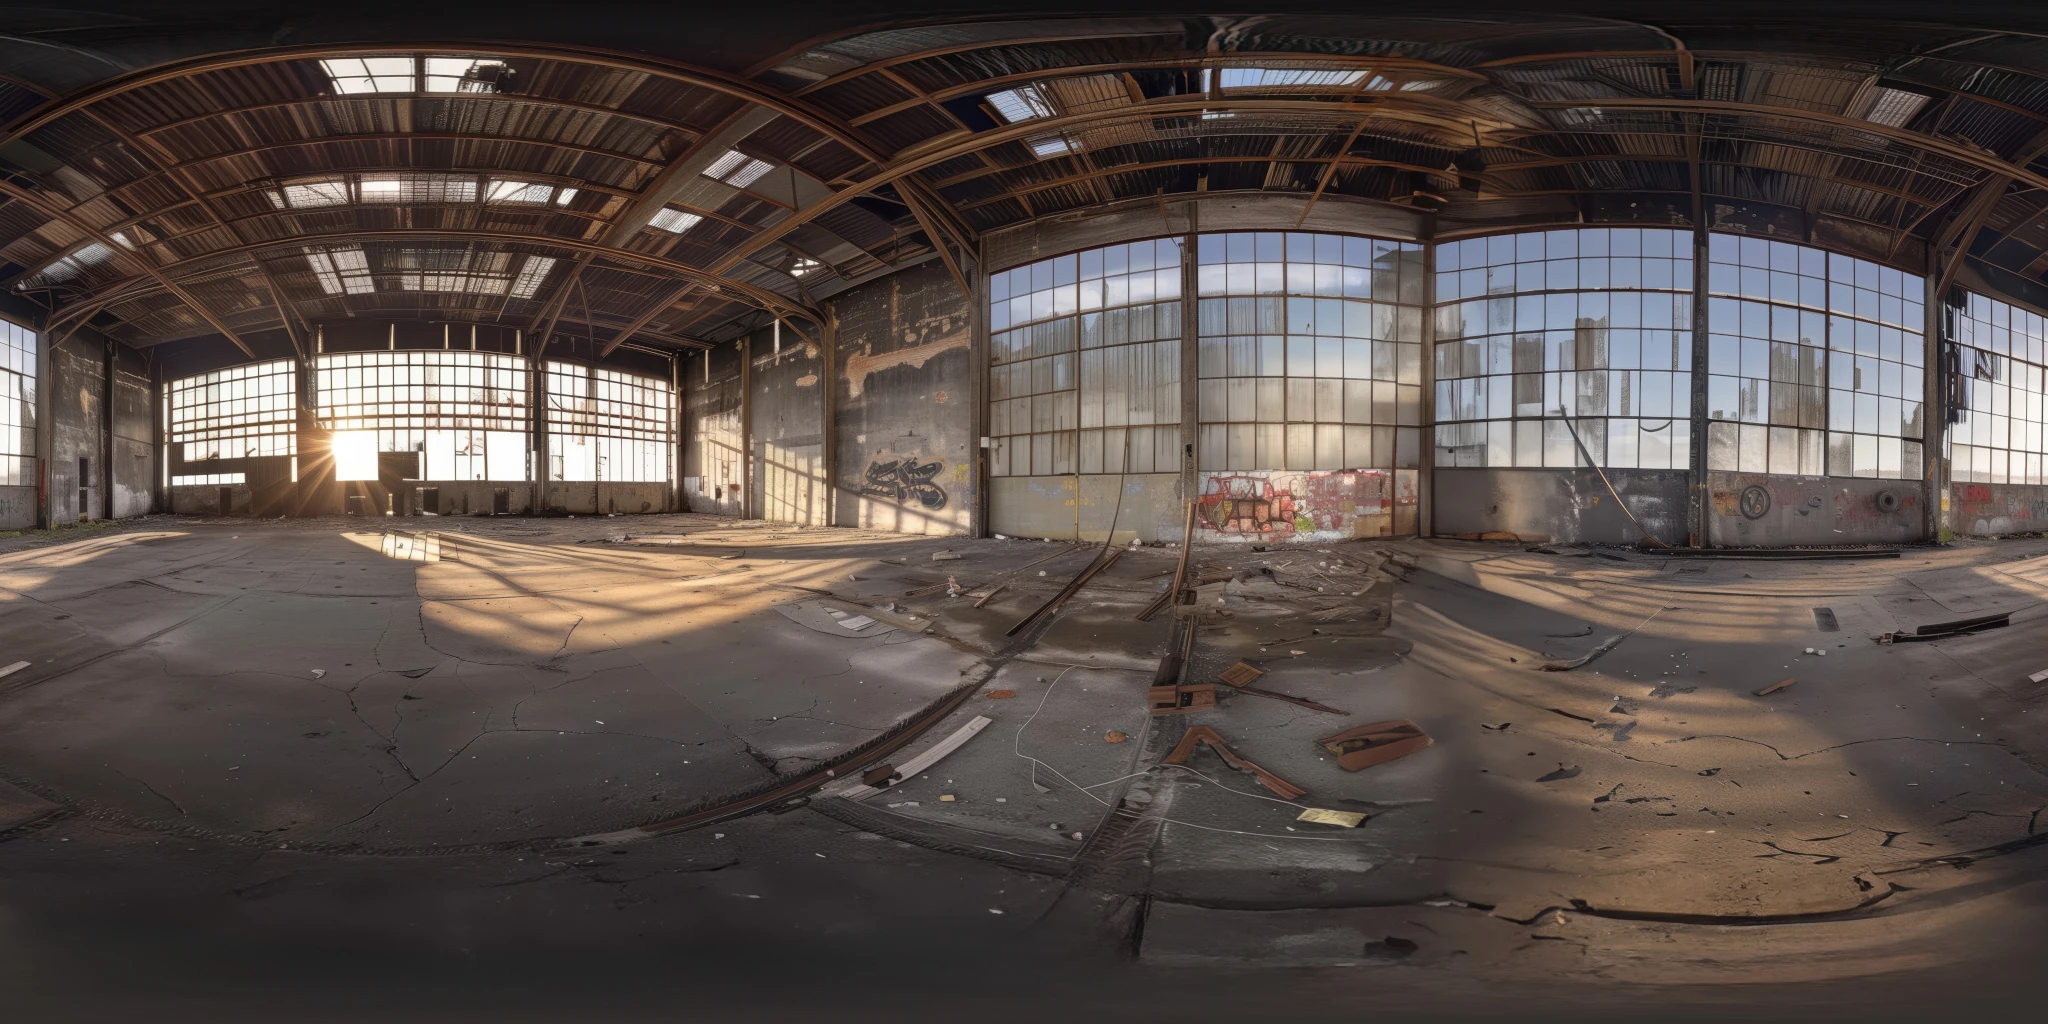
View assetExplore an abandoned warehouse HDRI with window light, roof trusses and worn concrete. Choose 12K to 2K unclipped maps for industrial props and reflections.
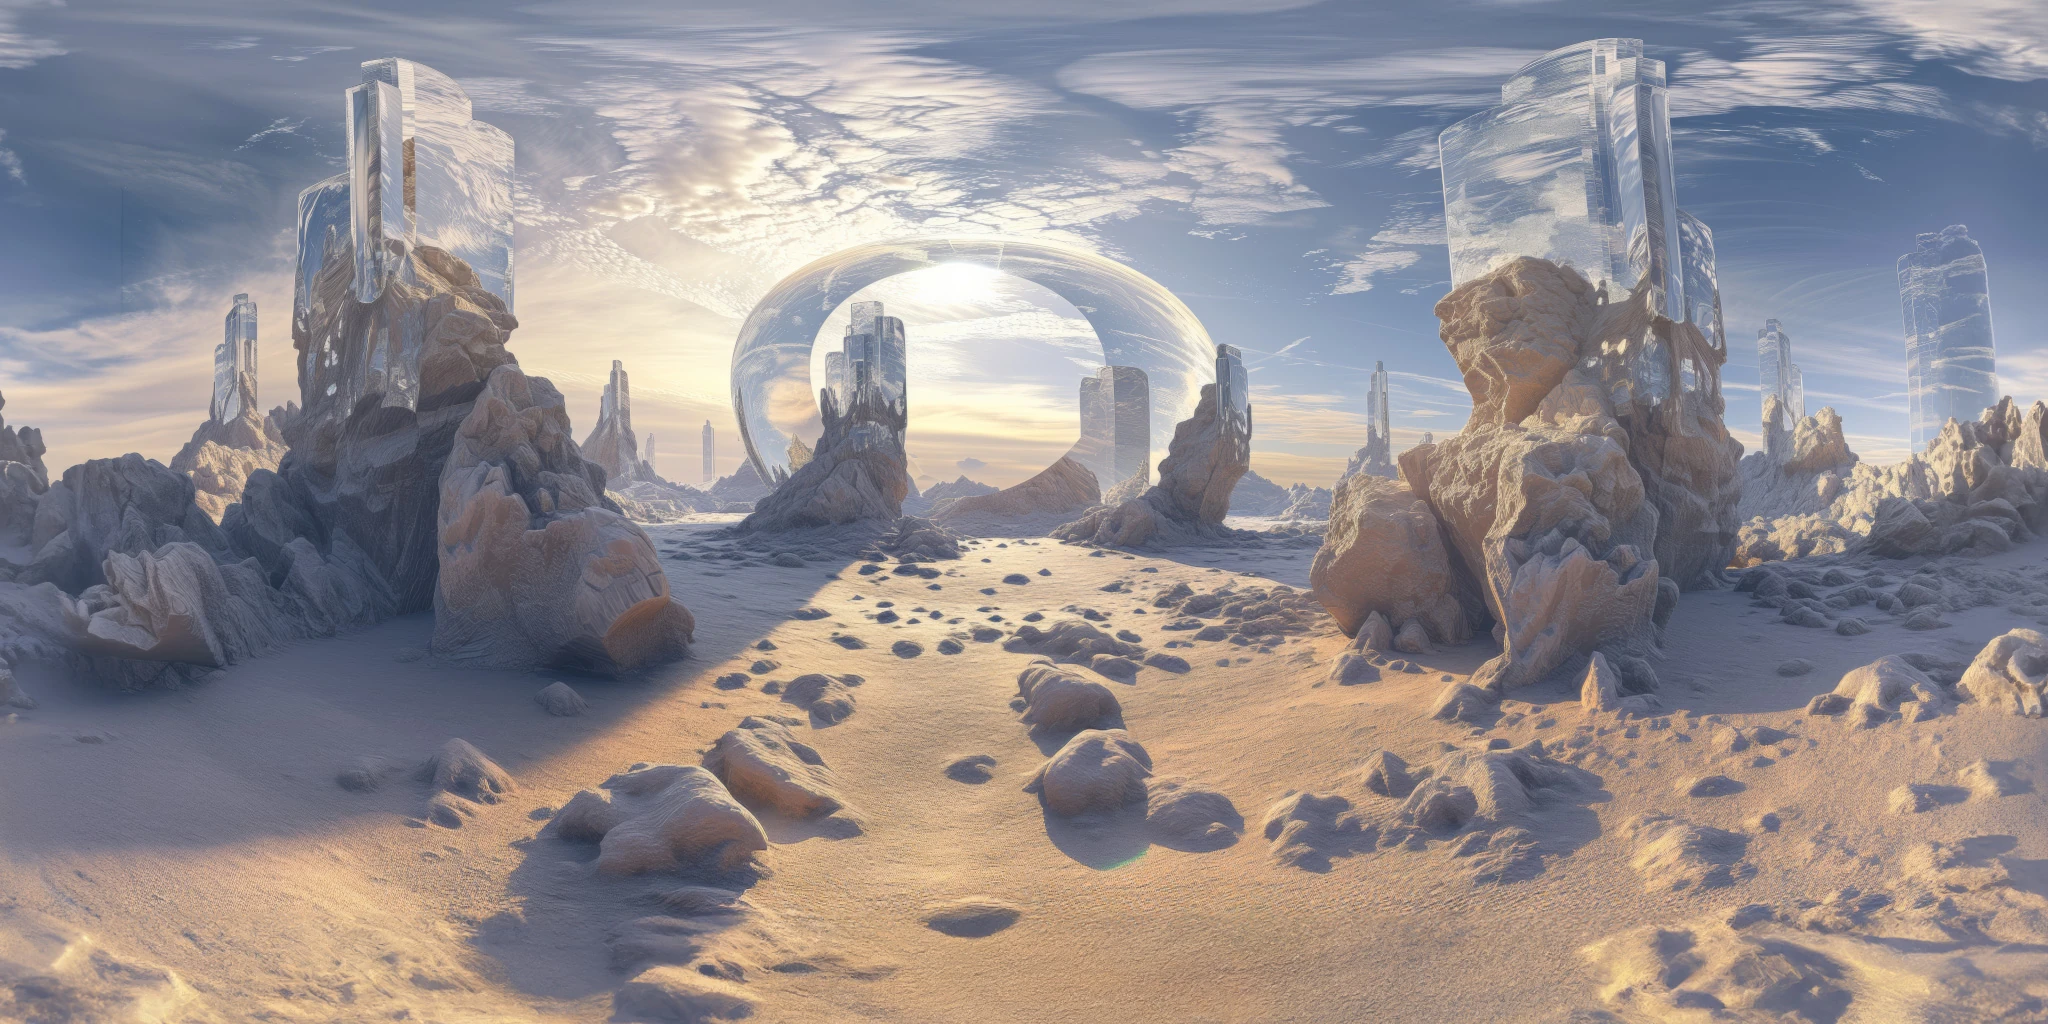
View assetExplore a crystal valley HDRI with pale formations, sandy terrain and a monumental arch. Choose 12K to 2K maps for bright sci-fi lighting and reflections.
View asset