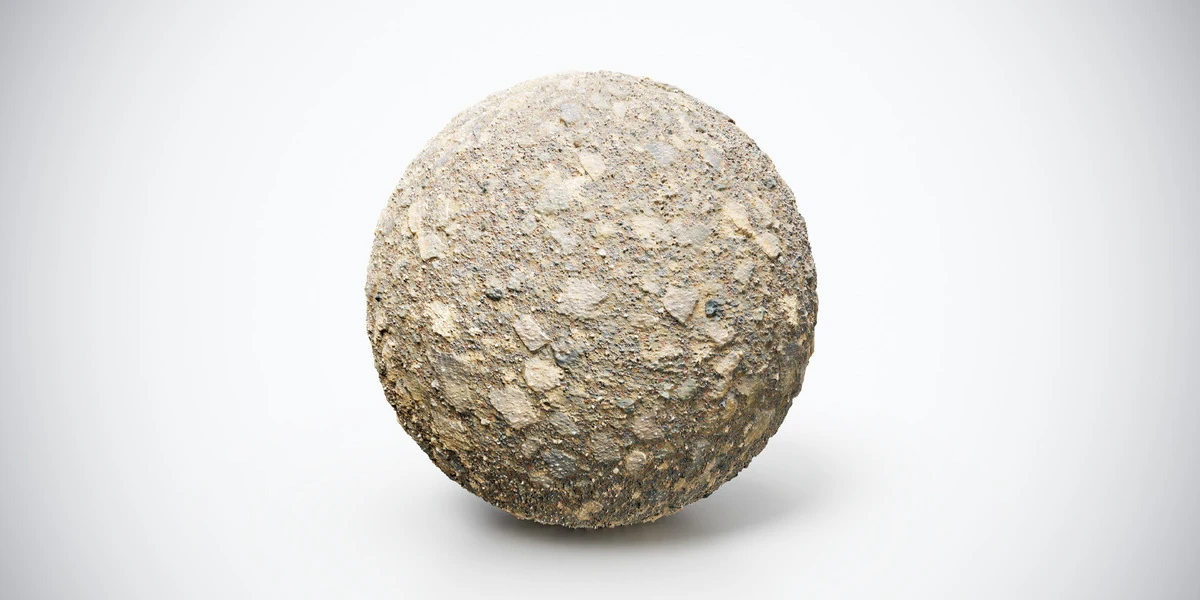
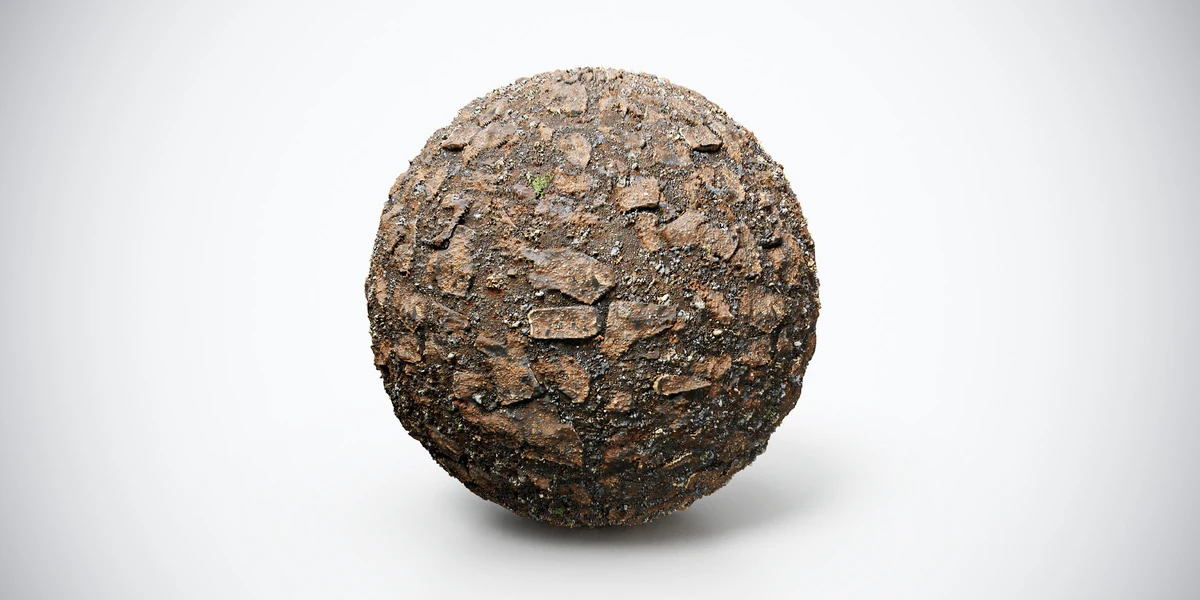
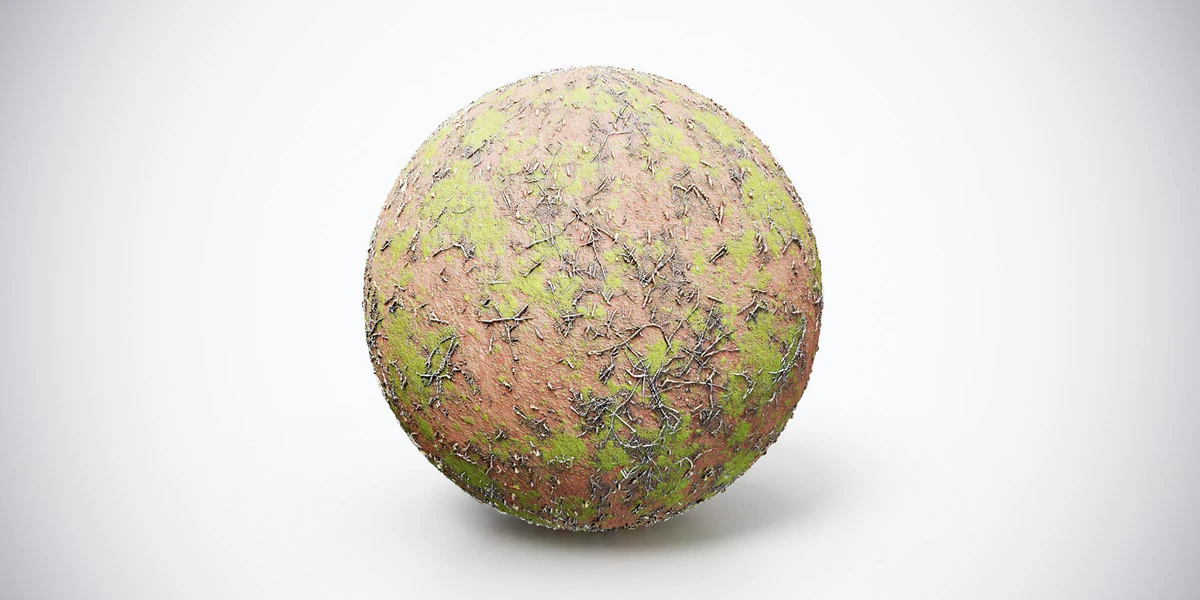
To reduce visible ground texture repetition, keep the stones at a believable size, vary the surface over larger areas and interrupt distinctive landmarks where the camera notices them. Increasing resolution or shrinking the texture repeat does not solve those tasks by itself.
This workflow builds a short path with a softer woodland edge in Blender. It applies the PBR material fundamentals through complete surface sets, a broad transition mask and a few pieces of geometry. The aim is a convincing surface at the intended camera distance, rather than an elaborate shader that only looks useful on a preview sphere.
Diagnose a seam, a repeated landmark or a scale problem
Look at the terrain from above and from the final camera. Identify the most distracting feature before making changes.
| What you see | Likely task |
|---|---|
| A hard line at the same place on every image boundary | Inspect tiling, UVs and image extension |
| The same pale stone or moss island at regular intervals | Reduce recognizable repetition |
| Stones look too large beside shoes or roots | Correct physical pattern scale |
| Detail stretches across a slope | Inspect the mapping and UV distortion |
These problems can coexist. Fix a visible seam before disguising it with another layer. Fix scale before adjusting the number of repeats. If the checker itself changes shape on the terrain, follow the UV stretching guide rather than increasing texture resolution.
Choose a surface pair with a reason to meet
A path and its verge give the materials a clear relationship. The pale rocky ground material offers fine gravel and scattered stones for a relatively open surface. The ground texture with broad stone fragments is an alternative when the trail needs a stronger broken pattern.
For the woodland edge, mossy dirt and roots introduces green coverage and a different arrangement of organic detail. Do not add all three merely because they are available. Choose a path material, choose an edge material and decide why each occupies its area.
The transition should support the scene: traffic may leave the path more exposed, while protected areas retain organic coverage. Use local references to decide the actual arrangement. Noise alone cannot infer where people walk or where vegetation grows.
Establish texture coverage with a scale reference
Build a modest terrain patch with a shallow slope and a curved path edge. Place a shoe-sized block, a step or another known-size object beside it. Map the surface and adjust coverage until stones and roots look plausible together.
For a simple test, suppose you choose two meters of terrain coverage per repeat. An eight-meter stretch then contains four repeats. That is a scene choice for the exercise, not a measured physical size of the linked texture sets.
Record the coverage instead of repeatedly resizing the material to hide memorable stones. Otherwise, two neighboring meshes can develop different gravel sizes. The guide to consistent scale across 3D assets explains why those relationships matter more than isolated previews.
Keep the mapping continuous where terrain sections meet. If separate objects use local coordinates that restart on each mesh, broad variation may reset at their borders. A common coordinate reference or deliberately aligned UVs avoids that accidental discontinuity.
Validate both PBR sets before blending
Give each surface its own Principled BSDF and its own complete map connections. Use one mapping path for all maps belonging to the same set. Check Base Color, Roughness and Normal independently before introducing a transition.
The Blender PBR setup guide covers these connections. Ordinary soil, stones and moss should retain non-metallic behavior; a downloaded file named Metallic is not a reason to make the ground reflective like metal.
For this exercise, leave true displacement off and start with normal detail only. This keeps material blending separate from terrain deformation. Check each surface on the same patch with the other disabled, and resolve obvious scale or shading problems first.
Blend complete surfaces with a broad mask
A straightforward Blender test uses two complete shaders and one Mix Shader. It avoids changing only the visible color while leaving the original surface’s roughness and normal response underneath.
- Connect the path Principled shader to the first shader input of a Mix Shader.
- Connect the verge shader to its second shader input.
- Connect the mixed result to Material Output’s Surface input.
- Test Factor at 0 and 1 to confirm which surface appears at each endpoint.
- Drive Factor with a grayscale mask: dark for the path, light for the verge and a controlled transition between them.
The Mix Shader reference documents how the factor selects and blends the two shader inputs. This is a surface blend; it does not automatically combine displacement outputs or create a physically raised layer of moss.
For an exploratory mask, connect UV coordinates through a separate Mapping node to a Noise Texture, then use its Fac output through a Color Ramp. Tune the noise scale so the patches span several stones rather than following every tiny grain. Keep this mapping independent of the image-map scaling. Blender’s Noise Texture reference describes the coordinate and scale controls.
Noise is useful for testing the blend, but a recognizable path needs deliberate placement. Replace or constrain the mask with a painted grayscale image when you need to control the route. Inspect the mask by itself before evaluating the finished material: if it looks like uniform static, it is unlikely to describe a coherent trail edge.
Keep broad variation separate from small surface detail
Do not expect one mask to solve every scale of variation. The path route is large structure. Moss coverage and exposed soil are medium-scale features. Fine grains and pores belong to the individual materials.
Keep the transition broad enough to avoid a cutout edge, but inspect whether excessive blending creates indistinct overlapping stones. There is no universal ramp width: the useful transition depends on the two patterns and the camera.
Changing the color image alone can leave a visible root represented by the wrong normal detail. Randomly rotating only one map creates the same mismatch. This test avoids rotation entirely; more complex rotation or normal-blending methods need their own validation.
For upright surfaces beside the path, the stone and brick wall workflow addresses a different constraint: masonry courses must keep their construction direction. Terrain variation should not be copied indiscriminately onto walls.
Add geometry where repetition remains visible
After reviewing the blend from the final camera, place a few stones, twigs or roots where they improve the composition. Concentrate on silhouettes, path edges and the most recognizable repeated patches. Covering every square meter with debris adds complexity without necessarily improving the shot.
Keep raised roots and prominent stones in geometry when their outline must stand above the ground. The normal-map troubleshooting guide helps distinguish shading detail from actual surface shape. If you later enable displacement, test it separately for each material and at their transition.
At tree bases, compare the terrain with the bark UV workflow. The ground’s fine roots and the trunk’s broad roots should agree in scale without sharing one identical texture pattern.
Review repetition and cost from the intended view
Save three views: close to the surface, at the normal scene distance and farther away. Ask whether a repeated landmark still leads the eye, whether the path edge is understandable and whether the ground remains convincing in motion.
Choose image size using the texture-resolution guide. Two fully textured shaders can cost more than one; for a game project, rebuild or bake the needed result for the destination material system and measure it there. A Blender node network is not automatically a portable terrain shader.
Keep a single-material version for comparison. Add a layer only when it resolves a visible problem. Explore the ground PBR collection using the same terrain patch, coverage and camera so you can judge pattern suitability without being distracted by different previews.