To apply a bark texture convincingly, unwrap the trunk so the pattern follows its length, keep ridge sizes consistent and inspect the seam on the actual model. A seamless image does not automatically hide a UV seam on a tapered or branching surface.
This workflow focuses on a trunk, a few branches and a fallen log. It covers the decisions that make a reusable PBR bark material useful in a forest scene: pattern selection, unwrap direction, bark scale, branch transitions and where moss belongs.
Choose bark for the tree you are building
A tall narrow trunk with fine grooves communicates a different surface from a broad trunk covered in broken plates. Start with references for the tree’s shape, age and bark pattern. Do not assume a generic marketplace texture represents a particular species unless the product identifies it.
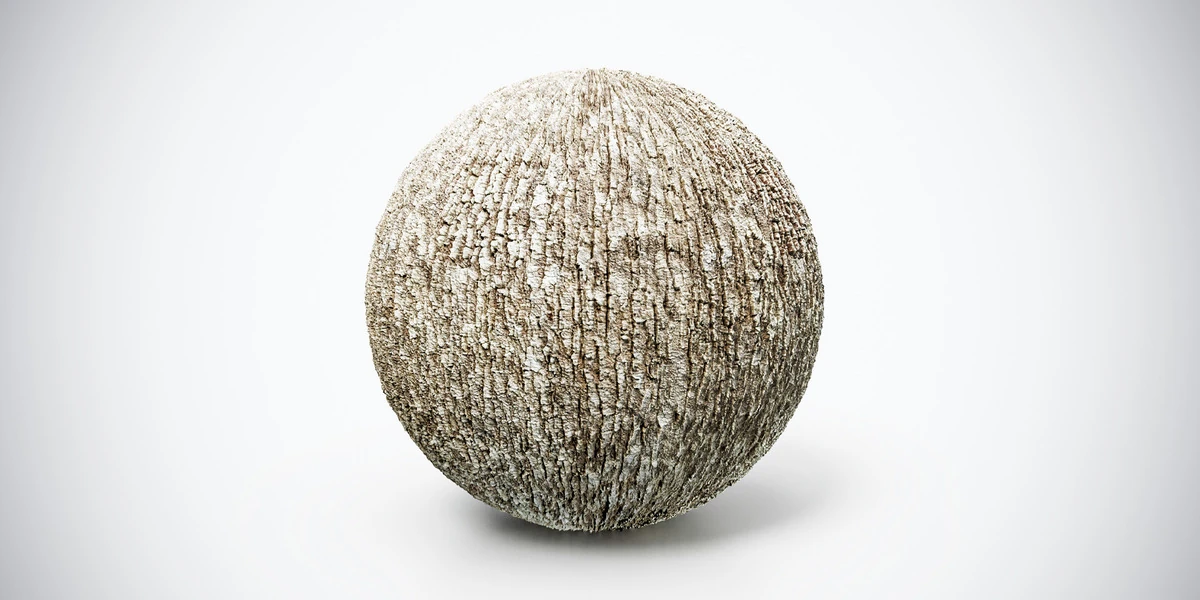
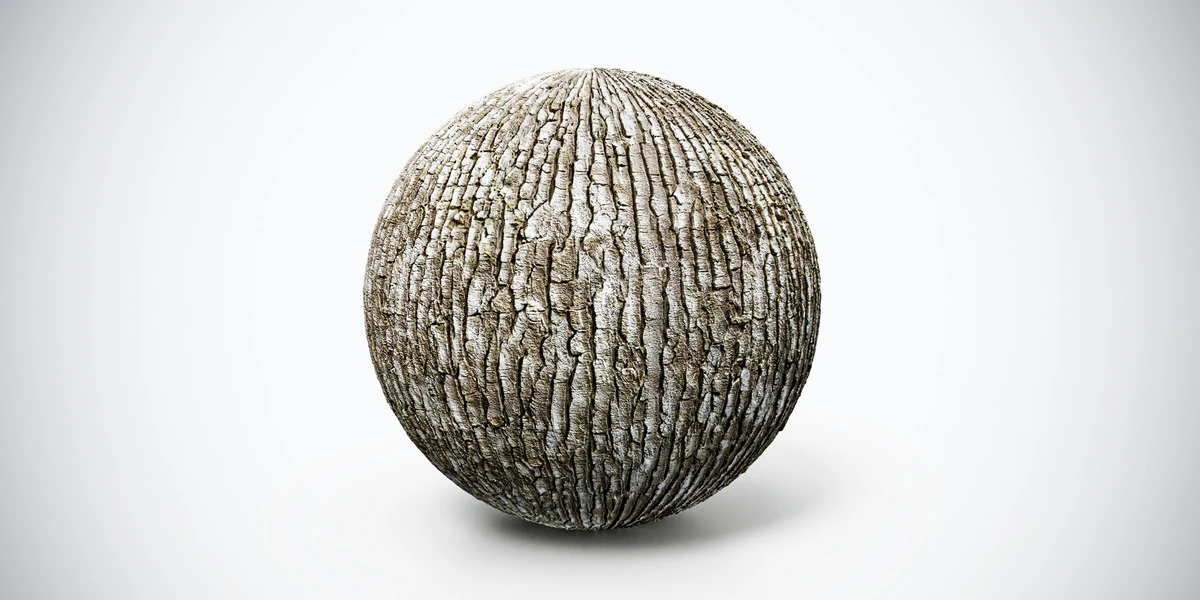
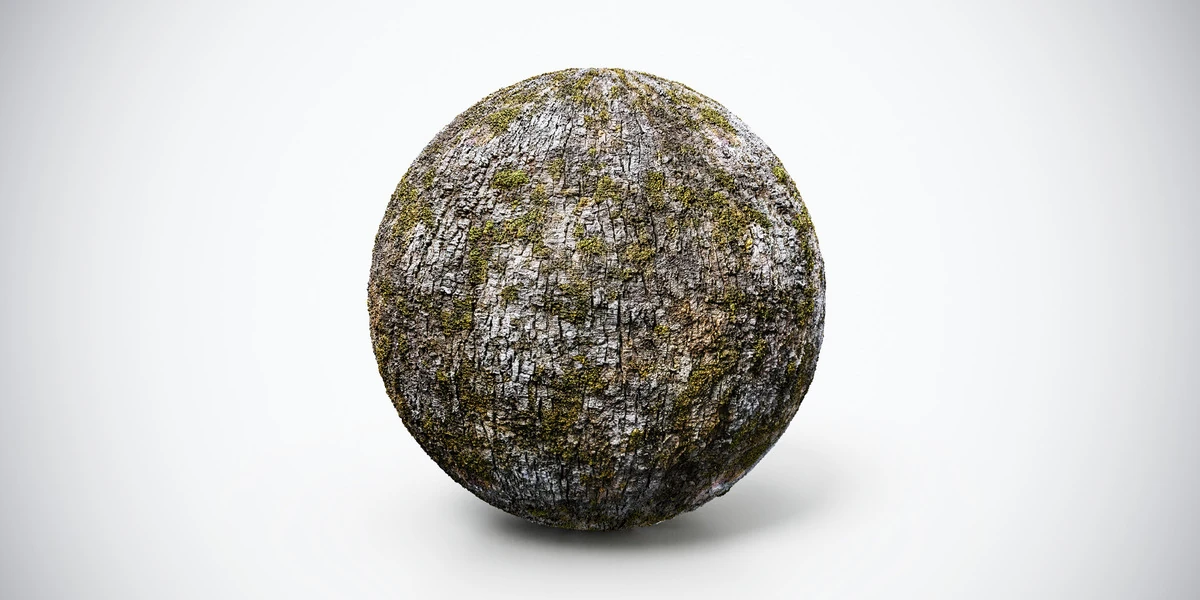
The fine-grooved bark texture is useful for comparing closely spaced vertical detail. The deep-ridged bark material offers stronger channels when those fit the reference. The tree bark texture with moss introduces a different surface condition as well as a different color palette.
Choose the main pattern before unwrapping dozens of trees. A small material test can reveal that broad plates are too large for a thin branch or that strong moss markings repeat noticeably around a trunk. Fix the selection early, while the test is inexpensive.
Prepare a simple trunk test
Begin with a tapered trunk that has enough geometry for its intended silhouette. Include one branch junction and a visible root transition if those features matter in the final scene. A perfect cylinder is helpful for learning the setup, but it will not reveal every problem on a production tree.
Establish dimensions and apply object scale on the simple test mesh before unwrapping. Assign a checker material. Observe the checker around the entire circumference and along the taper, not only from the front camera.
Decide which details belong in the mesh. A broad root, broken branch stub or projecting plate at the silhouette may need geometry. Fine bark grooves can often remain shading detail. For reusable game props, the high-poly to low-poly workflow helps organize those choices without treating every surface mark as a modeling task.
Place seams where the surface can unfold
For a trunk side, start with a seam running along its length. Separate the top and bottom caps where necessary so the side can unfold as a strip. Place the long seam away from the main camera when possible, but inspect it from other views if the player can walk around the tree.
Use additional seams to release difficult branch junctions and root shapes. Forcing the entire tree into one uninterrupted island can produce more visible stretching than a carefully placed seam. The guide to UV stretching on curved surfaces explains how checker distortion reveals those compromises.
After unwrapping, inspect whether the bark’s lengthwise direction follows the trunk. Rotate the UV island if needed. On a bending branch, aim for a gradual pattern flow along the branch rather than vertical alignment with the world.
Avoid assuming that a clean rectangular island is always the best result. A strongly tapered trunk has a changing circumference. Forcing its UVs into a perfect rectangle can compress one area and expand another. Compare the checker and the actual bark pattern before straightening every boundary.
Set ridge size independently of tree height
Duplicating a material is useful; stretching its entire pattern to fit each object’s UV square is usually not. A short log and a tall trunk should not automatically have different bark sizes just because their lengths differ.
Choose a physical coverage for one repeat using the reference. If the product does not specify a scanned size, treat your coverage as a scene choice. Keep that choice consistent across the forest where the same bark material represents the same kind of surface.
On an idealized cylindrical section, circumference is approximately pi times diameter. If its diameter is 0.5 meters, its circumference is about 1.57 meters. A chosen texture coverage of 0.5 meters per repeat would place roughly 3.14 repeats around it. This example exposes a practical issue: physically consistent scale does not necessarily produce a perfect pattern match at the UV seam.
You can slightly adjust coverage when the result remains believable, choose a less conspicuous seam position, or use a localized transition treatment. Do not hide a major scale error merely to force an integer repeat count. Check tapered sections separately because their circumference changes.
Keep PBR channels aligned
Use the same mapping coordinates for Base Color, Roughness, Normal and any Height data in the chosen set. Treat conventional color textures as color, and normal and roughness maps as data. The Blender PBR node setup shows the complete connections.
Start with normal detail at a restrained strength. Bark can have deep grooves, but increasing normal strength cannot create projecting geometry along the tree’s outline. If highlights appear inverted, inspect the normal-map convention and node setup before changing the lighting to compensate.
Keep the tree non-metallic unless you are deliberately building an unusual coated or fictional surface. Dark grooves do not mean metal, and a mossy patch does not automatically require a glossy response. These distinctions follow the basic PBR material principles.
Test a plain trunk with the color map temporarily removed. This isolates whether the apparent depth comes from shading or merely from dark lines in the image. Reconnect color after the surface response is understandable.
Handle branch junctions and cut ends separately
A branch joins the trunk at an angle, so a single directional pattern rarely remains convincing across the entire junction without adjustment. Give the branch an appropriate island direction and compare ridge size with the adjacent trunk.
Place the transition where the geometry or reference already suggests a change in surface flow. For a prominent hero tree, localized painting or a custom transition may be justified. For a small background tree, a carefully placed seam and appropriate camera distance may be sufficient. Make the decision from the actual shot.
A cut log end is exposed wood, not bark turned sideways. Use a separate end-grain treatment or a deliberately modeled cut surface. The side bark texture should not continue across the cap as if the log were wrapped in printed paper.
The same applies to broken stubs and peeled regions. They reveal different material structure, so solve them as distinct surfaces rather than increasing texture contrast around the boundary.
Use moss to describe the setting
Moss changes both the material’s pattern and the environmental story. Compare references for moisture, shade and local exposure instead of applying a universal rule about which compass direction should be green.
If moss is already part of the supplied color, roughness and normal maps, it repeats with the bark. You cannot move it independently by changing only the green areas of Base Color without checking the corresponding surface detail. Use a dry material where moss is inappropriate, or create a coordinated masking and blending workflow when you need exact placement.
For a group of trees, vary placement and rotation only after checking the material’s directional pattern. Large recognizable patches are especially noticeable when the same trunk is duplicated in a row. A fallen log may also expose surfaces differently from a standing tree; judge it as its own scene element.
Compare neighboring bark and ground surfaces under the same illumination. The roughness-map guide helps you avoid making every green or dark patch reflect identically.
Around the base of a woodland tree, mossy wet forest ground provides a useful neighboring surface for checking whether bark, soil and moss share a believable moisture story.
Test the forest prop at three distances
Inspect the trunk close enough to see its UV seam, at its normal scene distance and far enough away that fine ridges begin to disappear. These views answer different questions: seam quality, material readability and unnecessary detail.
Choose map size only after those checks. The texture-resolution guide explains why a distant tree may not benefit from the largest maps. For game use, also check the imported result with actual filtering, compression and LOD transitions rather than relying entirely on Blender’s close-up viewport.
Before approving the prop, confirm that the ridge direction follows the trunk, comparable branches share plausible bark scale, cut ends use a separate treatment, and moss does not form an obvious repeated stamp. Save the chosen coverage and material settings with the asset.
You can compare alternative patterns in the wood and bark material collection, or use the wider PBR materials catalog to choose surfaces for the surrounding environment. Keep the same test tree when comparing them so differences in geometry and lighting do not obscure the material choice.