A seamless stone or brick texture can still produce an obviously repeating wall. Seamless describes how the image edges join; it does not guarantee believable masonry size, aligned modules or invisible repetition across a large facade.
This workflow addresses those separate problems in Blender. Build a short modular wall, establish the size of its blocks, align the texture across joins and only then add variation. You can use the same checks for a courtyard, a ruined building or a street facade.
Choose masonry that matches the construction
Start with the arrangement of the wall, not its color. Regular brick courses, small irregular stones and large dressed blocks suggest different building methods and scales. A similar gray palette does not make them interchangeable.
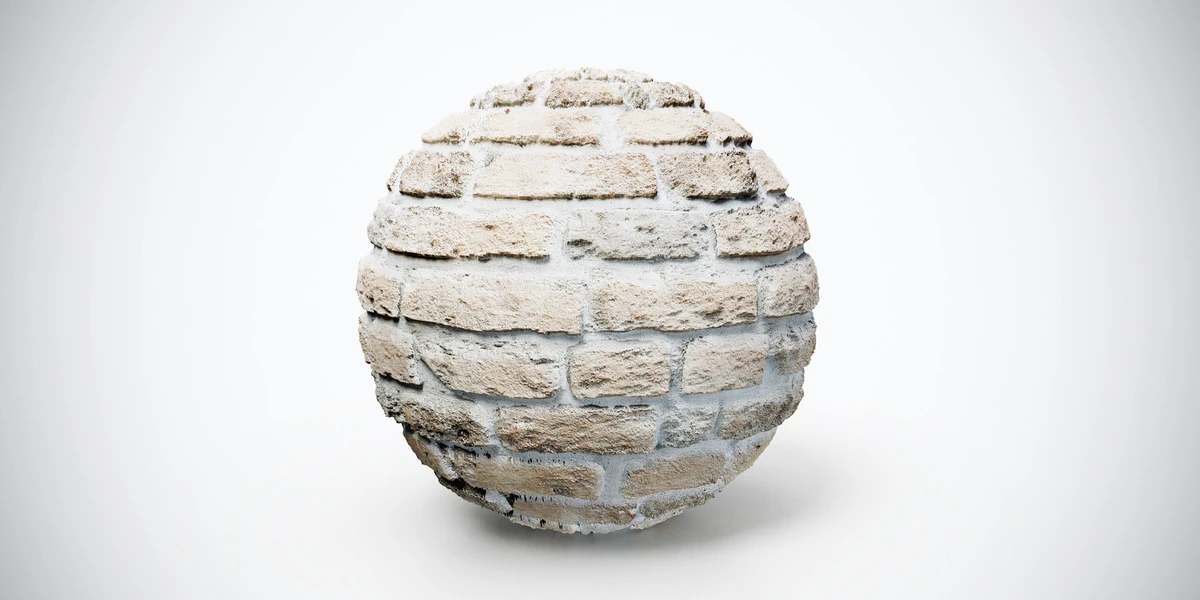
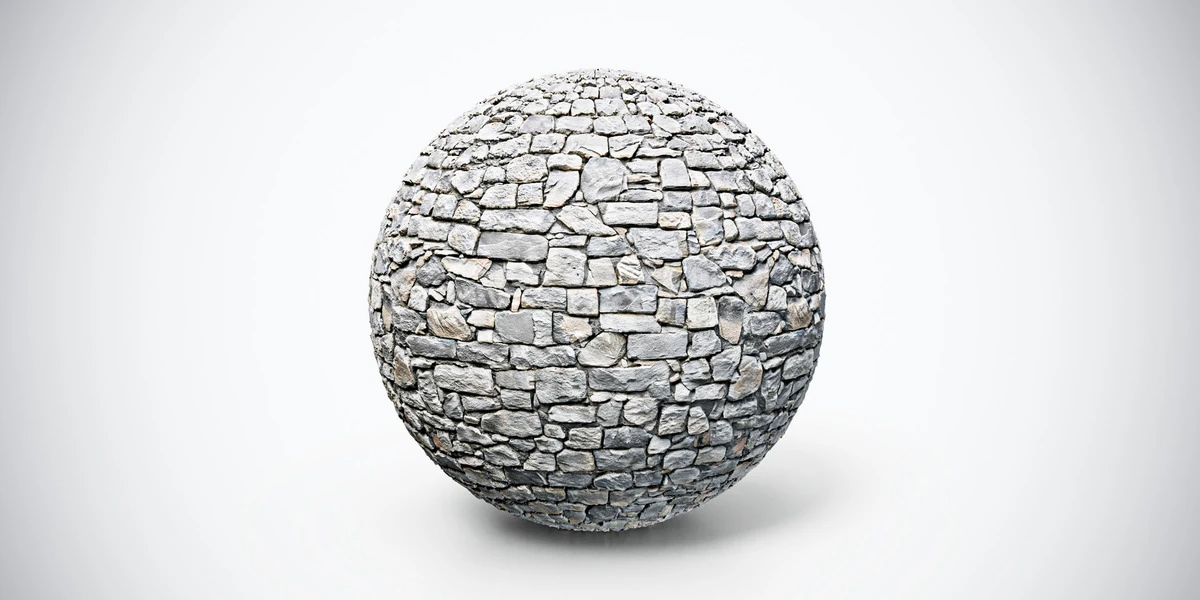
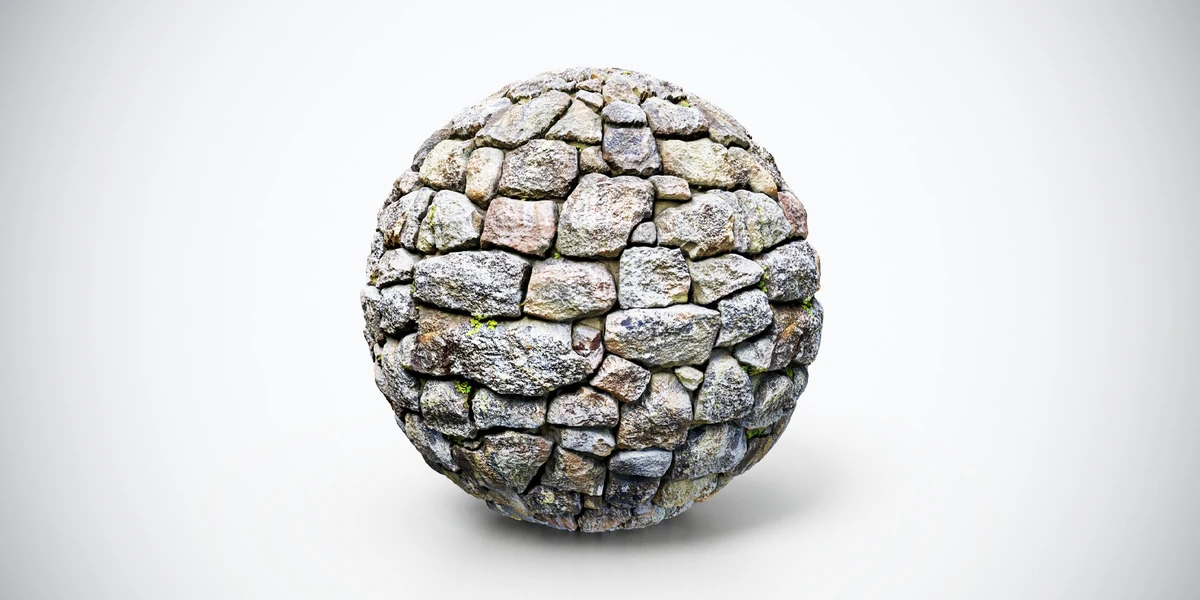
The brick wall PBR texture gives you clear courses and mortar lines for testing alignment. The tileable stone wall material offers smaller irregular masonry when you need a less regular rhythm. A mossy weathered stone wall can suit a damp, older setting, but its distinctive moss patches also deserve a repetition check.
Select one as the main construction material. Use a second only where a repair, extension or different structure explains the change. The visual-style compatibility guide is helpful when combining masonry with existing buildings, props and ground surfaces.
For a larger block pattern, compare the carved stone wall material. The weathered stone courses offer a smaller masonry rhythm when broad stones would overpower the building.
Establish a course size with a doorway reference
Build two adjoining wall modules, a doorway opening and a corner. Assign realistic scene dimensions before working on the UVs. This small arrangement exposes problems that a single plane or sphere will hide.
Decide how large the visible bricks or stones should be from a reference. Brick dimensions vary by region and construction, so avoid assuming that every texture represents one universal brick size.
Count the courses within one vertical image repeat. For a hypothetical texture with ten courses, a chosen course height of 0.10 meters including mortar means the repeat covers one meter vertically. A three-meter wall would show thirty courses, or three vertical repeats. These numbers illustrate the method; they are not measurements of the linked materials.
Check the horizontal proportions too. If fitting a convenient number of courses makes the bricks unnaturally wide, revisit the assumed coverage or the UV aspect ratio. Increasing image resolution cannot repair incorrectly proportioned blocks.
Unwrap for continuity between modules
Apply a checker material before the masonry. Correct stretched faces and align the broad wall surfaces consistently. The guide to UV stretching in Blender explains how to separate shape distortion from simple differences in texture density.
For a flat wall, a practical method is to map adjoining modules as portions of the same larger surface. Give them the same vertical scale and offset so each mortar course reaches the join at the same height. Then align the horizontal coordinate at their shared boundary.
When the modules need independent UVs, record the texture coverage and offsets as part of the kit. An integer UV offset preserves the phase of a repeating texture, provided the texture repeats in that direction. However, a module does not automatically end at an integer boundary. Its width must fit the chosen coverage, or the next module must continue from the previous module’s actual endpoint.
Inspect the wall in Base Color alone, then with normals and roughness enabled. A join can match in color while a mismatched map transform produces a lighting discontinuity. Use a shared mapping path for all maps from the same set. The PBR setup guide for Blender covers those material connections.
Distinguish a seam from repetition
A hard line at a texture boundary and a recognizable stone appearing every few meters require different fixes.
For a hard line, inspect the UV boundary, image extension mode and alignment of the material channels. If it follows a mesh edge rather than an image repeat, temporarily remove the normal map to check whether smoothing or normals are involved. Use the normal-map troubleshooting guide when the discontinuity is mainly visible in lighting.
For repetition, step back to the final camera. Identify the landmarks your eye remembers: a very pale stone, a dark crack or a bright moss patch. A technically seamless texture can repeat those landmarks perfectly and still look artificial.
Do not shrink the blocks just to fit more copies on the wall. That trades visible repetition for incorrect architectural scale. Keep scale fixed and address the repeated landmarks separately.
Break repetition without breaking the wall
Begin with variation at the building scale: buttresses, openings, coping stones, repair patches and changes in wall height. These interrupt long uninterrupted surfaces while giving the composition a plausible construction logic.
Next consider broad, low-contrast color or roughness variation. Keep it slower than the individual stone pattern. Variation should support areas of exposure or age rather than make every block a random color.
Localized decals or painted masks can add leakage below a drain, damage beside a gate or dirt near the ground. Use them selectively. Covering the entire wall with another equally repetitive layer does not solve the original problem.
Randomly rotating a brick texture is usually a poor shortcut because the courses need to remain horizontal. Even irregular stones may contain directional weathering. Changing only the color image’s rotation also breaks its correspondence with the normal and height maps. If you use a more complex material blending method, validate all channels and shading together.
For a nearby surface with a different visual rhythm, a restrained concrete wall workflow can help you design a deliberate material transition rather than overloading the masonry shader with variation.
Treat corners, openings and wall tops as geometry decisions
A seamless texture on two perpendicular planes cannot ensure that every visible stone wraps around the corner like a real block. Test the corner close to the camera and from a shallow viewing angle.
For a distant wall, a well-aligned texture and a modest bevel may be sufficient. For a prominent corner, model selected corner stones or use a dedicated corner treatment that matches the construction. Door and window reveals may need separate UV islands or a different arrangement of stones.
Wall tops are especially revealing. A flat upper plane with the same vertical wall texture can suggest stones turning in an implausible direction. Give coping, exposed rubble or cut masonry its own treatment instead of assuming that one projection suits every face.
Normal maps affect shading detail, not the outline of broken masonry. Large missing blocks and an irregular ruined silhouette need geometry. Height-based displacement may help surface relief when supported, but it still needs a deliberate plan at mesh borders and corners.
Validate detail and cost at the final camera
Review a close view, the normal gameplay or architectural view, and a distant view. Inspect the mortar, not just the stone centers: joints that look crisp in a close-up may dominate or shimmer in motion when their contrast is excessive.
Compare suitable texture resolutions under the same conditions. The article on texture resolution and viewing distance explains how to avoid selecting 4K solely because it is available. If the wall is intended for a game, make the final decision in the target engine with its actual filtering, compression and material setup.
Wall-kit acceptance checklist
Before duplicating the wall across an environment, confirm that:
- The apparent block size fits doors, windows and nearby props.
- Courses meet across adjoining modules without vertical jumps.
- Base Color, Roughness, Normal and any Height map share the intended mapping.
- A repeated landmark is not the first thing you notice from the final camera.
- Corners, reveals and wall tops have appropriate construction detail.
- The result survives both soft light and shallow-angle illumination.
- Your texture and geometry choices remain suitable in the destination scene.
Save the accepted scale and offsets alongside the module files. When comparing other finishes in the stone PBR collection, reuse the same test arrangement. That makes the choice about the material’s actual fit rather than differences between attractive preview renders.