Good 3D asset documentation gets a buyer from an unfamiliar download to a working example with as little guessing as possible. A useful README names the starting file, explains the supported setup and shows how to verify the result. A feature list alone cannot do that.
This workflow is for artists preparing model packs, props and engine-ready deliveries. It turns the questions behind professional asset buyer expectations into a practical document and a repeatable handoff test.
Write the instructions while preparing the package, then verify them against the files you will actually distribute. Treat the README as part of the product: when the hierarchy, supported setup or starting scene changes, the instructions need to change with it.
Start with the first successful action
Decide what a new user should achieve first. For a prop pack, that might be opening a demo scene or placing one configured object. For source models, it might be importing one example at the expected scale. Keep the first task narrow enough that the user can tell whether it worked.
Put that task near the beginning, ahead of a long explanation of every file. Name the actual folder and file to open. Explain what the user should see: a model at a stated scale, a working animation or a configured scene with the expected objects.
Avoid instructions that depend on your personal workspace. “Open the usual project” or “use the material from the other folder” only works for someone who already knows the product. The reusable asset library guide offers a helpful perspective on naming and finding resources after the initial download.
Build a small inventory of the delivered files
List the major folders and their purposes. Separate source files, interchange exports, engine-specific files, demonstration content and documentation when those categories actually exist. Do not add empty categories just to make the package appear more complete.
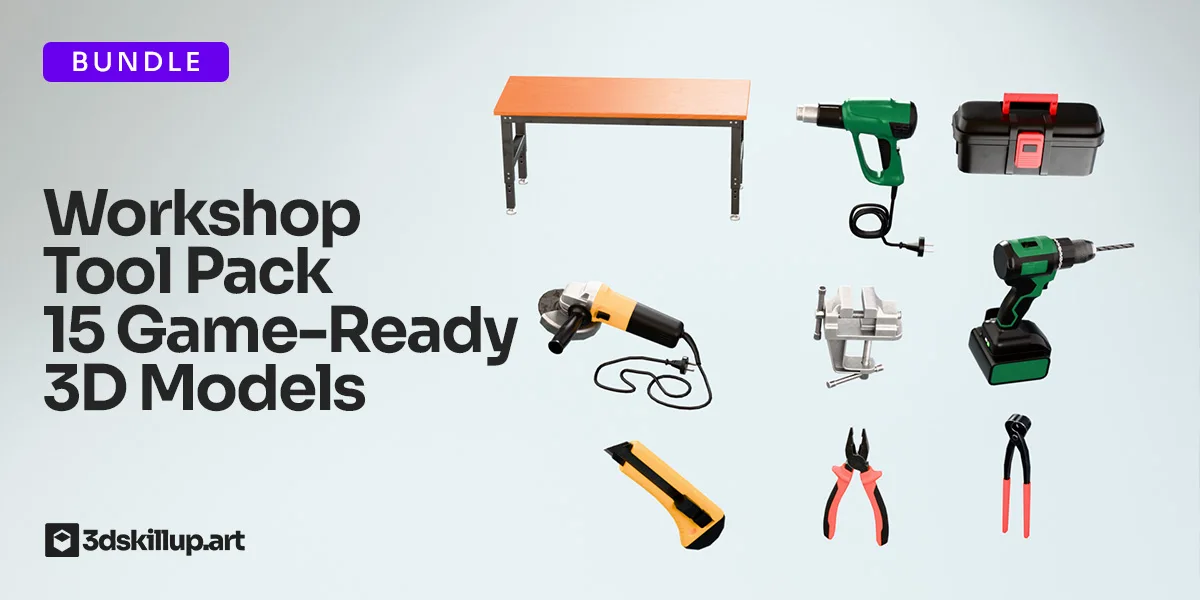
For a multi-object example such as the workshop tool pack, an inventory should let a user distinguish the individual tools from shared resources. This is a documentation exercise, not a claim about unverified files included in that product.
| README section | Question it should answer |
|---|---|
| Quick start | Which file do I open first? |
| Contents | What is included, and where is it? |
| Compatibility | Which setup was actually checked? |
| Asset conventions | What scale, axes and naming should I expect? |
| Limitations | Which useful features are not supplied? |
| Troubleshooting | What should I inspect when the first task fails? |
| Version history | What changed, and does it affect existing use? |
Use the 3D file format guide when deciding how to explain native files and interchange exports. A format name does not communicate the whole setup: identify whether the file contains meshes, a configured scene, animation or other relevant content.
State compatibility as something you can verify
Record the application version and, where relevant, render pipeline or project configuration used for testing. Distinguish “tested in this setup” from an assumption that a file should import elsewhere. Avoid presenting a broad list of software logos as evidence that every combination has been validated.
If a package needs an external dependency, say what it is, why it is needed and how the user should obtain it. Separate required dependencies from optional tools used to create the asset. The fact that you authored something in a particular application does not automatically make that application necessary for the buyer’s first task.
For Unity content, explain which configured prefab or sample scene represents the supported starting point. The Unity import guide is useful background, but the package’s own instructions should name its files and explain its specific setup.
Write a quick start that can be followed literally
Use a short numbered procedure with an observable result. The example below is a structure to adapt; the placeholder names are illustrative and must be replaced with files that exist in your delivery.
- Open or create a project matching the documented test setup.
- Import the delivered package and wait for processing to finish.
- Open the named demonstration scene, or locate the named configured object.
- Place that object in an empty scene at the documented scale.
- Perform the stated verification action and compare the result with the README.
After that first success, explain the common next step: choosing another model, changing a variant or exporting the source. Keep advanced customization separate so it does not interrupt the initial setup.
If the asset uses an unusual placement origin or a helper object, describe it in practical terms. The prop origin and pivot guide shows why “bottom-center placement” or “named grip helper” is more useful than simply saying “clean transforms.”
Check the package in a clean project
Use the exported deliverable for verification, not the authoring folder with all your local dependencies available. A fresh test project can expose missing references that remain invisible in the original scene.
For Unity exports, the asset package documentation explains how dependencies can be included. Review the actual export selection and the dependencies your content needs. Automatic inclusion does not replace checking the resulting package in the intended setup.
Follow your own quick start without silently repairing it. If a step fails, record whether the problem belongs to the package or to the instructions. Fix that specific issue and repeat the affected part before delivery. Do not call an installation successful merely because the import dialog closed.
The prefab preparation guide provides a useful check for reusable Unity objects. A demo scene can contain overrides that are missing from the saved prefab, so place a fresh instance when the product promises reusable configured objects.
Describe limitations before they become support questions
State what is absent where it affects use. Examples might include no gameplay script, no automatic interaction, no custom collision setup or no supplied animation. Use only statements that match the actual product; a clear limitation is more helpful than vague language about being ready for every project.
For a model with collision configuration, document its intended role and any tested interactions. The Unity prop collider workflow distinguishes a fixed obstacle from a movable physics object. That distinction can matter more to a buyer than a generic claim that a collider exists.
Keep license information accurate and point to the applicable license supplied with the product or marketplace purchase. Documentation should explain where to find the governing terms, not invent permissions or restrictions. Separate those references from technical setup instructions so both remain easy to locate.
Turn repeated questions into focused troubleshooting
Create entries around symptoms the user can recognize. Each entry should give a first check and an expected result. For example, an unexpected object size should lead to the scale convention and import settings, while a missing configured object should lead to the relevant folder and filename.
Ask for useful support details: product version, application version, pipeline where applicable, the failed step and a screenshot of the relevant error. Avoid requiring the user to explain their entire project before you can reproduce a simple issue.
Keep the troubleshooting section short enough to scan. If a topic needs a full tutorial, link to the relevant guide instead of copying a long general explanation into every README. Repeated support requests are evidence of a specific instruction or packaging gap worth improving.
Keep updates understandable for existing users
Give each release a clear version and a short change history. Distinguish new content, corrected files and changes that affect existing scenes. A renamed starting file, changed origin or altered hierarchy deserves more explanation than a corrected spelling error.
The consistent asset pack guide helps keep naming and conventions stable as a collection grows. Update the inventory and quick start together with the package, then verify the new version using the same first-success task.
Before publishing, check that the listing, README and actual deliverable describe the same product. The documentation is complete enough when a new user can find the starting point, reproduce the intended result and identify any relevant limitations without relying on knowledge that exists only in the creator’s workspace.