Set a game prop’s origin where someone will place or operate it, then test that decision after export. A technically clean mesh can still be awkward to use if its placement point sits far away, its hinge rotates around the center or every item in a pack follows a different convention.
This guide explains a practical Blender origin and pivot workflow for static props. It covers a standing vessel, a hinged panel and a held tool. The goal is predictable placement and rotation, with a clear distinction between a permanent object origin and a temporary modeling pivot.
If you are still building the shape, the mesh modeling foundation provides the starting point. Make the intended interaction clear before polishing the asset: the same visual object can need a different setup when it becomes a pickup, a fixed decoration or an animated part.
Decide what the origin needs to do
Write one sentence describing how the prop will be used. A pitcher placed on a table benefits from a bottom-centered placement point. A door-like panel needs a rotation point along its hinge. A held tool may need a grip reference as well as a convenient placement origin.
Those are conventions for this workflow, not universal requirements. A level designer may prefer a grid corner for modular pieces, while an inventory viewer may rotate an item around its visual center. Agree on the purpose before changing the file, especially if it is already used in scenes.
| Intended use | Useful point to consider | Test |
|---|---|---|
| Standing decoration | Center of its support footprint | Place on a flat surface |
| Hinged panel | Intended hinge axis | Rotate through its movement range |
| Modular segment | A documented grid anchor | Duplicate and snap adjacent pieces |
| Held prop | A separate grip reference | Align with a hand or attachment |
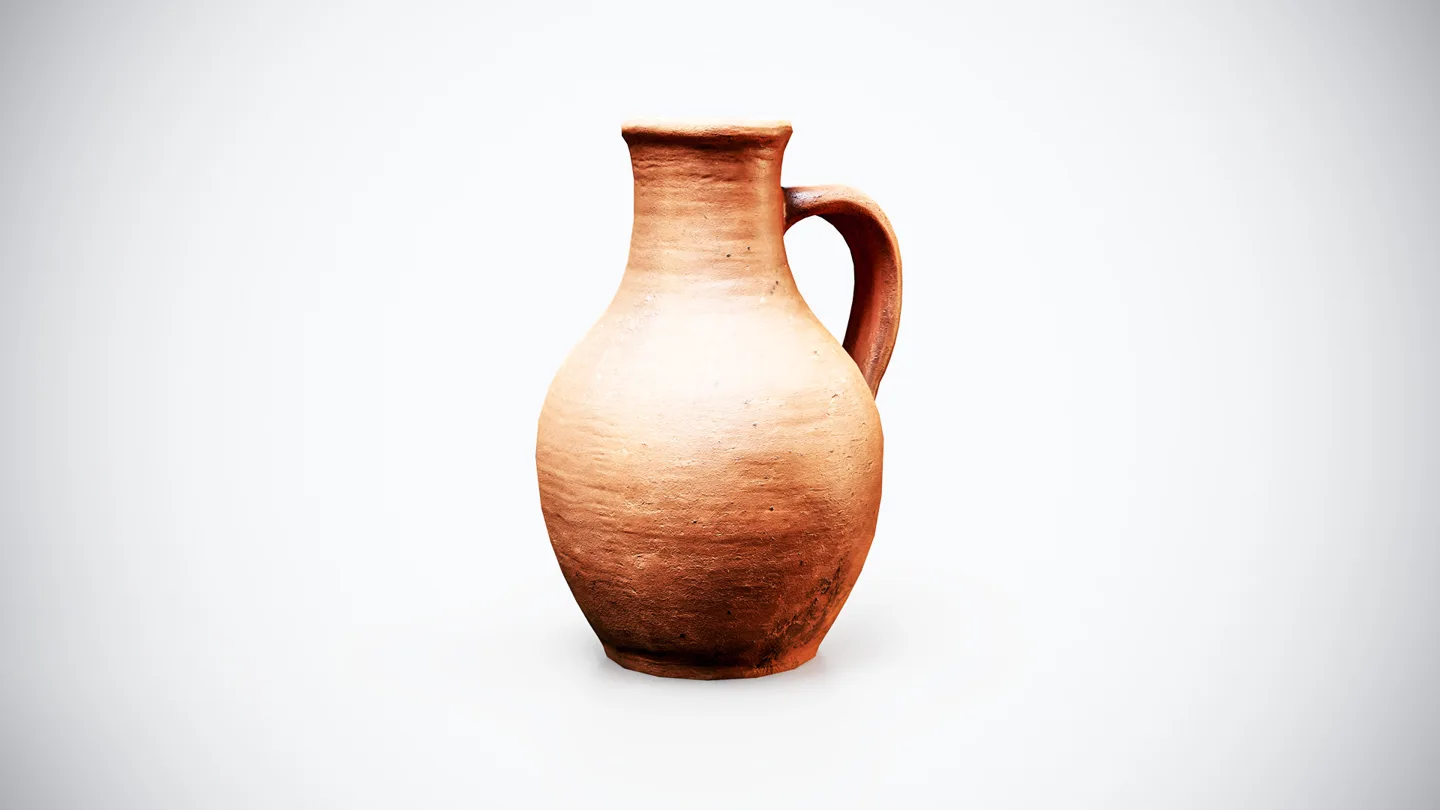
For a standing example, the medieval terracotta pitcher offers a clear distinction between the body, handle and supporting base. Use that shape to think through placement; this exercise does not claim that the product already includes a particular origin convention or interaction setup.
Distinguish the origin from a temporary pivot
The object origin belongs to the object’s transform. The modeling pivot controls where a transform operation acts during editing. Moving the 3D Cursor or selecting a different transform pivot does not, by itself, redefine the exported object’s origin.
Blender’s Object Origin reference explains the Set Origin operations. In particular, moving the origin to the geometry and moving the geometry to the origin are different actions. Choose the operation according to what must remain in place.
For example, you may rotate several selected pieces around the 3D Cursor while arranging a scene. That temporary modeling choice is useful, but it is not a substitute for setting a hinge origin on the individual panel. Save a copy before changing origins in a finished assembly so you can compare its placement afterward.
Place an origin at a chosen support point
For a simple symmetric prop, select representative base vertices in Edit Mode and use the snap menu to move the 3D Cursor to the selection. Return to Object Mode and choose Object → Set Origin → Origin to 3D Cursor. Check the origin marker and the object’s location before continuing.
The selected vertices matter. Their average is not automatically the ideal center of an irregular footprint. For an asymmetric base, place the cursor deliberately using a reference or numeric coordinates rather than assuming one selection gives the desired point.
View the prop from the side and place it on a plane for a quick check. The origin should support the chosen placement convention without moving the visible shape unexpectedly. The asset scale workflow helps keep this check meaningful when the prop is combined with furniture or architectural pieces.
Do not solve a bad origin by offsetting every copy manually in the scene. Correct the source convention or use a clearly documented parent when preserving an existing source file is important. A deliberate reusable setup is easier to maintain than a list of unexplained placement corrections.
Give moving parts their own rotation logic
A hinged panel should be a separately controllable part if it needs to open. Place its origin on the intended hinge line and test a small rotation before export. Check both the closed position and the full visible motion for gaps or intersections.
The separate and join workflow is useful when one mesh contains pieces that need independent transforms. Keep only the separation required by the actual behavior; a decorative seam does not automatically need a separate object.
For a tool, distinguish an origin used for storage or placement from an attachment reference used by a hand. An additional named helper or parent can describe the grip without forcing the mesh origin to serve every task. Record which transform the destination application should use.
If the asset is already rigged or animated, treat origin and hierarchy changes as a separate migration task. Constraints, parenting and existing motion may depend on the current transforms. This static-prop exercise is not a reason to reset every transform in a finished character or animated assembly.
Check local axes and object transforms separately
Origin position, local orientation and scale are different parts of the setup. Fixing one does not prove the others are correct. Rotate around each intended local axis and inspect the displayed transform values before deciding what to apply.
Use the Blender transform tools guide for editing operations, and keep a simple export checklist alongside the model. A useful checklist records the expected forward direction, placement anchor, scale convention and the relationship between moving parts.
Avoid applying transforms simply because a tutorial says every field must look tidy. Check modifiers, parents and the export requirements first. In a reusable prop workflow, predictable behavior matters more than making every object display identical numbers without understanding why.
Validate the exported hierarchy in the destination
Export a small representative asset and import it into the application you actually intend to support. Check the root object and the visible mesh child separately. An importer or a deliberately added parent can create a useful placement transform even when the mesh has its own local offset.
The Blender FBX troubleshooting guide helps diagnose scale and orientation problems that can be mistaken for pivot errors. Test rotation and placement on the imported object, not only on the Blender source.
For Unity delivery, use the prefab preparation workflow to preserve the final hierarchy. Place two fresh instances, rotate them and verify that their support points remain predictable. A corrected scene instance does not prove the saved prefab has the same setup.
Record the convention before delivery
Document the origin position in practical terms: bottom-center, hinge-side, grid corner or another clearly described point. If a helper supplies an attachment transform, give its name and purpose. Include a small verification instruction so another artist can recognize correct behavior.
When a pivot changes in an update, mention the placement impact. Existing scenes may have been arranged around the earlier version. The asset documentation workflow shows how to describe setup choices and version changes without burying them in a long feature list.
Finish by checking the saved source, exported file and reusable destination object against the same intended action. The prop is ready for this part of the pipeline when someone can place or rotate a fresh instance predictably, with no unexplained corrective offsets.