A useful 3D asset turntable shows the entire object clearly, at a steady speed and with consistent framing. It should help a viewer understand shape, surface quality and construction. A dramatic camera move can be a separate presentation shot; the turntable’s job is dependable inspection.
This workflow is for a single prop in Blender. Start with a model you already have, then build a reusable presentation scene that can accept future assets. If importing is the first obstacle, use the Blender prop import guide before setting up the animation.
Choose what the turntable needs to prove
Write down three visible qualities you want to show: perhaps the silhouette, the underside of a handle and the material transition around a rim. Decide whether one rotation reveals all three. A normal turntable may still need a separate underside image or a close-up.
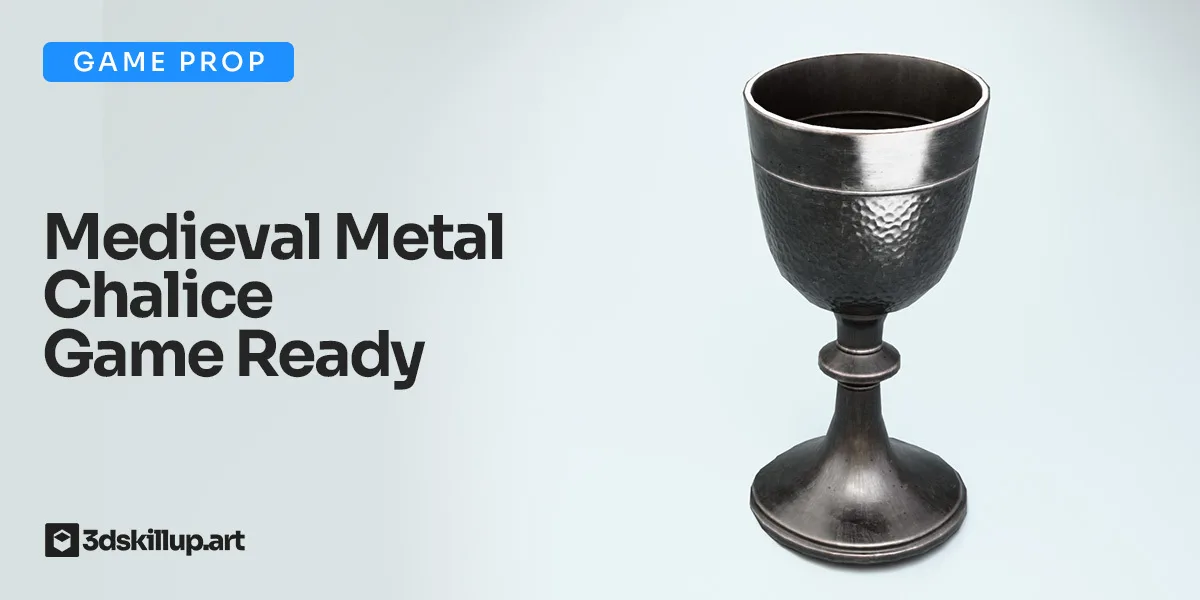
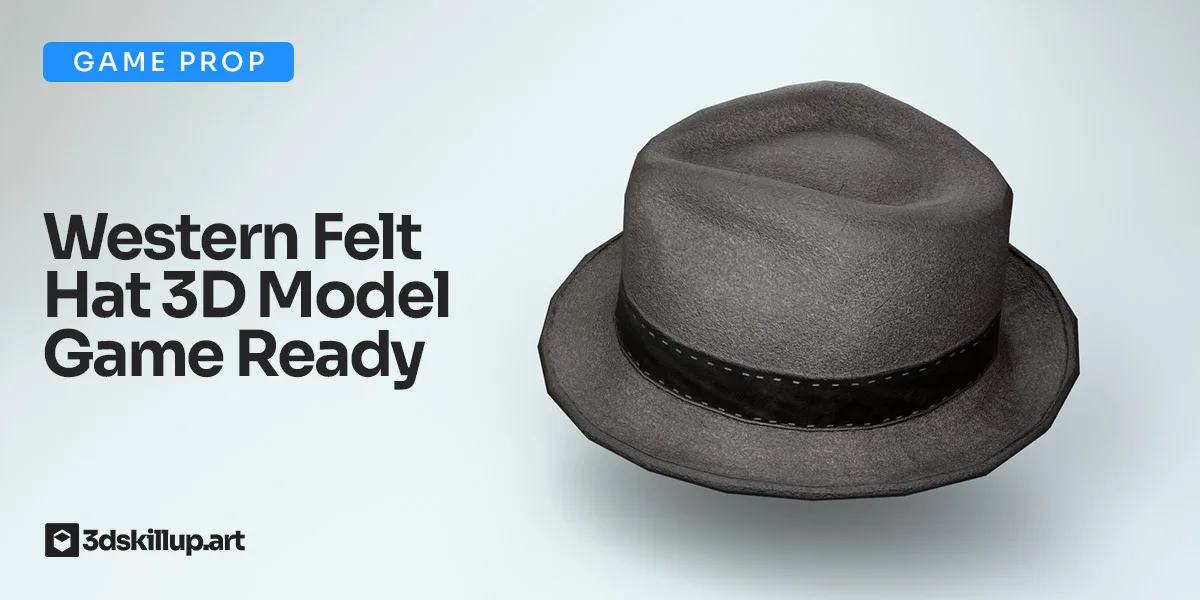
The Medieval Metal Chalice is a useful exercise in curved reflections and a narrow silhouette. The Western Felt Hat creates a different challenge because its brim extends far beyond its central mass. These are practice candidates, not prerequisites for the workflow.
If you use a purchased model in a portfolio exercise, identify your contribution clearly: lighting, rendering, scene assembly or material adaptation. Do not present another artist’s modeling as your own. Keep the asset reference with the project so that credit does not become a last-minute search.
Center the rotation without damaging the source
Work on a copy and create a parent Empty at the intended rotation center. Parent the object’s parts while preserving their visible placement, then animate the Empty. This keeps the presentation rotation separate from the source object’s origin and makes a multi-part prop easier to manage.
The origin and pivot guide explains why a useful assembly pivot may differ from a placement origin. For a turntable, watch the object from above as it rotates. A badly positioned center makes the silhouette wander sideways even when the animation speed is constant.
Include all the parts that belong to the product, but leave the camera, ground and lighting outside that rotating hierarchy. Rotating a complete room or the lights with the prop changes the demonstration and can hide how its surfaces respond from different orientations.
Frame the widest view, not only the front
Rotate the prop manually through a complete revolution before setting the final camera distance. Allow room for the widest silhouette and its cast shadow. A hat that fits beautifully from the front may crop at the side; a handle can reveal a similar problem halfway through the turn.
Keep the camera stationary for the first version. Use a perspective view that explains the object without distracting exaggeration. Camera position determines the perspective relationship; focal length and sensor settings affect framing. Blender’s camera reference documents these controls.
Leave depth of field and motion blur off during the inspection pass. They may be useful in a separate beauty shot, but blur makes it harder to evaluate fine surface detail and the edges passing through the frame. Check the result at the size where it will actually be viewed.
Make a loop with constant rotation
For an eight-second example at 30 frames per second, render 240 frames. Set the parent rotation to zero at frame 1 and to 360 degrees around the vertical axis at frame 241. Use linear interpolation for that rotation, then render frames 1–240.
The extra keyframe defines the endpoint of the full revolution without including a duplicate endpoint image in the delivered loop. At the join, the motion advances from the last rendered angle to the starting orientation by the same step as the other frames. Verify this with a short preview before committing to the final render.
The values are an example, not a required duration. A complex prop may need a slower rotation or additional stills. Avoid easing to a stop on every loop unless that pause is intentional; it can make an inspection animation feel uneven.
Keep lighting informative throughout the turn
Inspect front, side and back test frames under the same lighting. A setup that looks excellent at the first angle can turn the back into an unreadable dark mass. Adjust the environment and local sources until the major forms remain visible through the entire rotation.
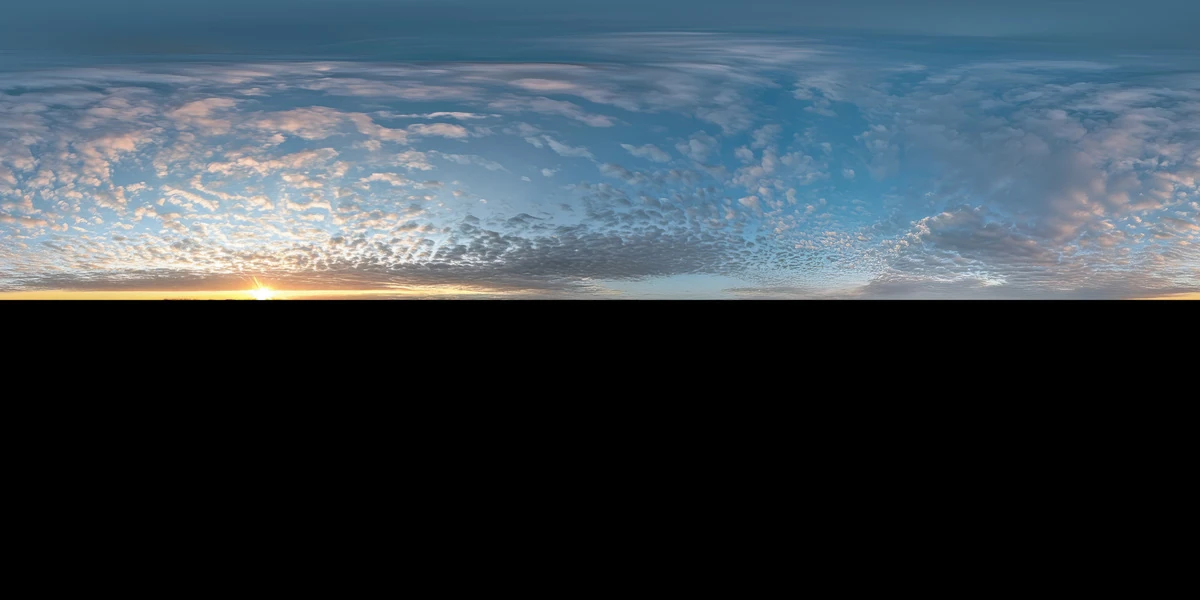
The Soft Sunset Scattered Clouds HDRI can supply a warmer presentation option, while your neutral evaluation setup remains a separate reference. Its web preview includes a black lower half; evaluate the purchased HDR file and your local ground rather than assuming that the preview supplies a studio floor.
Use the HDRI versus area-light workflow when a reflection masks an important feature. Keep lighting fixed while the object turns for this version. Animated lighting makes it harder to tell whether a changing highlight comes from the shape or from the rig.
Render frames before encoding the video
Render a few representative frames at final quality first. Check the smallest detail, the darkest orientation and the widest silhouette. A low-resolution motion preview is useful for timing but cannot confirm the final surface quality.
For the final output, consider a lossless image sequence and encode the video afterward. Blender’s output documentation explains that image sequences can be resumed by adjusting the frame range and then assembled into video. Plan the extra disk space, use a dedicated output folder and match the encoding frame rate to the animation.
Deliver enough evidence to complement the loop
Include a clean still, the loop and a close-up of the most informative detail. Add a wireframe or texture view only when it explains work you actually want evaluated. Keep text labels outside the object silhouette and avoid changing color treatment between frames.
Save the camera, rotation range, lighting and output settings as a presentation template. The next asset from the game-ready model library should require deliberate reframing and light review, rather than rebuilding the entire scene. A reusable setup gives your portfolio consistency while leaving room for each object’s specific shape.