Choose turntable lighting from the weakest view in the rotation, not just the first attractive frame. An HDRI can give a prop an appealing front view while leaving the back unreadable or sending a distracting horizon across its main surface halfway through the loop. A useful setup reveals changing form without making the lighting itself the subject.
This workflow focuses on evaluating an environment for a rotating product in Blender. It assumes the animation and camera already work. Use the asset turntable setup guide first if you still need to establish the pivot, framing or loop timing.
Keep the environment fixed while the product turns
For an inspection turntable, rotate the product and keep the camera, World environment and local lights stationary. The product’s surfaces then move through a consistent lighting arrangement. Reflections should change as the surface orientation changes; that movement helps describe curvature and finish.
Keep those responsibilities separate in the scene. A parent Empty can rotate the product’s parts, while the ground and lighting remain outside its hierarchy. Do not animate the World Mapping rotation alongside the object simply to preserve one pleasing highlight. That can conceal a weak lighting arrangement rather than demonstrate the model through a complete turn.
If the HDRI is not connected yet, follow the Blender HDRI product-lighting workflow. Blender’s World Environment reference explains its role as distant surrounding light. A panorama does not supply local geometry that the prop can rest on.
Choose two candidates with different reflection structure
Shortlist one comparatively simple sky and one with more visible cloud structure. The point is to compare useful reflected shapes, not collect many near-identical options. On a smooth casing, a cloud band may reveal a curve; on a textured prop, the same band may compete with painted markings.
The free Bright Blue Sky with Mirrorlike Reflections HDRI is a candidate for the more structured comparison. Use its downloaded lighting file, not the JPG or WebP preview, and inspect where the horizon falls across your actual model. No particular rotation angle is guaranteed to suit every object.
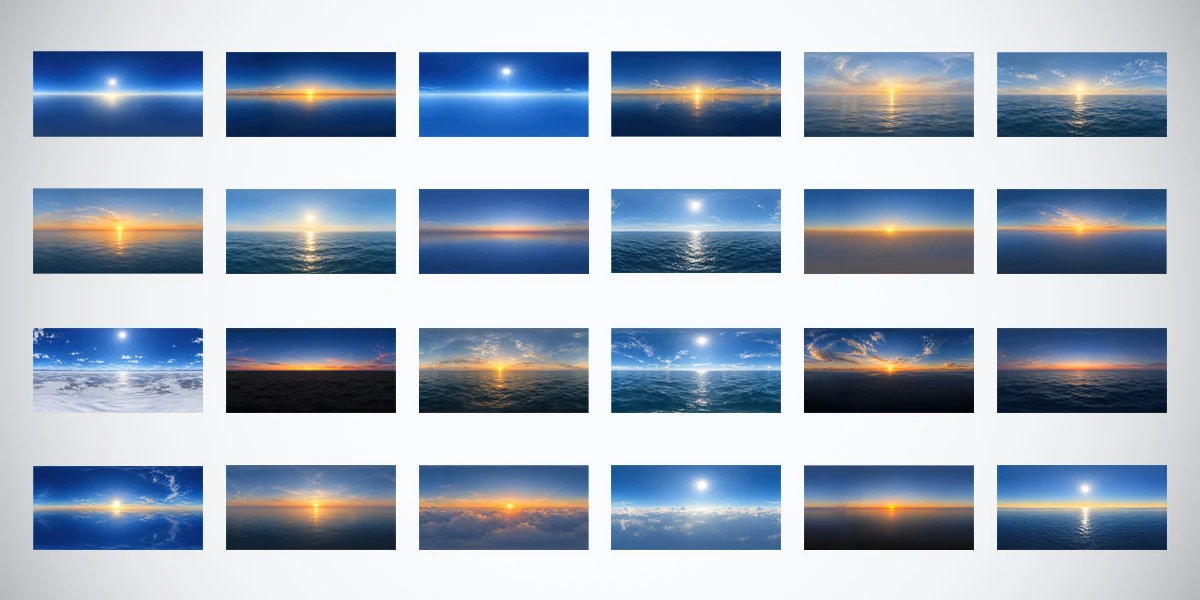
For a broader selection, the 24 Unclipped Sky & Ocean HDRIs Bundle combines clear skies, warm low suns and cloud-layer views. Each environment in the premium collection includes 2K, 4K and 10K versions in 32-bit HDR format. Start by choosing the light distribution; decide on resolution after the environment works through the turn. The collection is AI-assisted and manually refined, with lighting and reflections as its main uses.
Review four views before rendering a sequence
Pause at approximately 0°, 90°, 180° and 270° of product rotation. Use identical camera, material, environment strength, exposure and display settings for these four stills. They are an initial screening set, not a guarantee that the intermediate frames will behave well.
Give each view a simple pass or revise decision:
- Silhouette: does the object separate from its surroundings, including thin handles and protrusions?
- Surface: can you see the material’s important texture and finish without a reflection masking it?
- Construction: are seams, recesses and transitions readable on the side and back as well as the front?
- Ground contact: does the object remain visually anchored as its shadow changes with rotation?
Write down the weakest angle and the feature that disappears. “Back view loses the handle opening” is actionable. “Needs better lighting” is not specific enough to guide the next change.
Adjust the sky for the weakest angle
At that weak orientation, try a few clearly different World rotations while keeping the product still. Save the most promising option, then review all four views again. You are looking for a useful compromise across the object, rather than a perfect isolated highlight that breaks the remaining views.
Check whether the issue follows a reflected shape. A bright stripe crossing a logo is a placement problem; a surface that stays implausibly glossy under several environments may have a material problem. Use the roughness-map workflow when that distinction is unclear.
If no environment orientation reveals a specific feature, add one local light with a clear purpose. Keep it stationary during the loop and compare with it disabled. For curved metal, the metal-object lighting study explains how bright strips and dark regions work together; adding more brightness everywhere can erase the contrast that describes the shape.
Separate a distracting backdrop from useful reflections
A sky can produce useful illumination while its visible horizon competes with the product. Changing the environment just to simplify the background may sacrifice the reflections you have already approved.
The separate HDRI and background workflow shows a Cycles World setup that keeps the HDRI for lighting and uses a different camera-visible background. Treat this as a presentation choice. A physical floor, reflections and transparent materials still need inspection; a clean background alone does not resolve contact or compositing problems.
Check the motion between approved stills
Render a short, inexpensive preview through the whole turn. Watch the same detail rather than following the brightest highlight. A narrow glint moving across a bevel can be normal. An unstable patch that sparkles or smears between nearby frames needs closer inspection before final rendering.
Compare a small consecutive frame range at final output size and final sampling settings. Check whether the instability is already visible before denoising, whether a tiny sun reflection is involved and whether motion blur is hiding the problem. Change one setting at a time. A clean still does not establish that the animation will be stable, and a larger HDRI is not a universal noise fix.
Keep the view transform, exposure and any white-balance adjustment fixed for the inspection loop. If you want a warm presentation instead, plan it using the golden-hour product-lighting workflow and retain a separate neutral reference. Avoid correcting individual frames in ways that make the product’s color pulse as it rotates.
Save a lighting decision with the scene
Record the environment filename, supplied resolution, World rotation and strength, color-management settings and any added lamps. Save the four review stills alongside one short motion preview. This gives the next revision a baseline and makes it easier to tell whether an improvement came from lighting, material changes or a different camera.
Approve the weakest part of the loop as carefully as the opening frame. Once all important features remain readable, render the final sequence with the same scene settings. A dependable turntable gives the viewer time to inspect the asset instead of requiring them to wait for one favorable angle.