Golden-hour product lighting works when warm light supports the subject while its shape and materials remain readable. A low sun can create an appealing edge and a long shadow, but it can also hide a front label, merge a dark object with the floor or make a pale material look like a different color.
This Blender workflow builds a deliberate mood image with an HDRI. It keeps a neutral comparison alongside the warm render, so you can evaluate the presentation without changing correct material textures to compensate for the light.
Decide what the warm light should communicate
Choose the feature and mood before choosing a sky. A sunlit edge may help a curved bottle feel distinct from its background. A grazing light can reveal a rough surface. A long shadow can give a compact prop a stronger place in the composition. These are different goals, and the same environment orientation may not achieve all of them.
Write a one-sentence brief such as “show the embossed front while keeping a warm edge on the right.” This makes it easier to reject an attractive sky that does not serve the product. If the object must communicate exact color, plan a neutral reference image as a separate deliverable rather than asking one atmospheric shot to perform both jobs.
For broader environment selection, the outdoor HDRI guide separates sun direction, cloud coverage and reflected surroundings. A sunrise or sunset label describes an atmosphere; it does not supply a calibrated light temperature or a universal exposure value.
Start with a restrained low-sun candidate
Begin with a sky whose horizon is easy to read. The free Muted Sunrise with a Hazy Horizon HDRI offers a low golden sun and a comparatively quiet blue-to-orange transition in its preview. Test the actual HDRI from the download, because the preview cannot establish the file’s lighting contrast or shadow behavior.
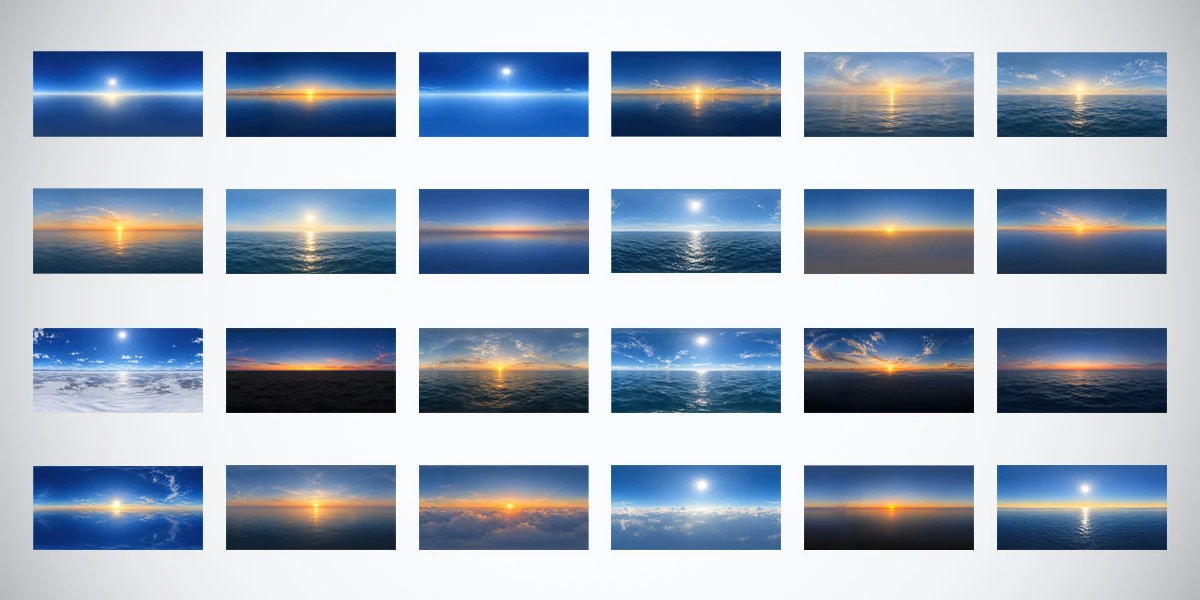
For alternative moods, the 24 Unclipped Sky & Ocean HDRIs Bundle includes warm low suns, marine haze, daylight and twilight environments. Its premium package supplies each of the 24 maps in 2K, 4K and 10K as 32-bit HDR files. Choose candidates with meaningfully different sun positions or cloud structure, then compare them on the same object. The AI-assisted, manually refined environments are intended primarily for lighting and reflections.
Connect the chosen environment using the Blender HDRI setup workflow. Temporarily disable extra lamps, keep the material unchanged and render a small baseline before making artistic adjustments.
Rotate the sun before raising its intensity
Try front-side, side and rear-side lighting by rotating the environment around the scene’s vertical axis. Keep its natural horizon level for the first comparison. The direction that creates the strongest rim is not necessarily the one that best explains the front of the product.
At each orientation, inspect three regions: the brightest face, the darkest important recess and the silhouette against the background. If the front is too dark, first ask whether a different direction solves it. Increasing World Strength brightens the environment’s contribution everywhere; it does not selectively illuminate a hidden label.
Do not add a second Sun lamp simply because the HDRI preview contains a sun. First inspect the environment-only render. An additional directional source may create a second shadow or a conflicting highlight. Add one only when that separate contribution is intentional and you can explain its direction.
Preserve a neutral material reference
Save a comparison render under lighting suitable for evaluating the product’s material. Keep the geometry, textures and camera identical between that reference and the warm scene. The reference is a practical consistency check, not a substitute for a calibrated color-production process.
Include a neutral gray test object while developing the mood. Its appearance helps reveal how strongly the illumination colors the scene. Remove it for delivery if it does not belong in the composition. Do not edit the product’s Base Color just to make it resemble the neutral render under a very different environment.
Blender’s color-management documentation describes the view transform, exposure and white-balance controls. Choose a view transform and keep it fixed while evaluating lighting. AgX can reduce saturation in highly exposed regions; a pale highlight is not, by itself, evidence that the texture is wrong.
Treat white balance as a whole-image decision. Neutralizing every warm region can remove the very atmosphere you chose. Record any adjustment, compare before and after, and check whether it changes the shaded side or background in an unwanted way.
Add fill only where it improves the product
If the low sun creates the desired edge but leaves an important feature unreadable, try one area light as fill. Position it to reveal that feature and compare with it disabled. Keep the HDRI and exposure unchanged during this test so the effect of the new light remains clear.
The HDRI and area-light comparison shows how to evaluate the combined result. Inspect the floor and glossy surfaces as well as the target feature. A fill light that helps a handle may create a distracting second highlight elsewhere.
You do not need to remove every shadow. Retain enough light-to-dark difference to describe the form, and stop adding fill once the intended detail reads. If the result becomes flat, reduce or reposition the fill before changing the entire environment.
Use the ground shadow as part of the composition
A low sun can send a shadow far beyond the base of the object. Leave enough room in the frame and use real ground geometry where contact is needed. The HDRI ground-plane workflow explains the difference between a pictured surface and one that can receive your object’s shadow.
Review where the shadow points, whether it crosses important text and whether the base remains anchored. If you use a horizon as a visible background, check its height relative to the camera. Do not move the camera, tilt the environment and repaint the ground simultaneously; you will lose track of which change solved the mismatch.
Approve the mood at the delivery size
View the warm render and neutral reference side by side. Confirm that the same material still feels plausible, important markings remain readable and the warm treatment supports the brief. Check both a close crop and the size at which the image will appear on a catalog page.
For a rotating presentation, use the HDRI turntable-lighting checklist before applying the setup to a full animation. A rim that works at one angle may disappear as the product turns.
Save the chosen environment, orientation, strength, exposure, view transform and fill-light settings with the final image. A successful golden-hour render should be a repeatable lighting decision, not a collection of corrections that only work on one frame.