To light a metal object in Blender, arrange what it reflects before increasing the brightness. A reflective cup can disappear against a bright background even when it receives plenty of light. The useful question is where the bright and dark shapes fall across its surface.
This exercise builds one readable still image of a curved metal prop. Start with an existing material that behaves plausibly and leave its texture maps unchanged during the lighting test. If you are still deciding between a World environment and local sources, the HDRI versus area-light comparison explains their separate roles.
Choose three features that must remain readable
Pick the silhouette, one curved surface and one construction detail. On a cup, these might be the rim, bowl and stem. Frame the object so that these features are visible before moving any lights. A hidden rim cannot be explained by brightness alone.
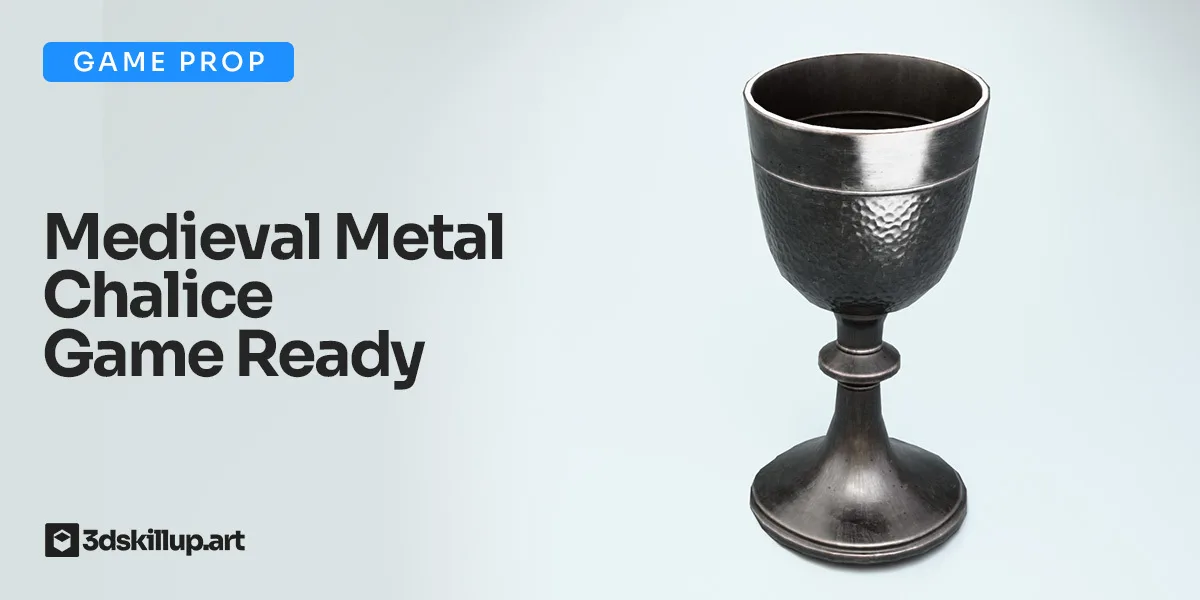
The Medieval Metal Chalice is a useful practice subject because its bowl, narrow stem and hammered surface give you several scales of detail to inspect. Use the purchased model in a lighting study, or use a similar prop you already own. The method does not depend on a particular asset package.
Save a baseline render with fixed camera, exposure and display settings. Review both the full composition and a close crop. A highlight that looks attractive at full resolution may hide the stem when the image is reduced to a portfolio thumbnail.
Find a useful reflection before adding a light
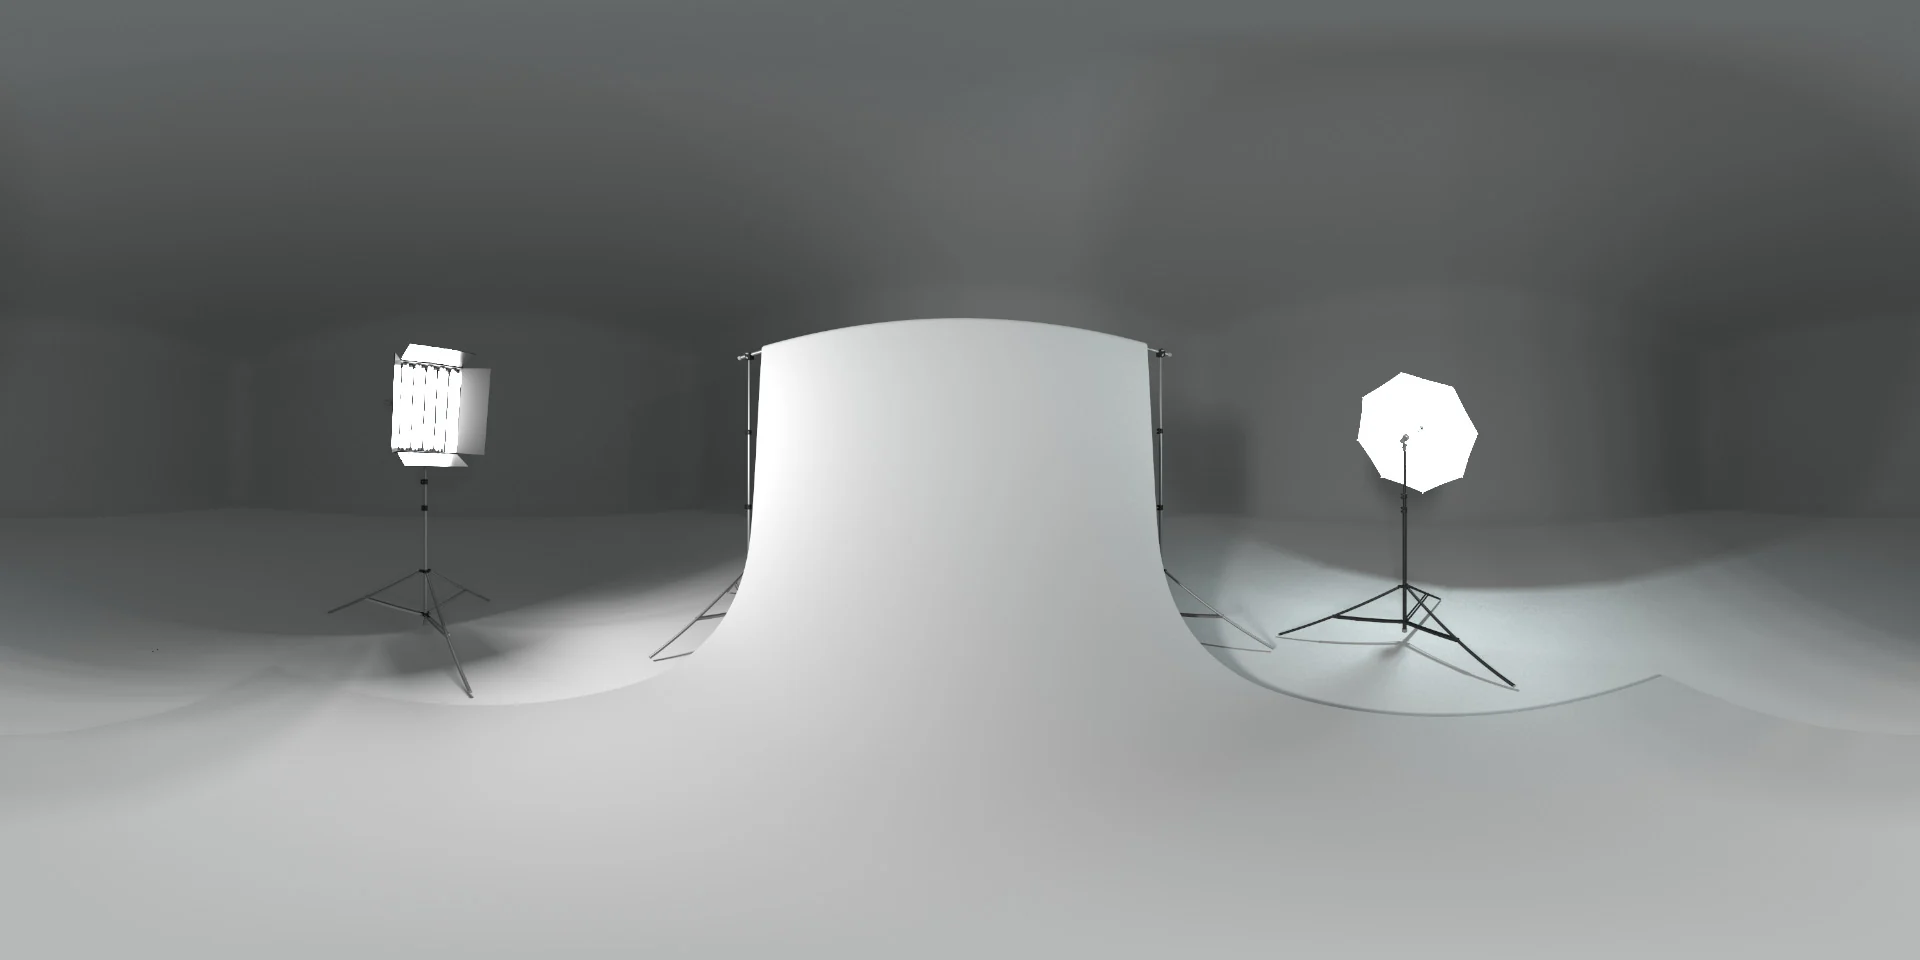
Begin with an environment containing recognizable light shapes. Studio 004 Neutral Mixed Softboxes HDRI offers rectangular and octagonal sources in its preview, making it a practical candidate for comparing broad and compact reflections. Load the actual HDR file for lighting; a website preview is not a substitute for its dynamic range.
Rotate the environment in small steps and render a few clearly named alternatives. Look for a gradient across the bowl, a visible rim and a dark region that separates adjacent surfaces. Do not expect one environment angle to flatter every part equally. Choose the angle that explains the most important feature first.
Keep the background in the comparison. If the object’s bright edge meets an equally bright backdrop, try a different background value or rotate the environment before changing the material. The object can be well lit and still have poor separation in the final image.
Place one controllable highlight
If the environment leaves the stem unreadable, add one rectangular area light. Move it while looking through the final camera. Its position should create a useful reflected strip on the stem or bowl rather than simply brighten the entire scene.
Blender’s light-object documentation describes the available area shapes. Treat the rectangle as a shape you are composing in the reflection. A wider source can cover more of the curved surface, but it may also obscure the hammered pattern. Adjust position and dimensions independently so that you know which change helped.
Check the light’s Normalize setting if your Blender version provides it: the Blender light API reference describes normalization as keeping total output consistent across source sizes and shapes. Record that state with your settings. A power number copied from a different scene is not a dependable brightness recipe.
Preserve dark regions that explain the form
A metal object does not need a bright reflection everywhere. Dark bands can reveal the curvature between two highlights. When the whole bowl turns pale, first disable the new light and compare it with the baseline. Then reposition the source or reduce its contribution.
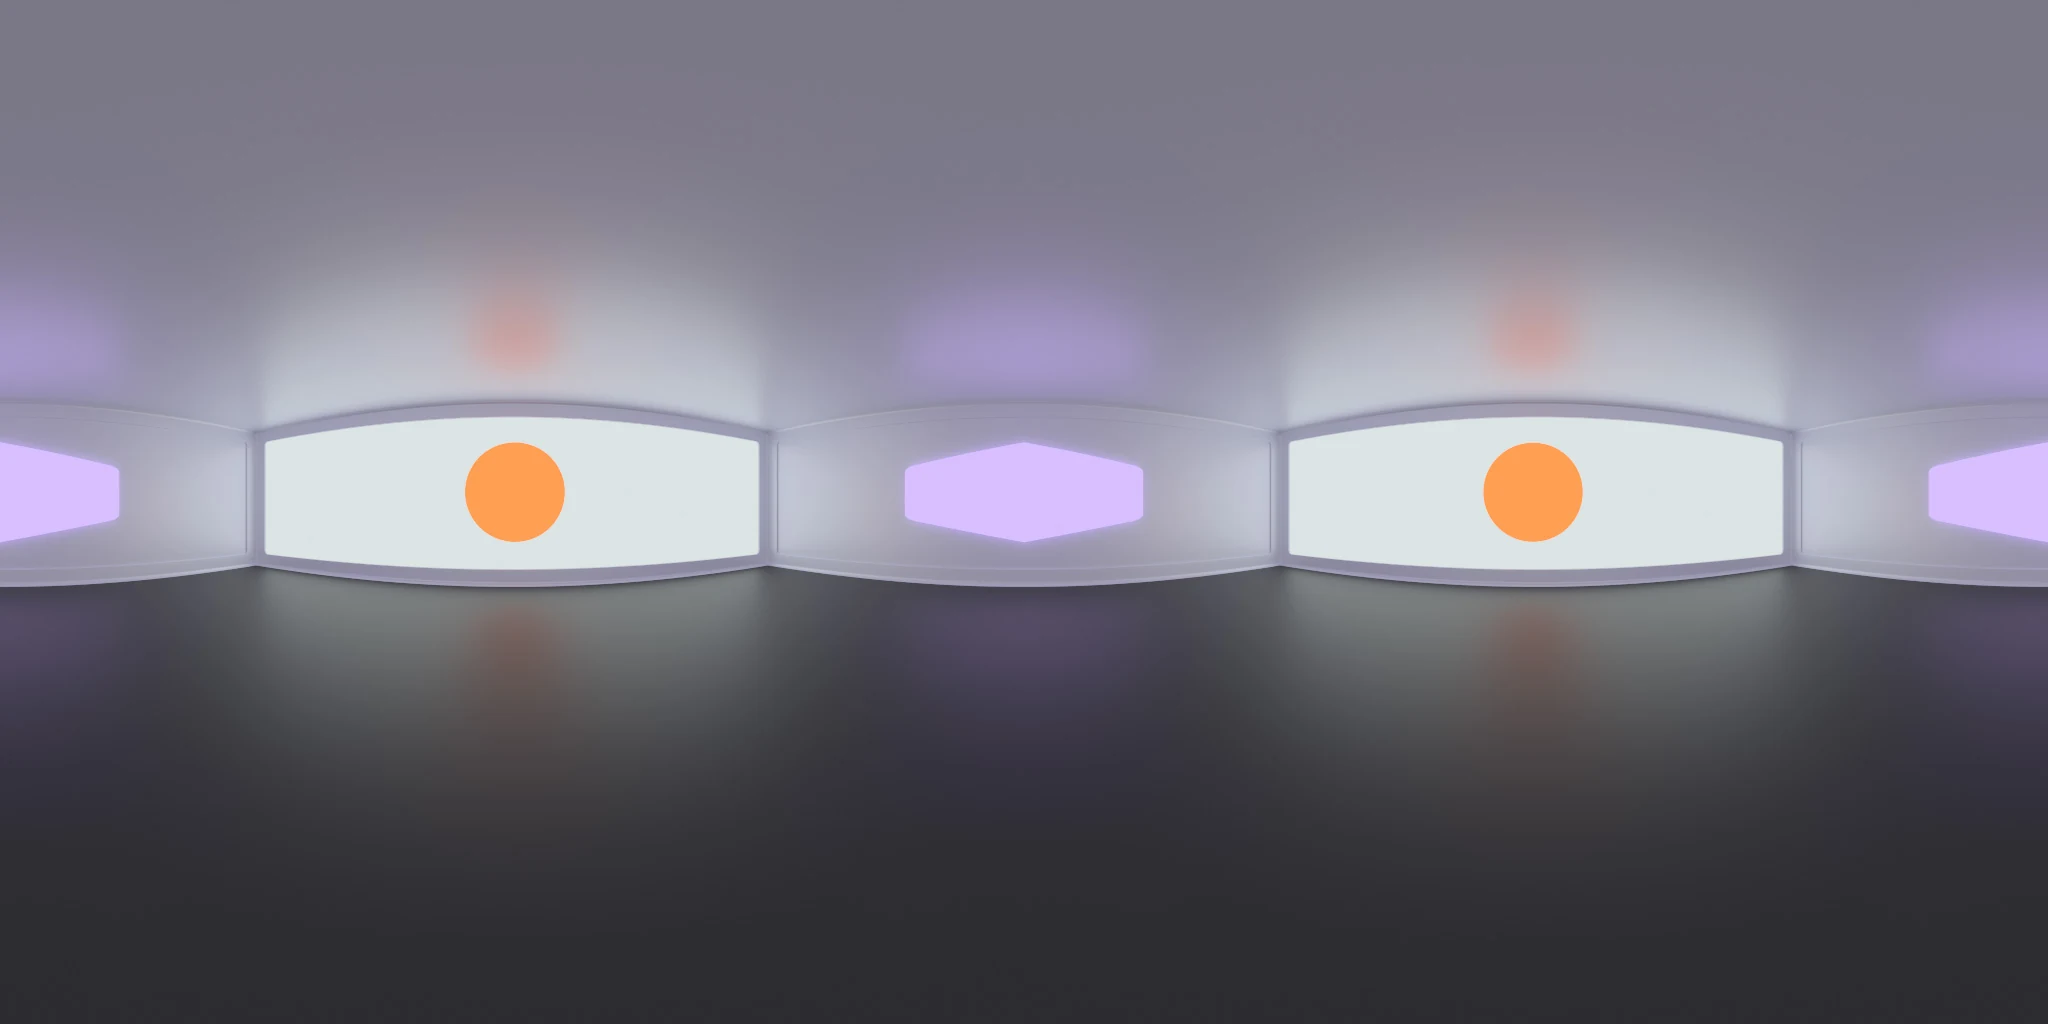
If the reflection pattern itself is unsuitable, try Studio Lighting 014 HDRI as an alternative study in circular and rectangular source shapes. Keep the model and material identical while comparing environments. Choose the arrangement that explains the form, even if another map creates a more dramatic background.
For a localized dark reflection, a dark card placed outside the camera frame can be an artistic control. Check that it does not block the desired lighting or unexpectedly enter another view. Keep such presentation geometry clearly named so it cannot be mistaken for part of the asset.
Diagnose the material only after the light placement
Move a source before repainting a roughness map. If an unreadable patch follows the source, the reflection placement needs attention. If the surface remains implausible under several environments, inspect the shader and maps separately.
A damaged object also needs material-specific judgment. The rusted-metal workflow explains why exposed metal and corrosion should not be treated as one uniform surface. Lighting cannot make every part of a coated or weathered object behave like polished bare metal.
| Symptom | Controlled test | Useful decision |
|---|---|---|
| Bowl becomes one white patch | Reduce the reflected source width | Keep enough gradient to show curvature |
| Stem disappears | Move one local source while keeping the camera fixed | Place a narrow highlight beside a darker region |
| Rim merges with the background | Change background value temporarily | Separate the outline before adding detail |
| Texture disappears only in one spot | Move the highlight | Resolve reflection placement before changing maps |
Save a repeatable inspection set
Keep the baseline, the environment-only favorite and the combined-light result. Name each by the change it tests, not by a vague label such as final-final. Record environment rotation, local-light dimensions, power, normalization state and exposure beside the scene.
Before delivery, inspect a second angle. If the lighting only works from one camera, present it as a still-image setup. For a rotating presentation, use the Blender asset turntable workflow and inspect several frames before rendering the whole sequence. The aim is a metal prop whose silhouette and surface can be understood, with every added light serving a visible purpose.