
To customize a Blender interior scene, start with a clear visual brief, establish the camera, then change the furniture arrangement, material palette and lighting in that order. Keep a baseline render so you can judge whether each change improves the image. A ready-made scene gives you a starting structure; your choices determine the result.
A furnished room can save you from building every chair, wall and lamp before exploring an idea. It also gives you an opportunity to study how those elements work together. At 3DSkillUp, I approach this as a design exercise: decide what the space should communicate, then make the supplied assets support that direction.
This guide follows an illustrative living-room makeover: a neutral room becomes a warm reading space with a green sofa, pale stone table and soft window light. You can apply the same sequence to a bedroom, kitchen or home office.
Choose a scene that fits the brief#
Interiorverse’s Superhive store lists interior scenes, scene collections and individual furniture models. For this workflow, a furnished scene offers a useful base; a furniture model suits an existing room that needs one replacement piece. Choose according to the work you actually need to avoid repeating.
Look beyond the most attractive preview. Compare the room proportions, window positions and furniture footprint with your intended shot. Read the selected listing for its Blender version, render engine, included files and any dependencies. A scene built around a wide corner window will be an easier starting point for a daylight reading area than a room whose appeal depends on artificial lighting.
Affiliate disclosure: This article contains affiliate links. I may earn a commission if you purchase through them.
Explore Interiorverse's interior scenes and furniture on Superhive to find a starting point that fits your room and visual direction.
Before editing, write one sentence: “A quiet reading room in warm daylight, with the sofa as the focal point.” Add three constraints: a warm neutral background, one green accent and an uncluttered path through the room. These choices make it easier to decide what belongs.
Save a working copy and render the starting scene#
Open the supplied scene using a compatible Blender version and save a separate working copy. Keep the original download intact. Check the active camera, render engine, World lighting, color management and compositor before changing them. Render a small baseline image using the supplied setup.
If the baseline is unexpectedly pink, check missing image paths first. If it is unusually dark or different from the preview, inspect the active camera, lighting, render visibility and color-management settings. Correct setup issues before redesigning the room, so you are not solving two unrelated problems at once.
Use the Outliner to identify the architecture, furniture, lights and decorative objects. Group your additions in clearly named collections. Hide candidate objects temporarily while comparing arrangements, and verify their render visibility separately from viewport visibility.
Open the complete scene or append selected furniture?#
Open the supplied BLEND file when you want to retain its overall scene setup. Use File → Append when you want to bring selected objects or collections into another project as local data. Appending furniture does not automatically reproduce the source scene’s lighting and render configuration.
Link keeps a connection to an external library instead. That is useful for managed asset libraries, but linked data is not directly editable in the same way; library overrides or localization may be appropriate. For this exercise, editable local furniture is usually simpler. Blender’s Link and Append documentation explains the distinction.
Establish the camera before detailed editing#
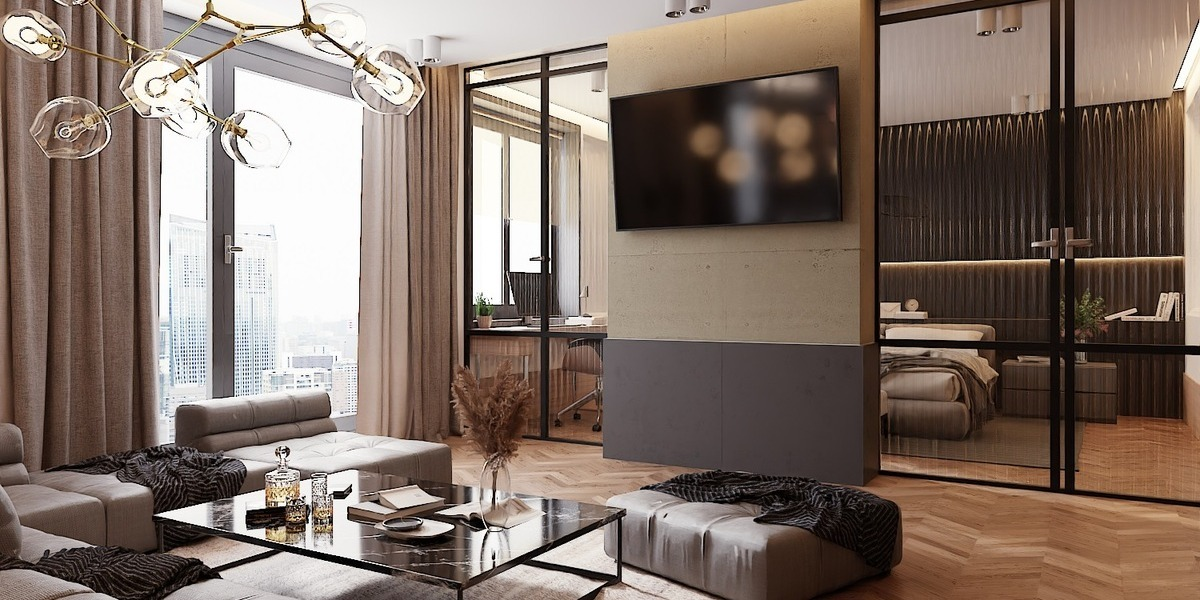
Choose one main view and set the output aspect ratio early. Frame the sofa, table and window relationship before spending time on details that might never appear in the image.
Move the camera to find a convincing perspective, then adjust focal length to refine the framing. An extremely wide view may fit the whole room while making foreground furniture feel oversized. Try stepping back where the architecture allows it instead of continually widening the lens.
For an architectural view with upright verticals, keep the camera level and use vertical lens shift to adjust the framing. Camera rotation and lens shift produce different results, as illustrated in Blender’s camera reference. Check the edges of the frame for stretched-looking furniture and awkward crops.
The small interior composition exercise offers a useful test: read the image as simple shapes. If the sofa merges into the window frame or the table cuts across an important silhouette, solve that now.
Change the layout with a purpose#
Preserve furniture dimensions while testing positions and orientation. Move the sofa so it receives light from the side, place the table within plausible reach and leave a clear route to the doorway. A convincing room should suggest how someone would use it.
When replacing furniture, compare its footprint, seat height and relationship to nearby objects. The consistent asset scale workflow helps when models from different sources arrive at different sizes. Avoid distorting an object along one axis just to make it fit.
For the reading-room example, start with only three edits: reposition the sofa, remove a competing chair and turn the table slightly toward the camera. Render a preview before adding more objects. If the space already reads better, keep the simpler arrangement.
Build a coordinated material palette#
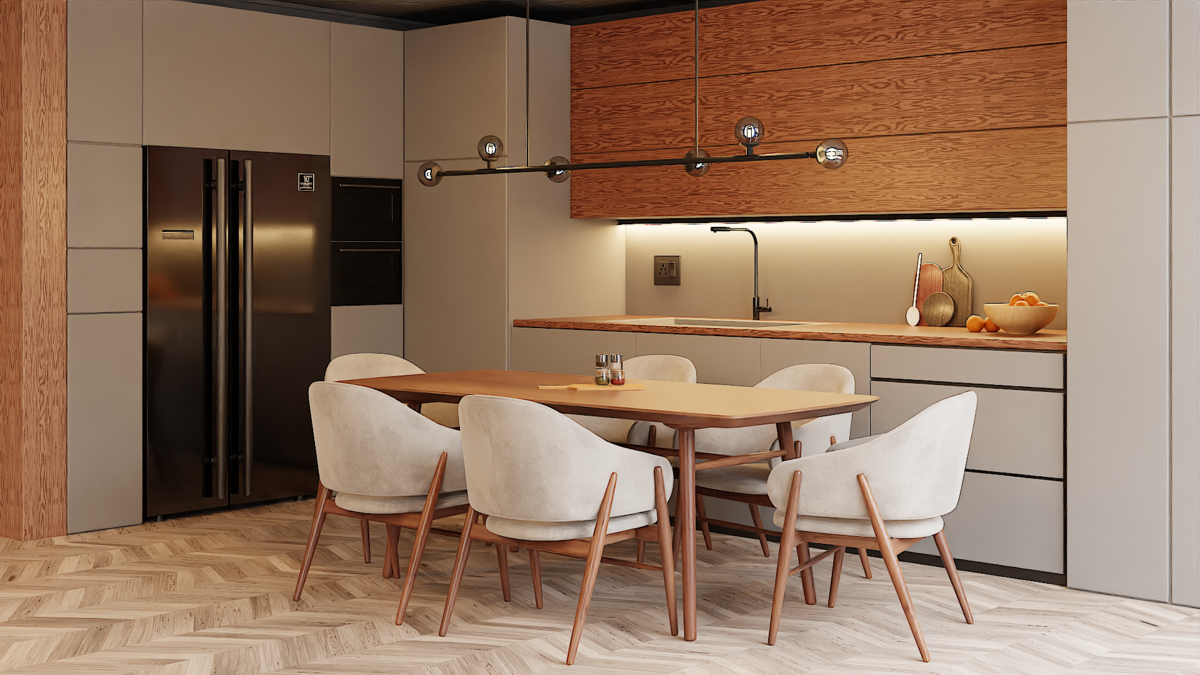
Work from large surfaces to small accents. Set the wall and floor first, then the sofa and table, and finally decorative items. A restrained palette makes material differences easier to judge.
| Element | Example change | What to inspect |
|---|---|---|
| Walls | Warm off-white | Bright enough to support the room without losing surface definition |
| Sofa | Muted green fabric | Fabric detail and highlights remain visible in the main view |
| Table | Pale stone | Grain and pores have a believable scale relative to the tabletop |
| Wood furniture | A consistent warm finish | Grain follows the construction of each part |
| Small accents | A few darker objects | Contrast draws attention toward the seating area |
These are design choices for the example, not settings supplied with a particular Interiorverse product.
Make material edits independent where needed#
Before changing a shared material, check which objects use it. Create a separate material copy when only one sofa or table should change; otherwise, editing that material can alter every object using it. Renaming the same shared material alone does not make it independent.
Adjust one material property at a time. For standard PBR image sets, treat Base Color as color information and roughness, metallic and normal maps as data, typically using Non-Color for those data textures. Feed a tangent-space normal texture through a Normal Map node rather than connecting it directly as a color value. The Blender PBR texture setup guide covers the connections.
Check mapping before judging texture resolution. Large stone pores or grain running sideways across a chair leg can look wrong even with detailed maps. Use the wood grain direction guide for furniture, and the stone countertop mapping exercise for table edges and slab surfaces.
Relight the room around one main source#
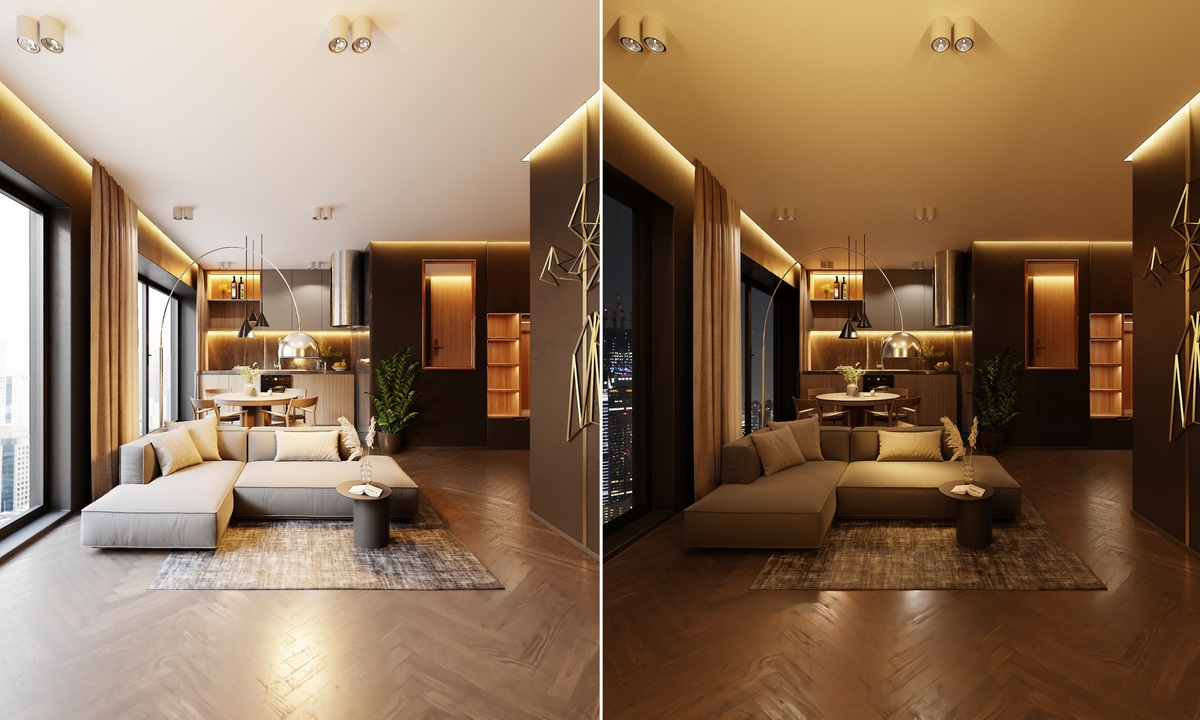
Keep the existing lighting while testing your layout and palette. Then change the lighting deliberately, with one source providing the main direction. For our reading room, that direction comes from the window beside the sofa.
If the scene uses an HDRI, rotate the environment to test where its brighter regions illuminate the room. Compare the shadows and reflections from the same camera. Keep exposure and the view transform consistent while making these comparisons, so changes in the lighting remain easy to identify.
Add a restrained area light only if a specific part of the room needs support. A fill that brightens every shadow equally can flatten the image. The HDRI versus area lights comparison explains how to separate environmental illumination from targeted control.
Avoid solving a dark room by increasing every light at once. Check whether the window opening is obstructed, whether the environment is contributing as intended and whether a material is absorbing more light than expected. Then adjust the relevant source or exposure while watching bright surfaces for lost detail.
Add details that support the story#
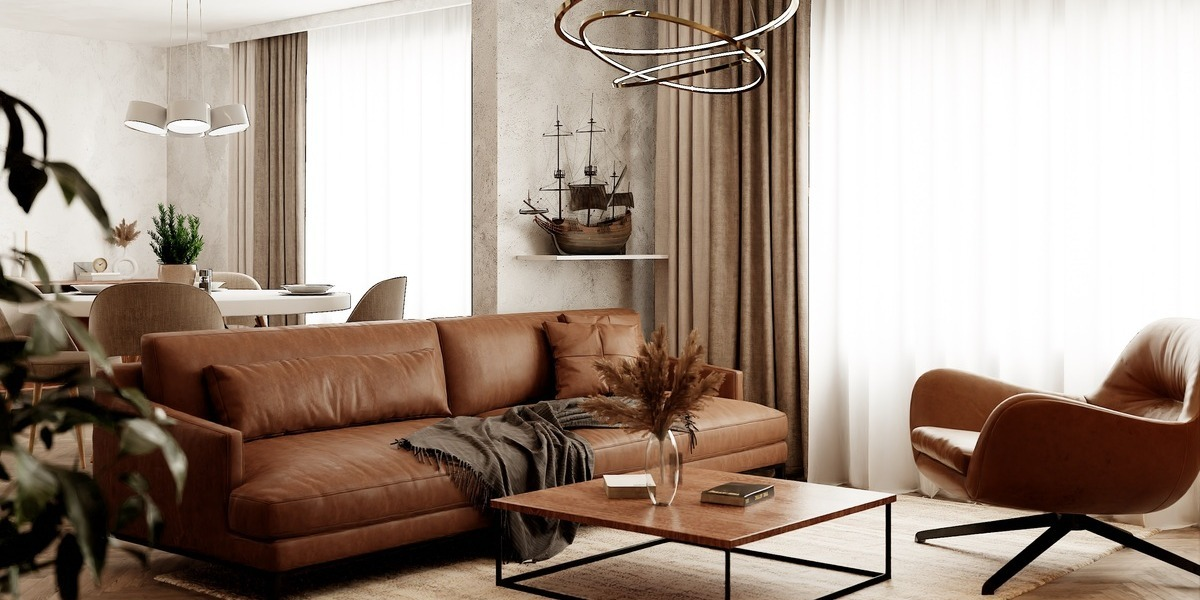
A book beside the sofa, a cup on the table and a folded throw can suggest use without filling every surface. Give each group a reason to be there. Leave some quiet areas so those details remain readable.
Inspect contact points from a side view as well as the camera. Cups should sit on the table, furniture feet should meet the floor, and soft furnishings should not intersect rigid surfaces visibly. Reflections may reveal objects outside the camera, so check before hiding or deleting them.
For a portfolio image, keep a note of your contributions: composition, material changes, lighting and any original modeling. Credit purchased resources where appropriate and follow their license. This makes your creative work clear without implying you modeled the entire supplied room.
Refine the render with focused comparisons#
Save checkpoints such as layout, materials and lighting. Compare previews from the same camera and at the same output size. If a change does not help the focal point or atmosphere, revert it before moving on.
Use small test renders for broad decisions, then inspect crops of the sofa fabric, stone surface and bright window area at the intended final resolution. Increase sampling where noise is still visible and evaluate denoising on fine details. Higher samples will not fix missing textures, incorrect scale or an unbalanced composition.
Before the final render, confirm the active camera, object visibility, output path and color-management settings. Reopen the saved working file once to check that its image dependencies resolve correctly.
Frequently asked questions#
How can I make a ready-made interior look different?#
Change connected decisions: camera position, furniture arrangement, dominant materials and light direction. Recoloring one object may be enough for a small variation, but a distinct visual brief usually calls for several coordinated changes.
Why do several objects change when I edit one material?#
They may share the same material data-block. Make a separate copy of that material for the object you want to change, then edit the copy. Check node-group sharing too if changes inside a group affect other materials.
Should I use Cycles or Eevee for a purchased scene?#
Begin with the engine specified by the creator. Switching engines can change material and lighting behavior, so treat that conversion as a separate task after you have established a working baseline.
Can I include the result in a portfolio or client project?#
Check the license attached to the specific purchase and any client requirements. Permission to use assets in a rendered project is different from permission to distribute the source files. Describe your own contribution accurately when presenting the work.