For believable wood grain direction in Blender, unwrap furniture according to how its parts are constructed. A table leg, a rail and a top may use the same texture, but their grain should follow different paths. Start with those paths before adjusting gloss or adding wear.
This exercise uses a simple table with four legs, horizontal rails and a broad top. The aim is to make one wood material read as timber assembled into furniture, with intentional transitions between parts. You can apply the same decisions to shelves, cabinet frames and wooden display stands.
The PBR material overview explains the roles of the maps. Here, the main problem is placement: a detailed image still looks unconvincing when its grain cuts across a leg or changes size at a joint.
Read the furniture construction before unwrapping
Draw a grain-direction arrow on each major part of your reference. For a conventional solid-wood table, the grain generally runs along each leg and rail. The top may contain several boards running in one direction. Veneered furniture can use a different arrangement, so follow the actual construction shown in the reference.
Keep those parts identifiable in the mesh even if they ultimately share one object and material. A continuous UV projection across the entire table can hide the boundaries you need to control. Decide where one physical piece ends and another begins before treating the UV layout as a packing problem.
A cut end also deserves attention. A side-grain image wrapped over the end of a thick board does not become end grain. If that face is prominent, prepare a suitable separate end treatment or keep it outside the chosen view. Do not assume the side-grain texture package includes an end-grain variant.
Choose continuous grain or a board pattern deliberately
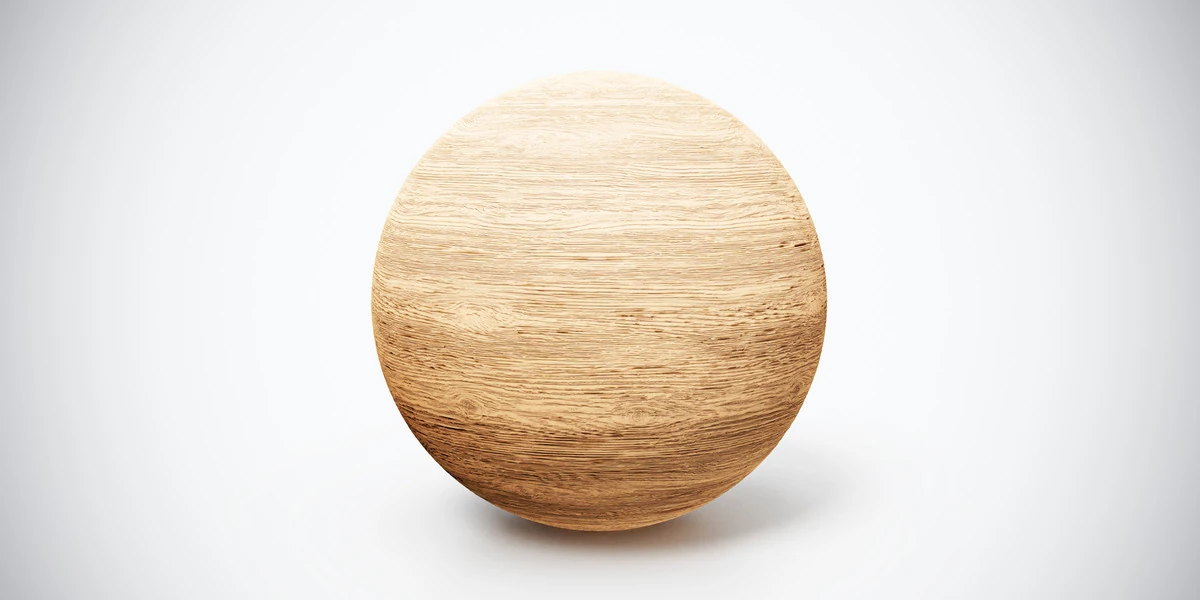
The fine wood grain texture is a useful starting point for rails and legs because its pattern does not impose obvious board joints. You can orient the grain independently for each constructed part without carrying a dark plank seam down a narrow leg.
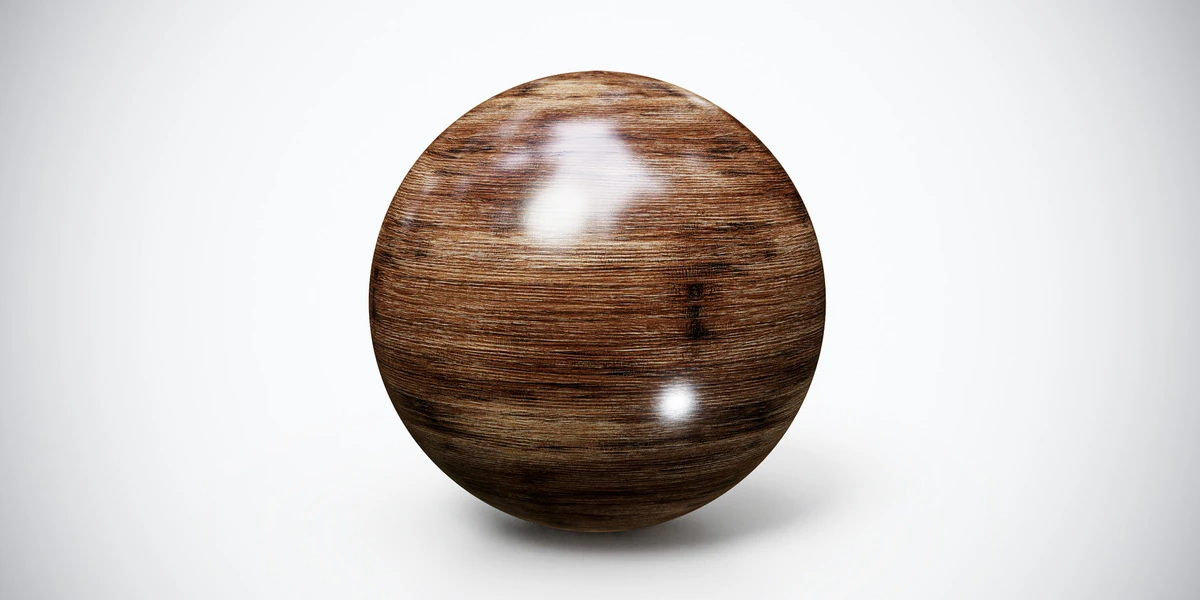
For a polished furniture study, the dark oak wood material offers a different tonal and reflection reference. Compare it on the same table under the same light. A change in finish should not require changing the furniture dimensions or hiding a mapping problem with darker color.
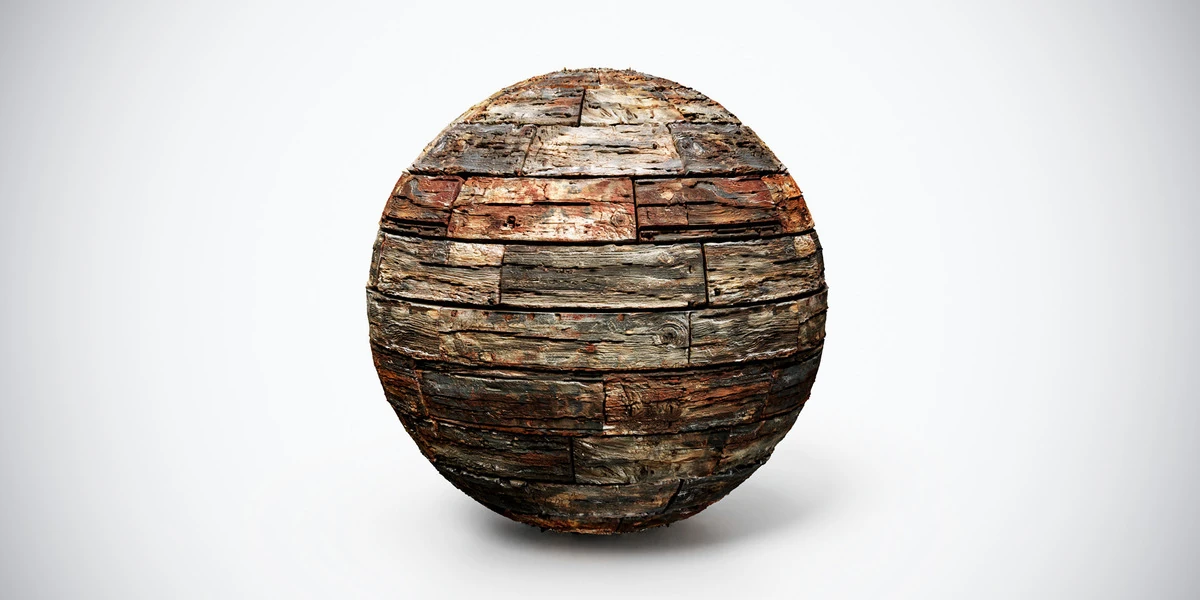
The weathered planks with dark joints suit broad multi-board surfaces. Their visible courses become a construction constraint: align them with the top’s board layout and inspect where the joints reach the edges. This pattern is less suitable for a small solid leg where a joint would imply several tiny boards glued together.
Establish scale on one flat test piece
Make a flat test panel with dimensions appropriate to the furniture and apply a checker before evaluating the wood. Check that the panel has the intended shape and that the squares remain square. The UV stretching troubleshooting guide helps separate distortion from a simple orientation mistake.
Next, inspect the wood on that panel and choose an apparent grain scale from the reference. Unless the product gives a physical coverage measurement, record this as an artistic mapping choice. A 4K image tells you its pixel resolution, not how many centimeters of timber it represents.
For a plank pattern, count the courses in one full tile. If your selected coverage spans 80 cm and the image contains four equal courses, they will appear roughly 20 cm wide. This is a planning example, not a measurement of the supplied material. Use the actual pattern and desired construction to choose your coverage.
Rotate islands to follow individual parts
Unwrap the top, legs and rails with seams at sensible construction boundaries. In the UV Editor, select each island and rotate it until the visible grain follows the intended arrow. A rail can need a different orientation from a neighboring leg even though their surfaces meet at a right angle.
Blender’s UV editing reference documents island transforms and Average Island Scale. Use uniform island scaling to keep apparent texture density consistent, then verify the result with the checker. Recheck orientation after packing: efficient use of image space is only useful if the grain still runs correctly.
Do not stretch only one UV axis merely to make a wood mark fit. That can turn rounded knots into long streaks and change the apparent width of the grain. Instead, choose another part of the repeating image or revise the seam layout when the surface cannot flatten cleanly.
Keep every PBR channel aligned
Once the color placement works, connect the other channels through the same intended coordinates. Use the Blender PBR setup workflow to check normal and roughness interpretation. Moving only the Base Color can separate a dark groove from the relief and reflection change that should accompany it.
Inspect one distinctive mark while changing the viewing angle. Its color, surface detail and finish should remain registered. If a material uses more than one UV map, explicitly check which one drives each image and the tangent-space normal interpretation; do not rely on an unnoticed default.
Keep a simple saved material before experimenting with extra layers. A polished preview does not mean you must add another glossy coat. Start with the supplied surface response and assess whether it already describes the intended finish. The roughness guide is useful when the result looks uniformly plastic.
Vary placement without losing construction logic
Use different offsets for separate boards so an obvious knot does not appear in exactly the same position on every piece. Move the complete map set together. An offset changes where the pattern begins; it should not change the grain direction or the chosen physical coverage.
Variation should reflect assembly. Two adjacent boards may have different marks while still sharing a comparable grain scale and finish. Arbitrary rotations across every face can introduce more visual noise than realism. Keep distinctive wear away from repeated positions that reveal duplication in the final camera.
If the furniture belongs in a larger room, evaluate it with the surrounding surfaces. The vintage interior guide discusses how wear and prop selection support a consistent setting. Avoid giving every timber surface equally strong damage merely because several aged textures are available.
Inspect joints and approve the final camera
Check the table from above, at seated eye level and close to one leg-to-rail connection. These views expose different problems: the top reveals repeat patterns, the side reveals grain orientation, and the joint reveals transitions between constructed pieces.
| Visible problem | First correction to try |
|---|---|
| Grain runs sideways across a long leg | Rotate that leg’s UV island |
| Knots stretch on a curved edge | Check unwrap distortion and island proportions |
| Board joints imply tiny strips on a rail | Use continuous grain for that part |
| The same mark repeats on all four legs | Offset islands while preserving coverage |
| Color grooves and highlights disagree | Check map coordinates and channel setup |
Finish with a render at the intended output size. Keep the material, UV scale and reference dimensions together in your project notes. The wood and bark collection provides alternative grain and plank patterns when the current one does not match the construction. Choose another surface when necessary; reserve UV adjustments for placing a suitable pattern correctly.