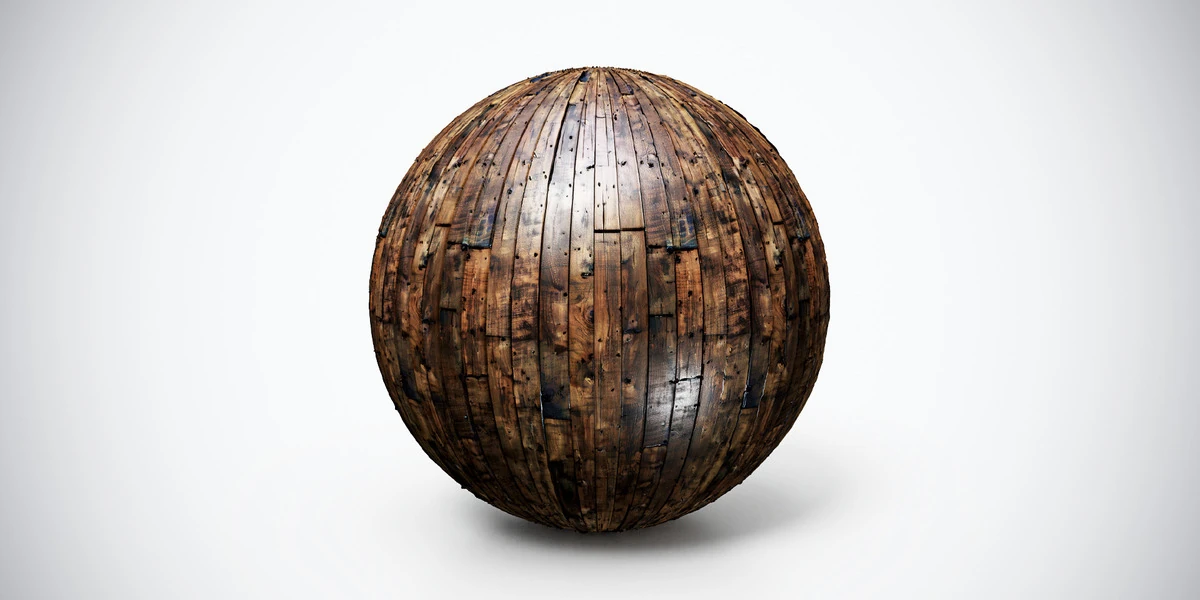
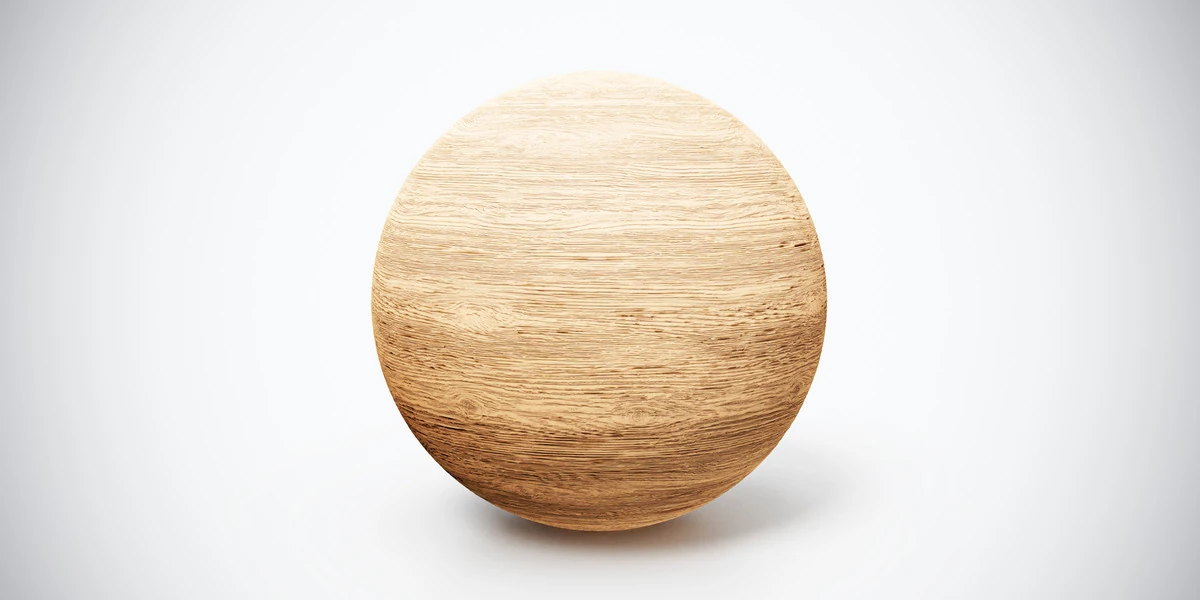
Texel density describes how much texture detail covers a unit of surface. Two objects can both use 4K textures and still look very different in sharpness because their size, UV allocation and texture repetition differ. Match the visible detail across your scene before increasing every image resolution.
This workflow is for comparing purchased assets and your own models in Blender. It complements the texture resolution guide: resolution describes the image, while texel density describes how that image is used on geometry.
Establish a shared physical scale
Place your objects beside a simple reference of known size. Confirm their intended dimensions before inspecting textures. A small prop imported several times too large may look blurry even though its maps are perfectly adequate for its intended use.
Use the consistent asset scale workflow if the measurements disagree. Correct scale on a working copy and recheck the material afterward. Do not resize a purchased object just to make its grain or scratches look smaller; that trades a material issue for an object-scale issue.
Decide which camera distance matters. A shelf seen across a room needs a different evaluation from an extreme close-up of the same shelf. Keep both the target view and one inspection view available, and label them so that you do not confuse the two standards.
Compare checker size before judging surface detail
Temporarily assign the same checker image and mapping approach to the surfaces being compared. Look for approximately equal checker sizes in world space. Stretched rectangles suggest directional UV distortion; consistently larger squares suggest lower density relative to the comparison surface.
A checker helps separate UV allocation from the content of a texture. A soft photograph does not become detailed because its pixels are allocated evenly. Likewise, an intentionally broad wood grain is not necessarily low resolution. Check both the geometry mapping and the source image before deciding what to change.
In Blender’s UV Editor, Average Island Scale can help equalize selected islands before packing; see the UV editing reference. It is a starting point, not a universal numeric density target. Different texture sizes, object dimensions and later packing changes still need comparison.
Use a simple numeric example
For an undistorted straight surface segment, a useful one-dimensional estimate is:
pixels per meter = texture width × UV span ÷ surface length in meters
Suppose a two-meter board uses half the width of a 2048-pixel image along its length. It receives approximately 2048 × 0.5 ÷ 2 = 512 pixels per meter along that direction. If another two-meter board uses the full width of the same image, it receives about 1024 pixels per meter.
This estimate is directional, not a complete measurement of curved or stretched geometry. Check the other direction as well. For a repeating material, a UV span greater than one describes repeated texture coverage: it can increase effective detail per meter while also repeating every knot, stain or crack more often.
Distinguish tileable materials from baked textures
A tileable wood material can usually be repeated across a suitable surface, provided every associated map uses matching coordinates. The Rustic Wood Planks PBR Texture makes a useful scale study because recognizable boards and nail marks provide clues. Choose plausible board dimensions first, then judge sharpness at the camera.
The Fine Wood Grain PBR Texture provides a different exercise: fine lines may look sharp while the overall grain scale is still implausible. Use the wood-grain direction workflow to keep orientation consistent with the construction of the object.
Do not apply the same UV changes casually to a uniquely baked prop. Moving islands changes the relationship between the mesh and its baked textures. Preserve the original UVs unless you are prepared to reproject or rebake the affected maps. A second UV set or a separate detail layer may be more appropriate, depending on the material and engine.
Allocate detail where the player or camera needs it
Equal density is a useful baseline, not a requirement that every hidden surface consume the same space. A close-up label may deserve more texture area than an unseen underside. The tradeoff should follow the intended shot or gameplay use and remain consistent across related assets.
Before increasing a whole texture set, ask whether one prominent island is undersized. Before shrinking every map, check the closest supported view. Texture decisions should be made on the delivered result, not only on the UV layout or a zoomed-in image editor.
| Symptom | Check first | Likely next step |
|---|---|---|
| One prop looks softer than its neighbors | Scale and UV allocation | Match density before replacing maps |
| Grain looks sharp but enormous | Real-world pattern size | Correct material tiling |
| Checker squares become long rectangles | UV distortion | Repair stretching |
| Baked details move after a UV edit | Original UV-to-map relationship | Restore UVs or plan a rebake |
| Repeating knots become obvious | Frequency of the tile | Balance scale with repetition control |
Validate the material at delivery size
Restore the real materials and render the actual camera. Inspect both surface detail and pattern scale. Use the UV stretching guide when distortion remains, or the texture repetition workflow when recognizable motifs are the main issue.
Save the chosen scale, map size and any intentional density exceptions with the asset setup. When browsing the PBR material collection, choose a pattern that fits the surface and viewing distance. A higher-resolution file is useful only when the mapping and source detail allow those extra pixels to contribute.