
A Practical Guide to Clean UV Maps, Better Textures, and Game-Ready 3D Assets
Good UV unwrapping gives each surface the texture space, orientation and continuity it needs. A layout can fit neatly inside a square and still produce stretched labels, blurry panels or seams that appear only after export. Increasing the texture resolution rarely fixes those underlying problems.
This guide helps you diagnose ten common mistakes in Blender and check whether your fix actually worked. You will need a mesh, basic familiarity with Edit Mode and a labeled checker image. The examples focus on static props; the same inspection habits also help with characters and environments. Menu placement can vary between Blender versions.
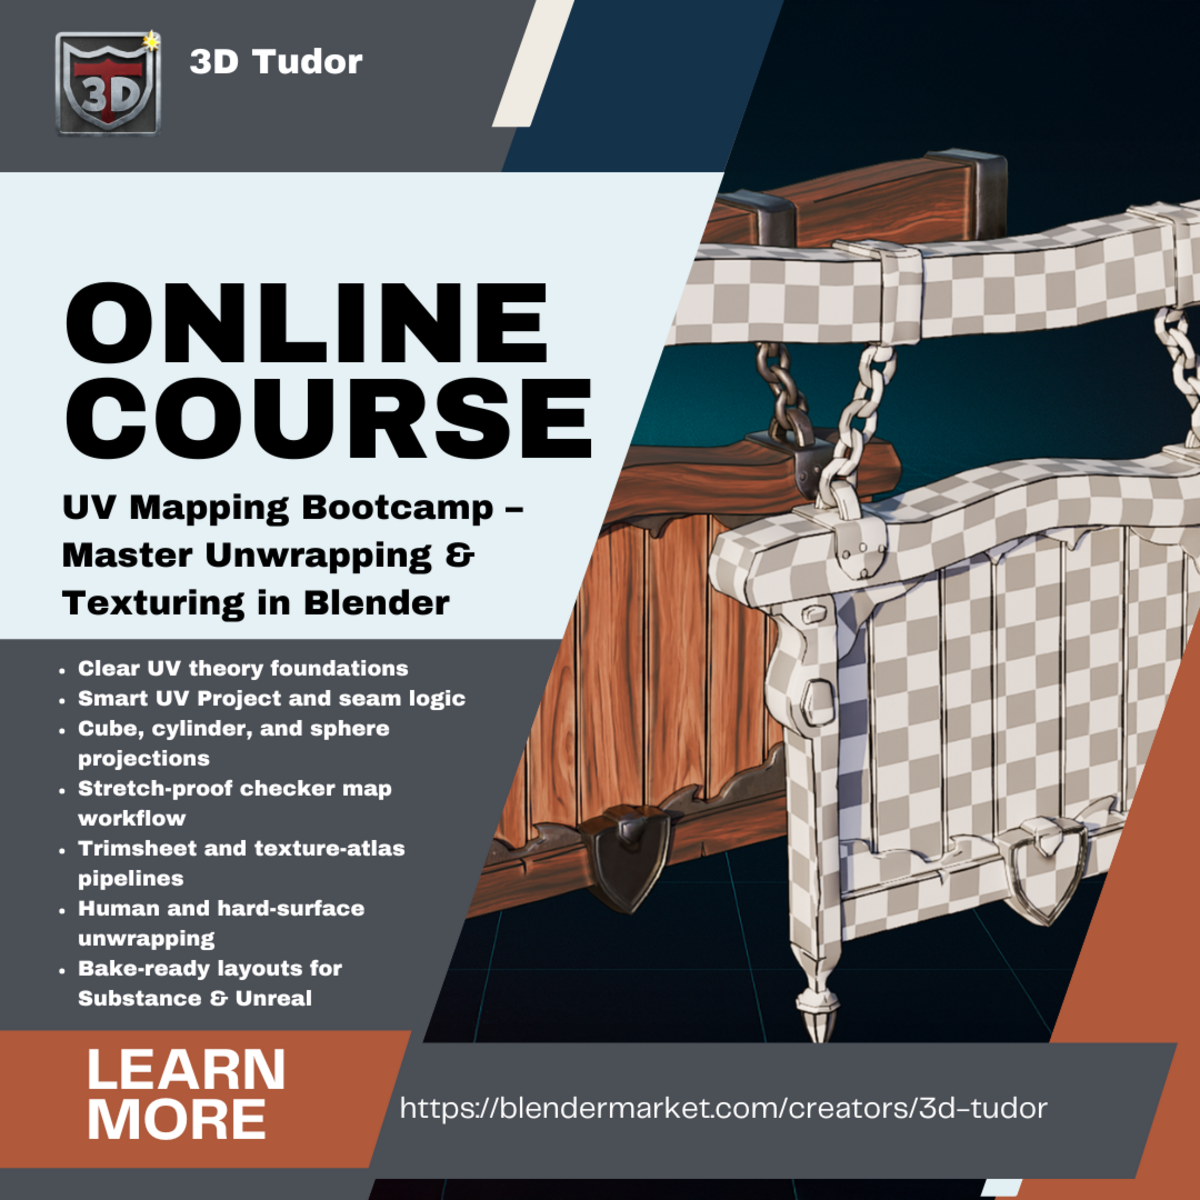
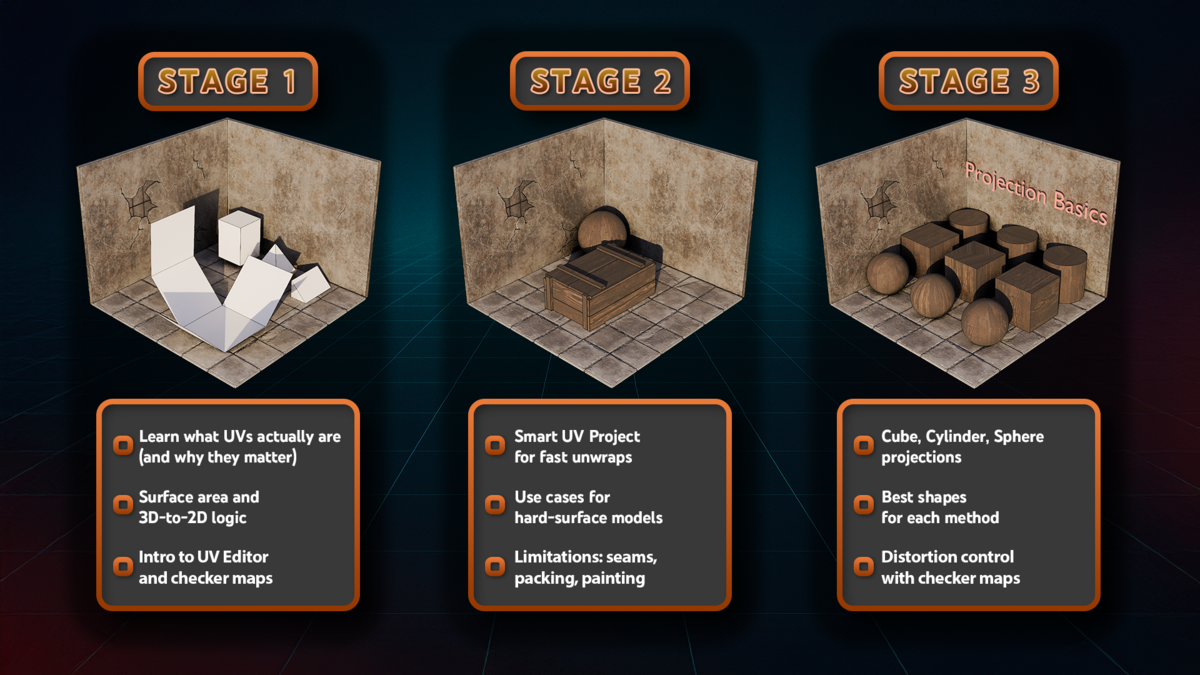
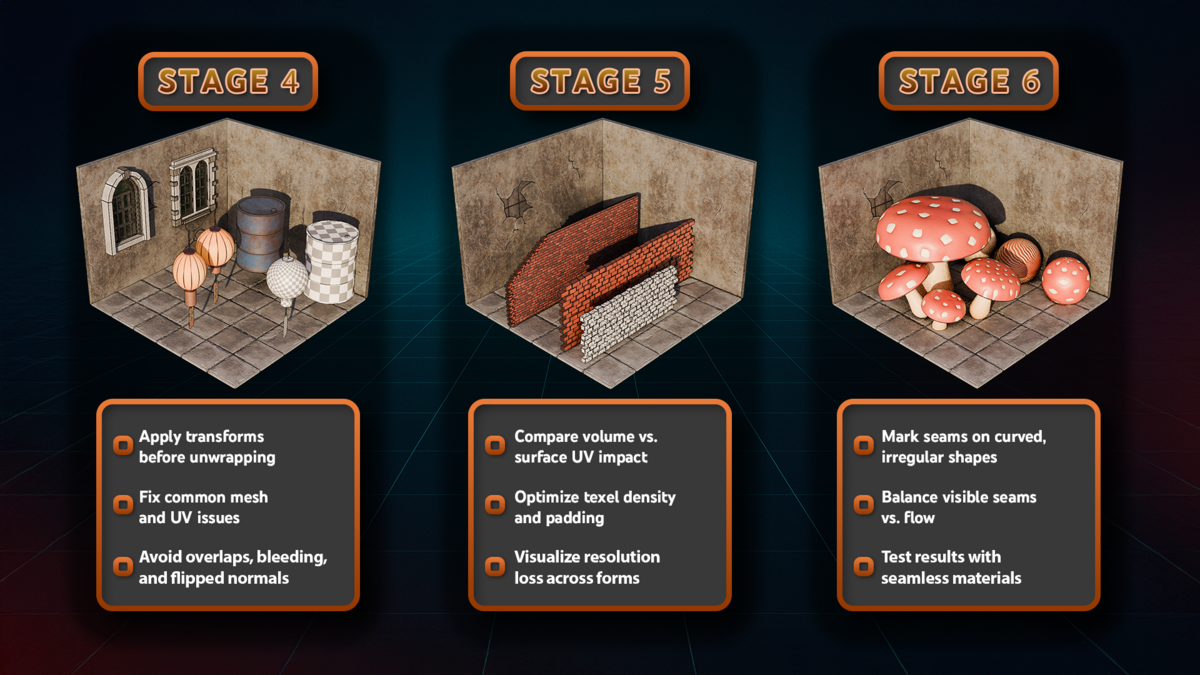
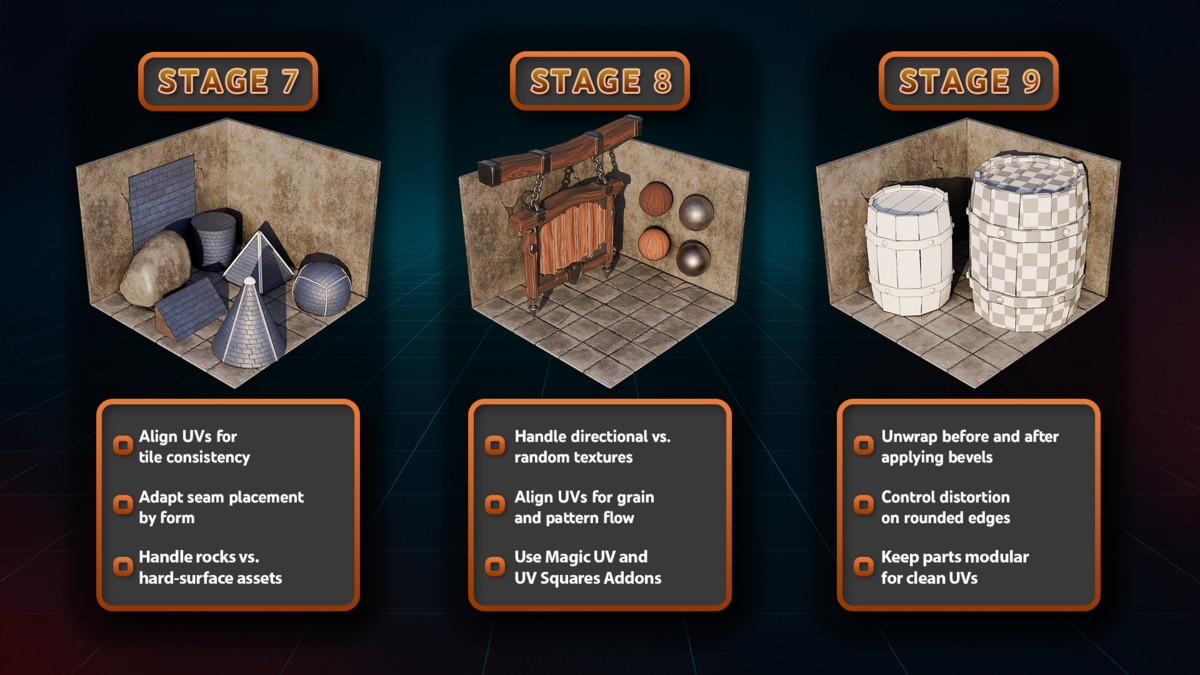
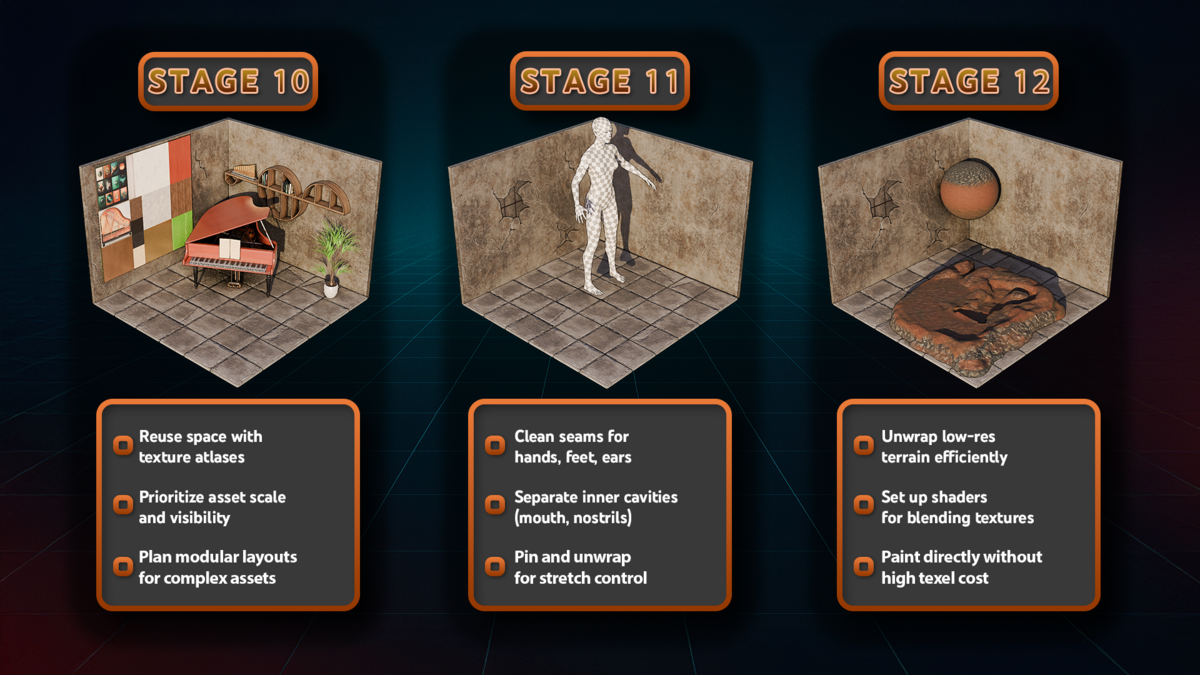
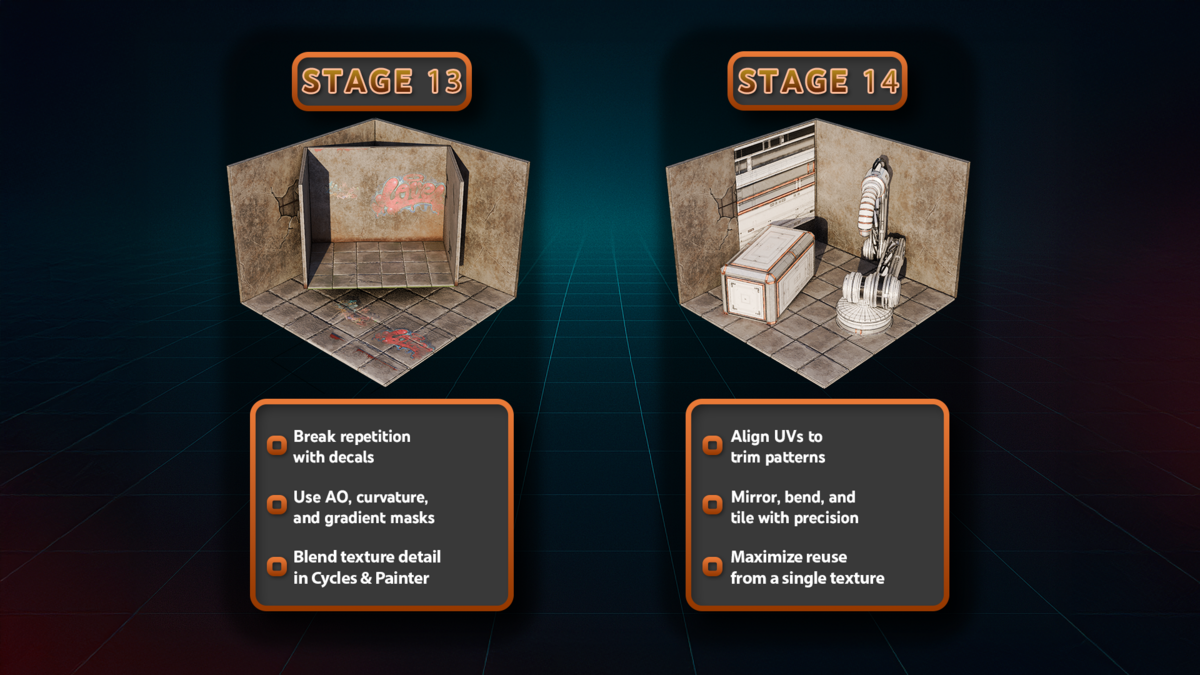
For a structured learning path, UV Mapping Bootcamp: Master Unwrapping & Texturing in Blender by 3D Tudor complements the exercises below. All six course images in this article belong to 3D Tudor. They show the advertised curriculum, not results produced by our practice exercise.
Affiliate disclosure: This article contains affiliate links. I may earn a commission if you purchase through them.
If guided demonstrations suit your learning style, explore the UV Mapping Bootcamp on Superhive alongside this troubleshooting guide.
Diagnose the symptom before changing the layout#
Use the same checker material across the objects you are comparing. In the shader, connect a UV Map node set to the map under inspection to an Image Texture node containing your checker, then connect its color to the material’s Base Color. Use Material Preview to inspect it. Generated coordinates, object coordinates or triplanar mapping can hide a broken UV layout.
| What you see | First thing to investigate |
|---|---|
| Squares become long rectangles | Object scale, island proportions and seam placement |
| Squares stay square but change size | Texel density and UV allocation |
| Numbers read backward | Mirrored islands or a reversed mapping transform |
| Thin borders appear at a distance | Island spacing, texture dilation and mip filtering |
| Blender looks correct but the export does not | Exported UV channels, material mapping and evaluated geometry |
Generate a numbered test image with the UV Checker Generator. Inspect a face close to straight-on: perspective alone can make a correctly mapped square look compressed.
1. Unwrapping before checking scale and mesh health#
The mistake: You stretch a cube in Object Mode, unwrap it immediately and begin correcting individual UV vertices. An unapplied non-uniform scale or damaged mesh may be making the task harder than necessary.
Fix: For a new static prop, establish its intended dimensions first. In Object Mode, use Ctrl+A → Scale, then unwrap again. Applying scale does not automatically repair an existing UV map. Blender’s Apply transforms reference explains the operation and the extra care needed with shared data, modifiers and rigs. Plan this before rigging; do not blindly apply transforms to an animated production asset.
Inspect the mesh for duplicate faces, zero-area geometry and unintended internal surfaces. Check face orientation, especially around cavities. If you use Merge by Distance, choose a tolerance smaller than the features you need to preserve and inspect what it merged. An open surface is not automatically an error; the question is whether its geometry matches your intended object.
Verify: The dimensions remain correct, the static object’s scale reads 1 on each axis, and a fresh unwrap behaves predictably. Keep a copy before cleanup so that a removed seam or small feature is recoverable.
2. Using Smart UV Project for every object#
The mistake: An automatic unwrap produces dozens of tiny islands, so a continuous stripe or painted detail becomes difficult to control.
Fix: Choose the method according to the surface and texture. Smart UV Project can be useful for a quick hard-surface starting point. A seam-based unwrap usually gives you more control over connected paintable regions. A simple cylindrical part may benefit from a cylindrical projection; a complex handle needs a more deliberate cut pattern.
Do a small comparison on a duplicate: unwrap one version automatically and another with planned seams. Count the islands you actually need to paint across, then compare distortion and spacing. The more fragmented layout is not necessarily wrong, but each extra boundary creates another continuity and padding decision.
Verify: The layout supports the intended material. A background metal bracket and a close-up object with typography do not need the same UV strategy.
3. Placing seams where they cannot unfold the surface#
The mistake: You avoid visible seams so aggressively that a closed, curved surface is forced into one heavily distorted island. Alternatively, you cut every edge and make the layout unnecessarily fragmented.
Fix: Think of the mesh as a paper shell. For a capped cylinder, start with one longitudinal seam along the side and seams separating the caps. Select the intended edges in Edit Mode, use Mark Seam, select the faces and unwrap. The side should open into a strip, with separate cap islands.
On a prop, place cuts along an underside, a concealed corner or a natural construction boundary where possible. A visible but well-painted seam can be preferable to badly stretched texture across the main surface. Curvature may require additional cuts; there is no universal seam count.
Verify: Inspect the inside of handles, holes and recesses as carefully as the outside. If one region still collapses, revise that region’s seams and unwrap it again before manually dragging dozens of UV points. Blender’s seam documentation is a useful reference for the underlying workflow.
4. Judging UVs without a checker or stretch inspection#
The mistake: A noisy stone texture looks acceptable, but a label later becomes distorted on the same surface. The first material concealed the problem.
Fix: Test with a numbered checker, then with a directional pattern similar to the final material. Look for bent lines, elongated cells and sudden size changes. Use the UV Editor’s Display Stretch overlay as a second diagnostic: Angle and Area reveal different aspects of distortion, as described in the UV overlays reference.
Fix a poor seam pattern before trying to relax the island. Where the cuts are already sensible, pin important UV positions and try a restrained relaxation on the remaining region, comparing against your saved layout. Do not force every curved surface into a perfect rectangle if that simply moves the distortion elsewhere.
Verify: Inspect the intended camera distance and a closer diagnostic view. Aim for distortion that is acceptable for the asset’s purpose, not an arbitrary overlay color. The detailed guide to UV stretching in Blender explores this diagnosis further.
5. Confusing texture resolution with texel density#
The mistake: Two props use 2048-pixel textures, yet one looks much sharper. Their UV allocation or physical scale differs.
Fix: Compare how many pixels cover a known surface distance. On a square 2048 × 2048 image, a straight 0.5-meter edge occupying 0.25 of the U axis receives 512 pixels along that direction: 512 ÷ 0.5 = 1024 pixels per meter. If that same UV span covers one meter, the density falls to 512 pixels per meter. This is an illustrative calculation, not a required production target.
For islands sharing a texture, Average Island Scale is a useful starting point for relative consistency. It does not choose an absolute pixels-per-meter target. Packing with automatic scaling can change the final density again, so measure after packing. Keep intentional exceptions, such as extra space for a readable label, tied to actual viewing needs.
Verify: Adjacent objects show comparable checker sizes under the same material mapping. If the whole asset remains blurry despite consistent density, revisit the texture budget and viewing distance. Use the texel density workflow for game assets for a deeper comparison.
6. Packing tightly without allowing for texture bleed#
The mistake: Islands almost touch. The full-resolution texture looks fine, but dark outlines or neighboring colors appear when the camera moves away.
Fix: Treat UV spacing and texture dilation as separate requirements. Spacing leaves room between islands; dilation extends valid texture colors beyond their boundaries into that room. Empty black pixels around a baked island are not useful protection against filtering.
Choose spacing for the delivered resolution and the smallest mip levels that matter in your target view. An eight-pixel feature at 2048 pixels becomes approximately one pixel at a 256-pixel mip level. That arithmetic explains why an attractive close-up is insufficient; it does not establish a universally safe margin.
Blender’s UV editing reference documents Pack Islands and its margin methods. Check the selected method instead of treating every margin field as pixels. Inspect the actual resulting gaps and rebake or re-export the texture with suitable dilation.
Verify: View the asset at distance in its destination renderer with the intended filtering. Repeat after changing texture resolution. Preserve adequate padding rather than chasing maximum packing occupancy.
7. Leaving accidental overlaps or mirrored details#
The mistake: Painting one panel changes another, a baked stain appears on both sides, or text reads backward.
Fix: Make all relevant faces visible to the UV Editor and use Select → Select Overlap to locate intersecting UV faces. The UV selection reference also explains how Sync Selection affects which faces you can inspect. Investigate the result before separating everything.
Stacking can be intentional for repeated material detail. It becomes a problem when the surfaces need different paint or independent bake results. Keep unique areas for asymmetric labels and location-specific wear. For a unique bake, separate competing islands or exclude duplicate geometry from that bake according to the chosen workflow, then validate any later stacking.
A mirrored UV island and a reversed geometric face normal are different problems. Repair the one your checker and face-orientation inspection actually reveal. Mirrored tangent-space normal maps also deserve a test in the destination engine.
Verify: Paint a temporary identifiable mark on one panel. Only the intended surfaces should share it. Check text, symbols and asymmetrical damage on both sides of the object.
8. Letting packing destroy texture direction#
The mistake: A pack operation rotates islands for a tighter fit, turning wood grain sideways or rotating a printed label.
Fix: Establish the direction-sensitive regions before final packing. On a wooden plank, align its long UV direction with the grain in the texture; on a sign, keep lettering upright. Preserve the required orientation with suitable packing restrictions or pack those regions separately. Recheck the result rather than assuming a pinned position always locks every possible transformation.
Avoid squeezing only one UV axis just to fill an empty gap. It changes texture proportions. For purpose-built trim sheets, fit islands to the intended bands and preserve their placement; unrestricted repacking would move them to different artwork.
Verify: Test the real material as well as the checker, including adjoining pieces where continuity matters. The wood grain direction guide gives furniture-specific examples.
9. Changing geometry after calling the UVs finished#
The mistake: You unwrap a clean base mesh, then add bevels, Boolean cuts or extruded details and assume every resulting face has usable texture coordinates.
Fix: Keep an editable master and inspect the geometry that will actually be delivered. New surfaces and interpolated coordinates can need attention even when the original islands still look good. Check narrow bevel strips, cutter walls and mirrored boundaries with the checker material enabled.
For an export copy, decide which modifiers must be evaluated or applied. If you bake tangent-space normal maps, keep the triangulation and shading setup consistent between the baking mesh and the exported mesh. Recheck UVs after any operation that changes the surface, and rebake when the change invalidates the old texture correspondence.
Verify: The delivered mesh has no untextured cut surfaces or collapsed strips. Use the Boolean, Mirror and kitbashing workflow to plan these modeling decisions earlier.
10. Designing the layout without its destination in mind#
The mistake: You create a tidy UV square without deciding whether the asset needs a unique bake, repeating material, existing atlas, trim sheet or a separate lightmap channel.
Fix: Define the texture system first. A unique texture normally needs distinct space for surfaces that must carry different information. Tileable materials can intentionally repeat beyond the 0–1 square. An existing atlas requires islands to stay over their assigned artwork. UDIMs require an explicitly supported pipeline; they are not an automatic upgrade for every real-time asset.
Where the target uses baked lighting, follow its lightmap requirements and keep that channel separate from overlapping material UVs when needed. Name maps clearly, verify their order after export and confirm which channel the material reads. A game-ready asset is more than a non-overlapping UV layout.
Verify: Reimport the exported mesh into a clean scene and test it in the destination engine with the intended textures. Check orientation, seams, scale and material assignments. The high-poly to low-poly workflow connects UV preparation to baking and delivery.
Practice: unwrap one prop and deliberately break it#
Use a simple capped cylinder as a reusable test asset. Save a clean version before each experiment so you can compare one variable at a time.
- Set its dimensions, apply scale on this static practice mesh, mark a side seam and separate the caps. Unwrap and apply the labeled checker.
- Scale one island along U only. Observe how the checker changes, then undo. This isolates distortion from low texture resolution.
- Uniformly reduce a cap island. Its squares should keep their shape but become larger on the mesh. Restore the intended relative density.
- Stack the caps temporarily and paint a test mark. Decide whether shared detail is suitable for this asset, then restore unique space if it is not.
- Pack with deliberate spacing, create a simple texture with edge dilation and inspect it at a distance. Export and reimport the mesh to complete the test.
Once those differences are clear, repeat the exercise on a crate with directional grain or a panel using a trim sheet. Preserve existing texture placement when testing an atlas or trim workflow. These exercises build diagnosis skills you can reuse when a production asset fails.
A practical pre-export UV checklist#
- The shader samples the UV map you inspected, with the intended mapping scale.
- Checker proportions are acceptable on outer surfaces, cavities and new modifier-generated faces.
- Texel density matches the viewing needs, including any deliberate priority areas.
- Overlaps, mirroring and repetition are intentional and compatible with the bake.
- Directional patterns and readable labels survive final packing.
- Island spacing and texture dilation survive the target resolution and distance.
- Exported UV channels, triangulation and materials match the tested setup.
When a structured UV course is useful#
If you can identify a symptom but struggle to choose the next operation, guided practice can help connect the decisions. The official UV Mapping Bootcamp listing describes a 14-stage curriculum, moving from foundations and projections through troubleshooting, atlases and trim-sheet work. That progression fits readers who want examples across different asset types.
Use the course as practice alongside your own models: pause, predict where a seam should go, then compare the result. The recommendation here is based on the published syllabus and supplied imagery, not a claim of having completed or independently tested the course. Check the current listing for purchase details and requirements.
Frequently asked questions#
Why are my textures stretched after unwrapping?#
Check the sampled UV map, object scale, seam pattern and island proportions first. A higher-resolution image adds pixels but does not correct their mapping. Compare a numbered checker before and after each change.
Is Smart UV Project bad for game assets?#
No. It can be a useful starting point, particularly for some hard-surface objects. Judge the result by distortion, fragmentation, paint continuity and bake requirements. A method is useful when its output fits the asset’s purpose.
Must every UV island be unique and inside 0–1?#
No. Repeating materials, stacked details and trim workflows may deliberately share or repeat coordinates. Unique paint, certain bake outputs and lightmaps have different constraints. Decide per texture channel and destination.
How much UV padding should I use?#
There is no single value for every asset. It depends on texture resolution, filtering, mip levels, dilation and the target renderer. Inspect both the packed gaps and the rendered result at realistic distances.
Should I unwrap before or after applying bevels?#
Both can work. The important check is the final evaluated or exported surface. Small bevels may preserve acceptable mapping, while larger bevels or newly exposed surfaces can require UV edits and a new bake.